Disaster recovery is important to business systems and you will know how to use CDP in Vinchin Backup & Recovery to protect critical infrastructures in this post.
Server CDP requires an agent installed into the target server. I have installed it on this server so now let’s create a Server CDP backup job to fully demonstrate CDP, failover, and failback for you.
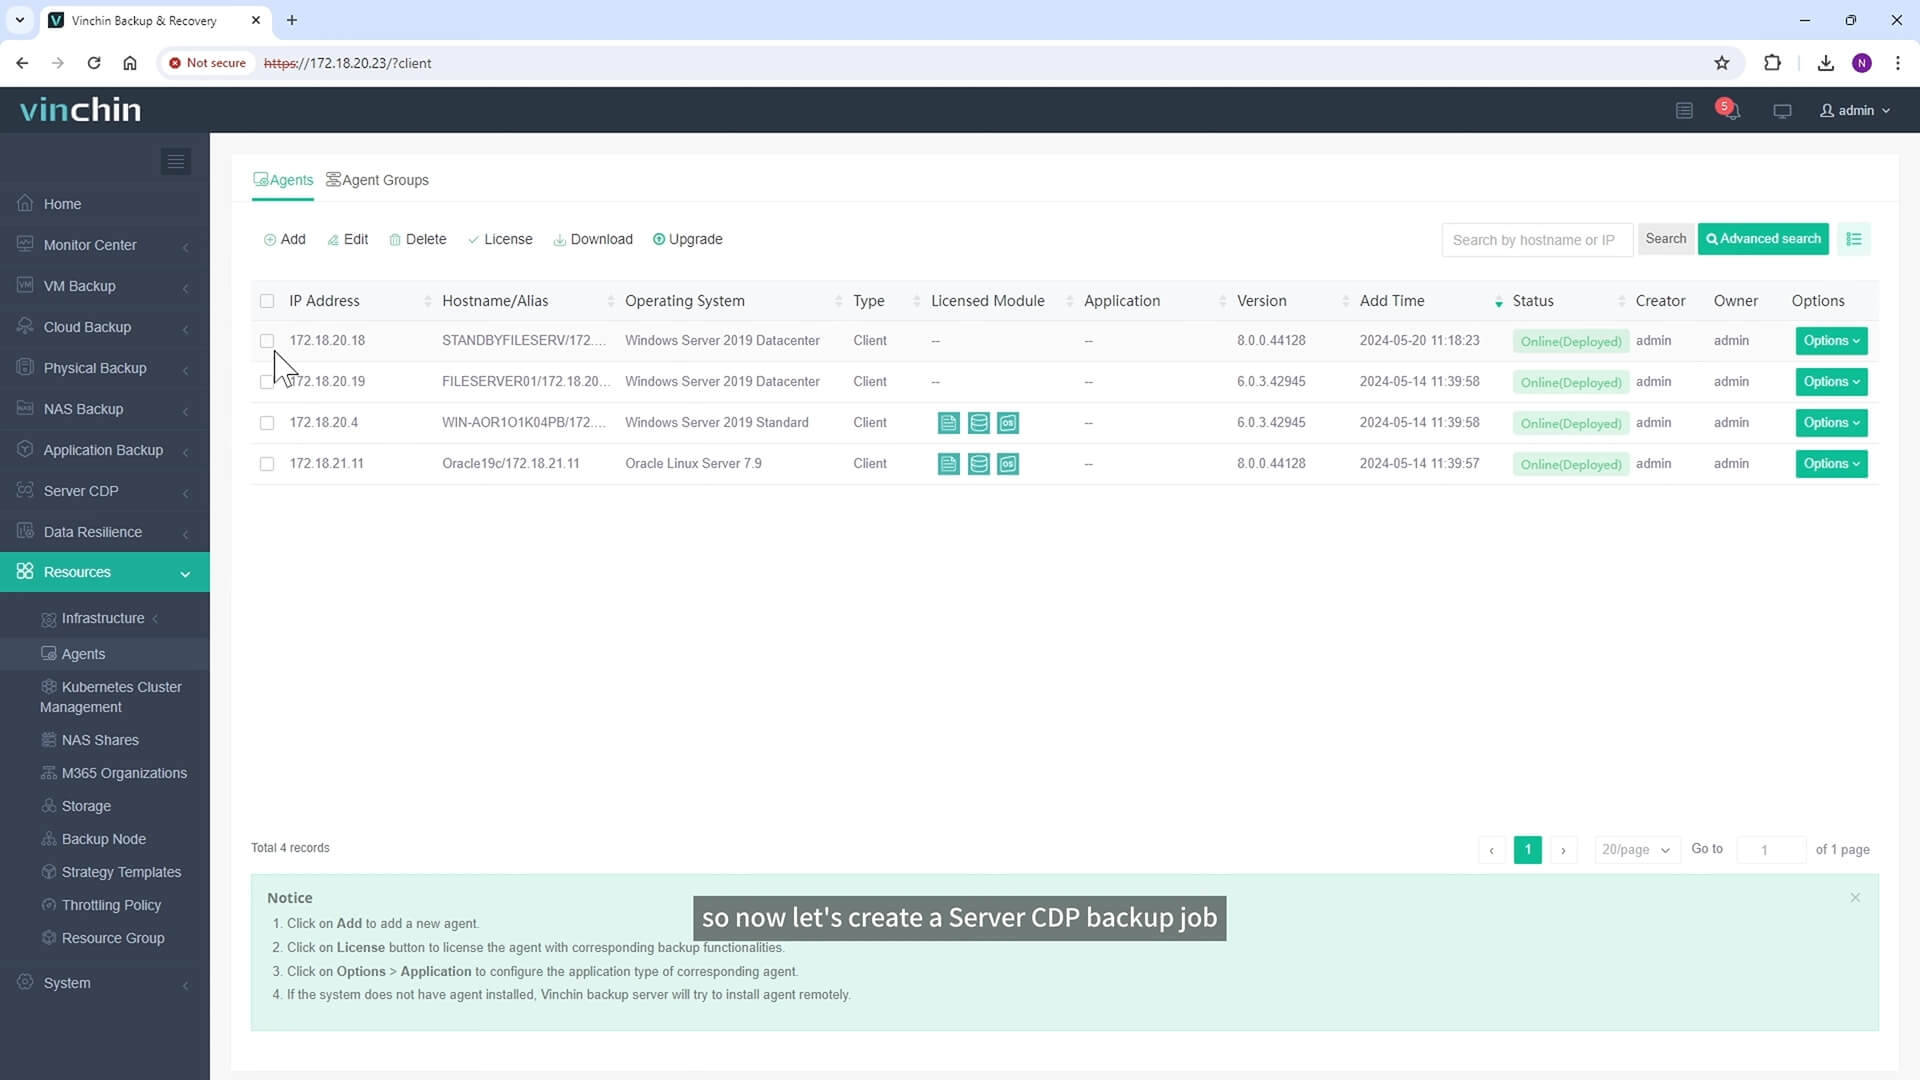
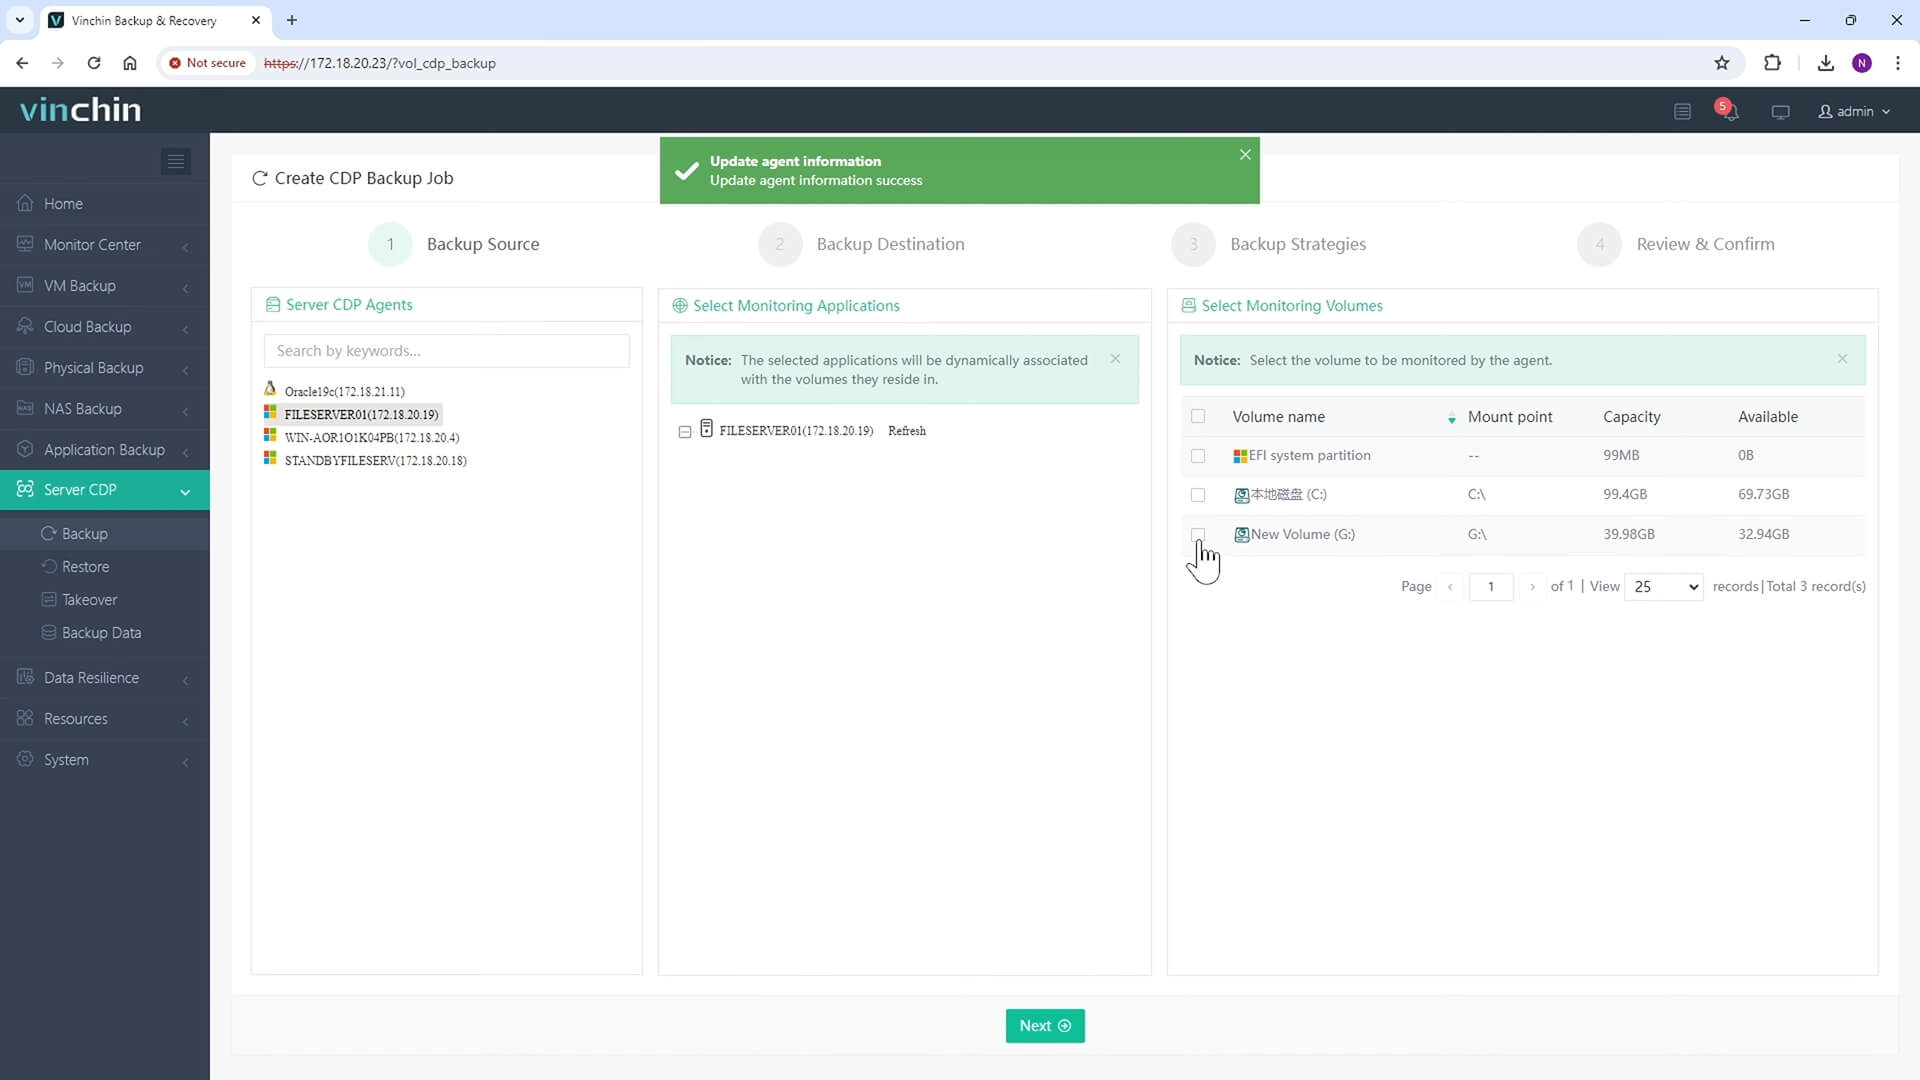
Go to Server CDP > Backup > select data volume
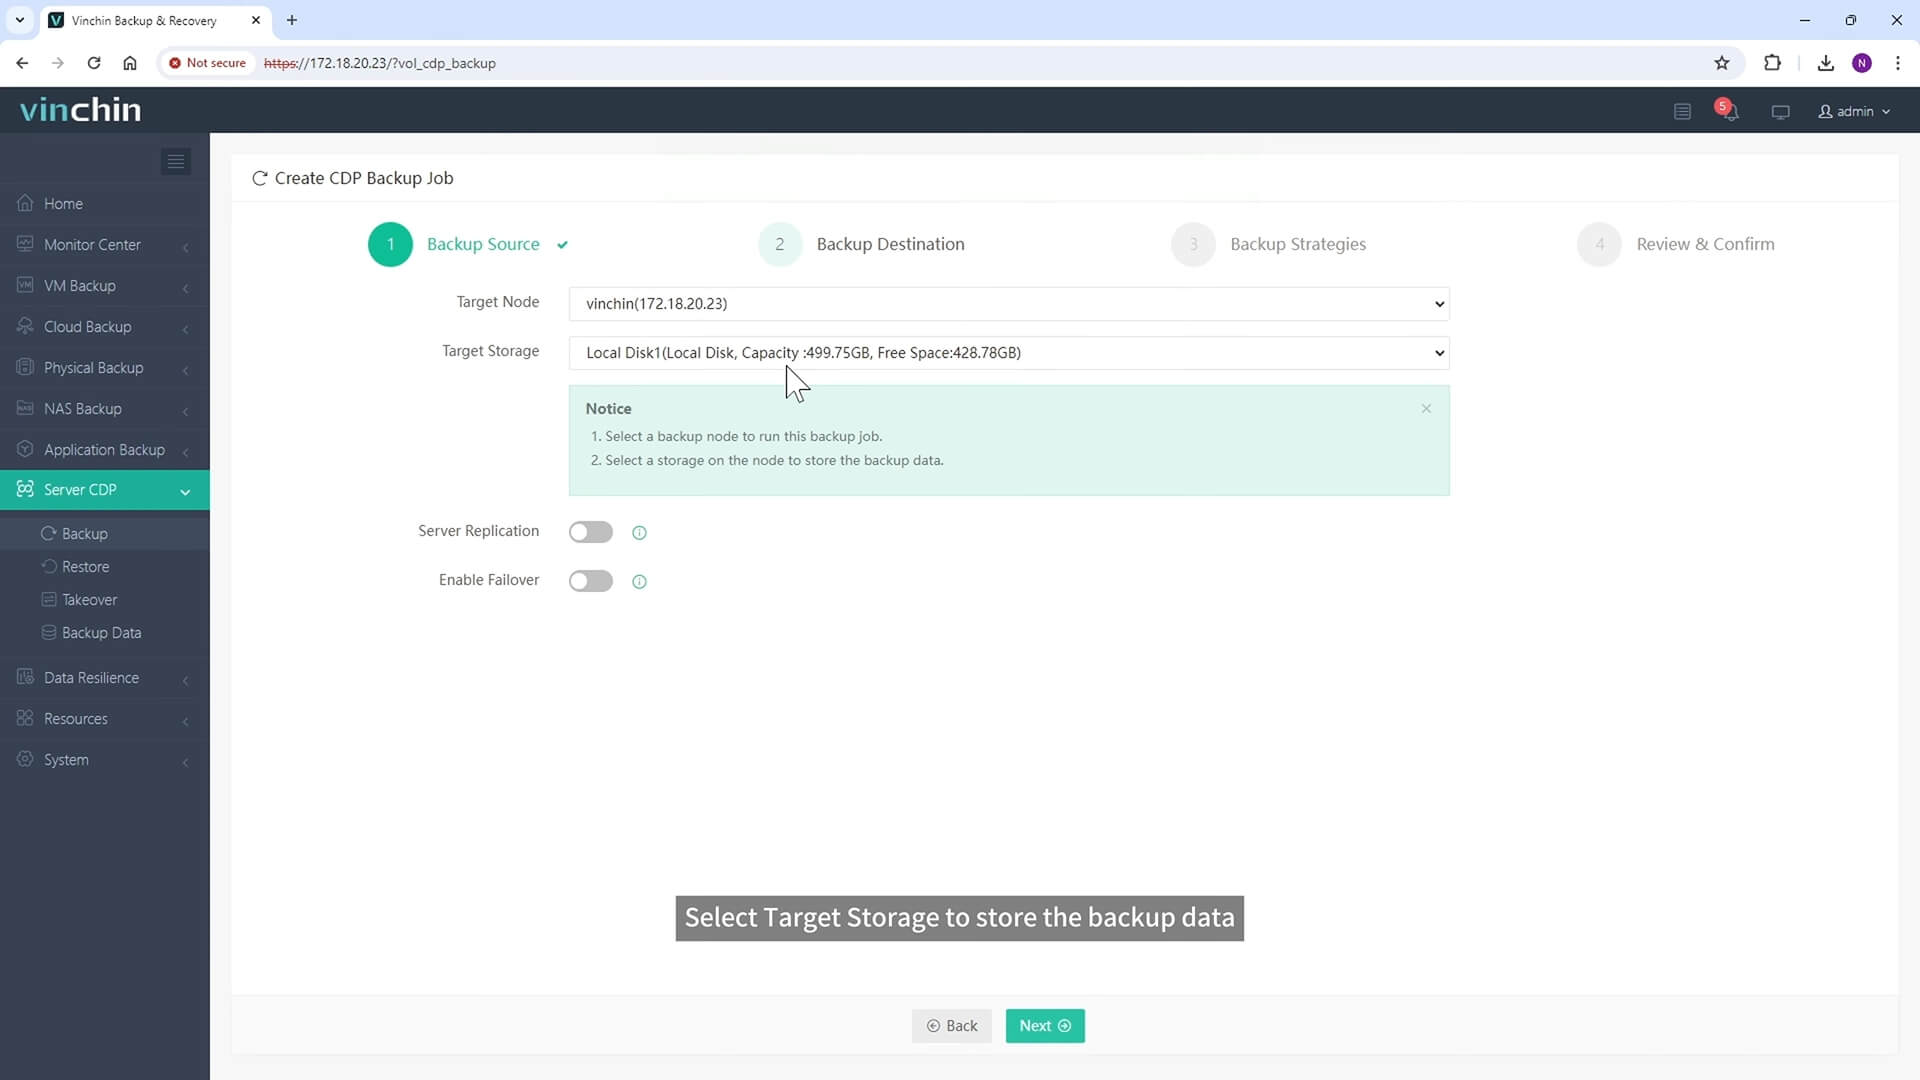
Select target storage to store the backup data.
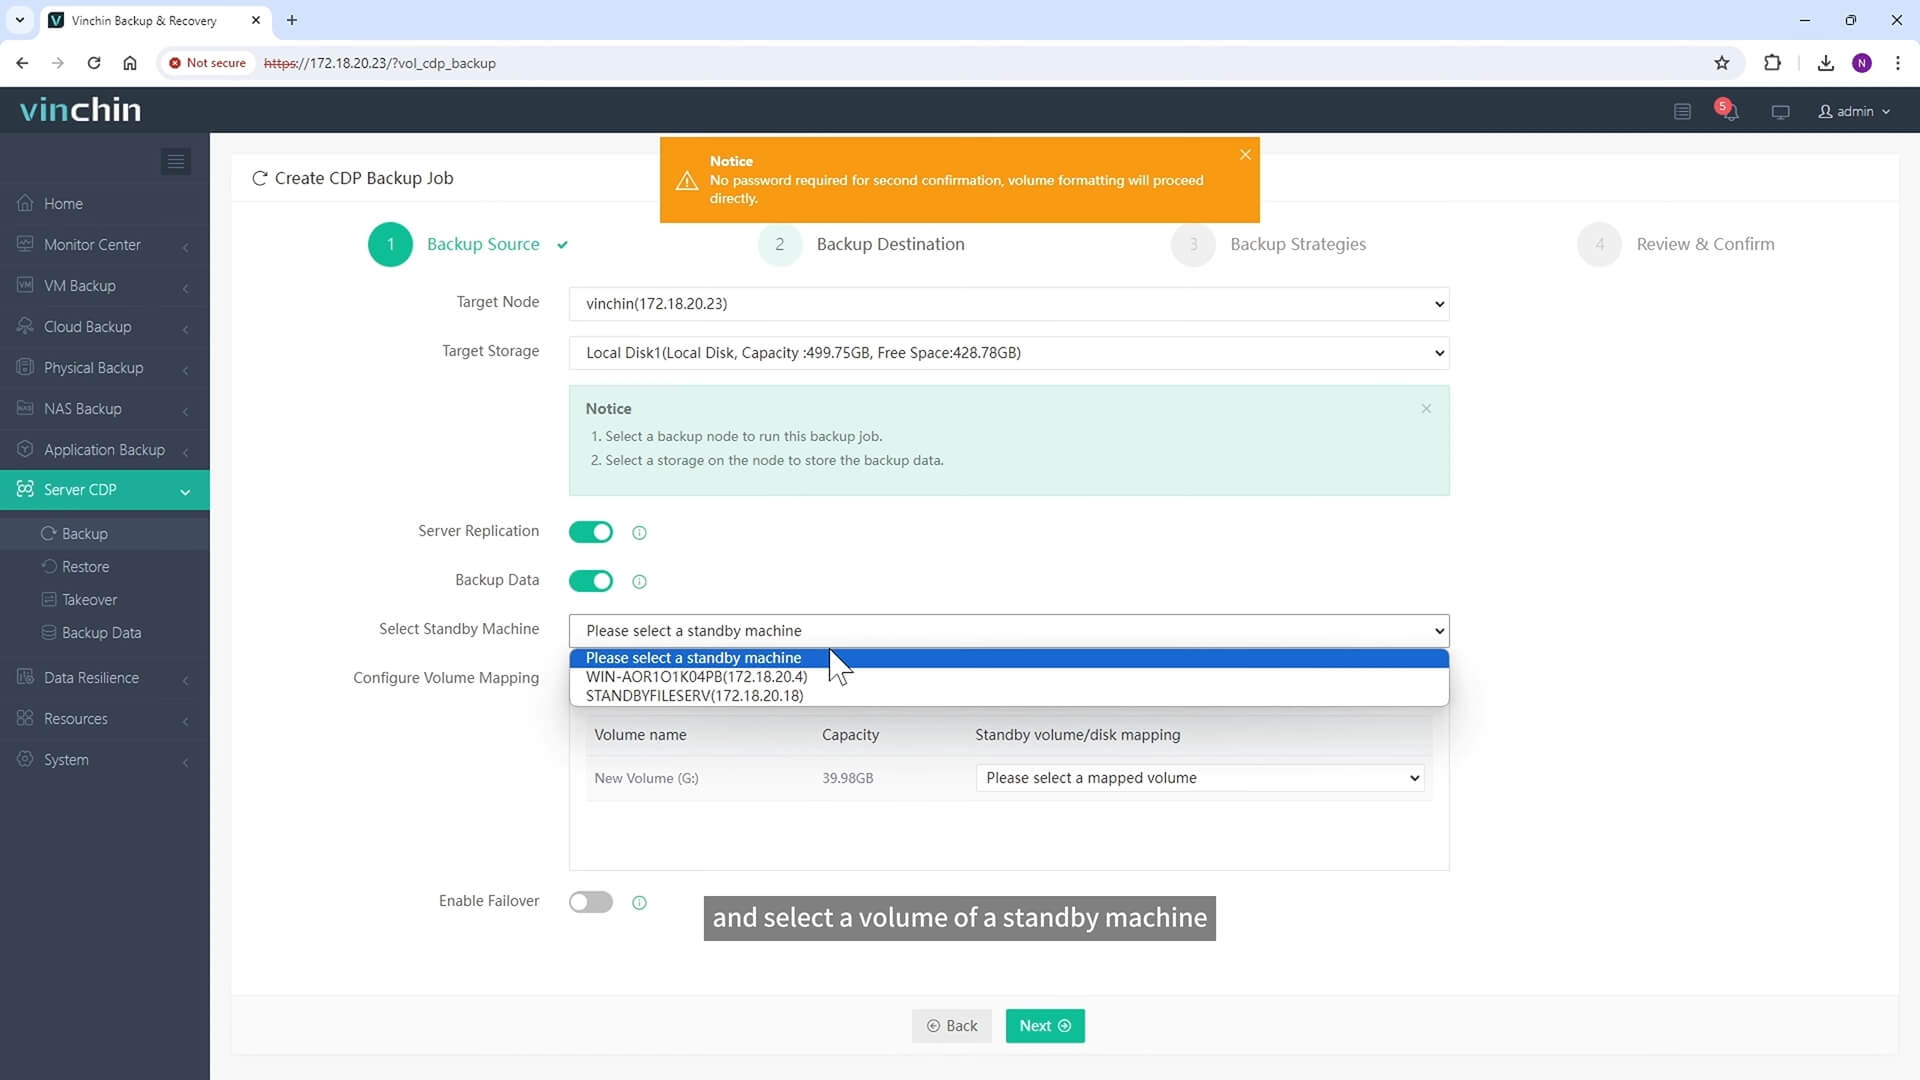
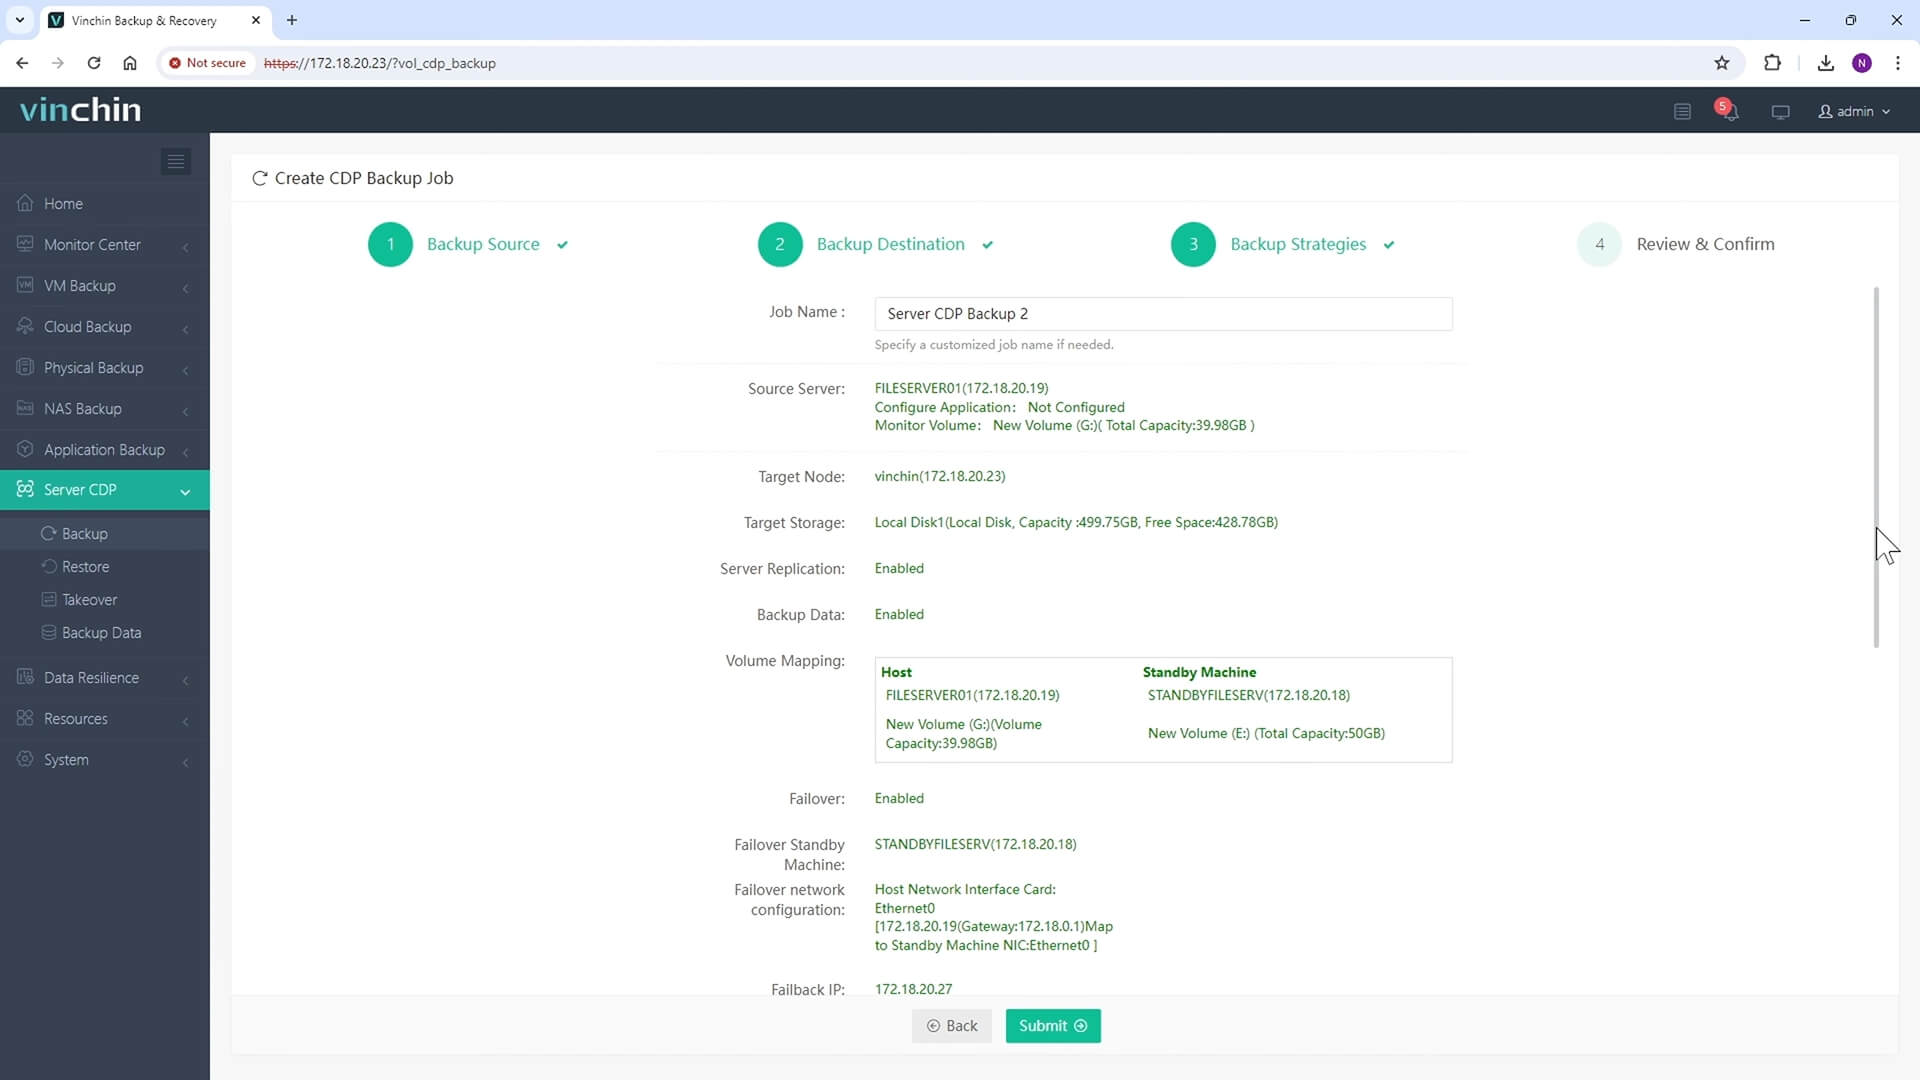
You can enable Server Replication and select a volume of a standby machine to map the original data volume. If you also enable Backup Data, the volume data will be also stored to the backup storage and let you select any point-in-time recovery point. Double insurance.
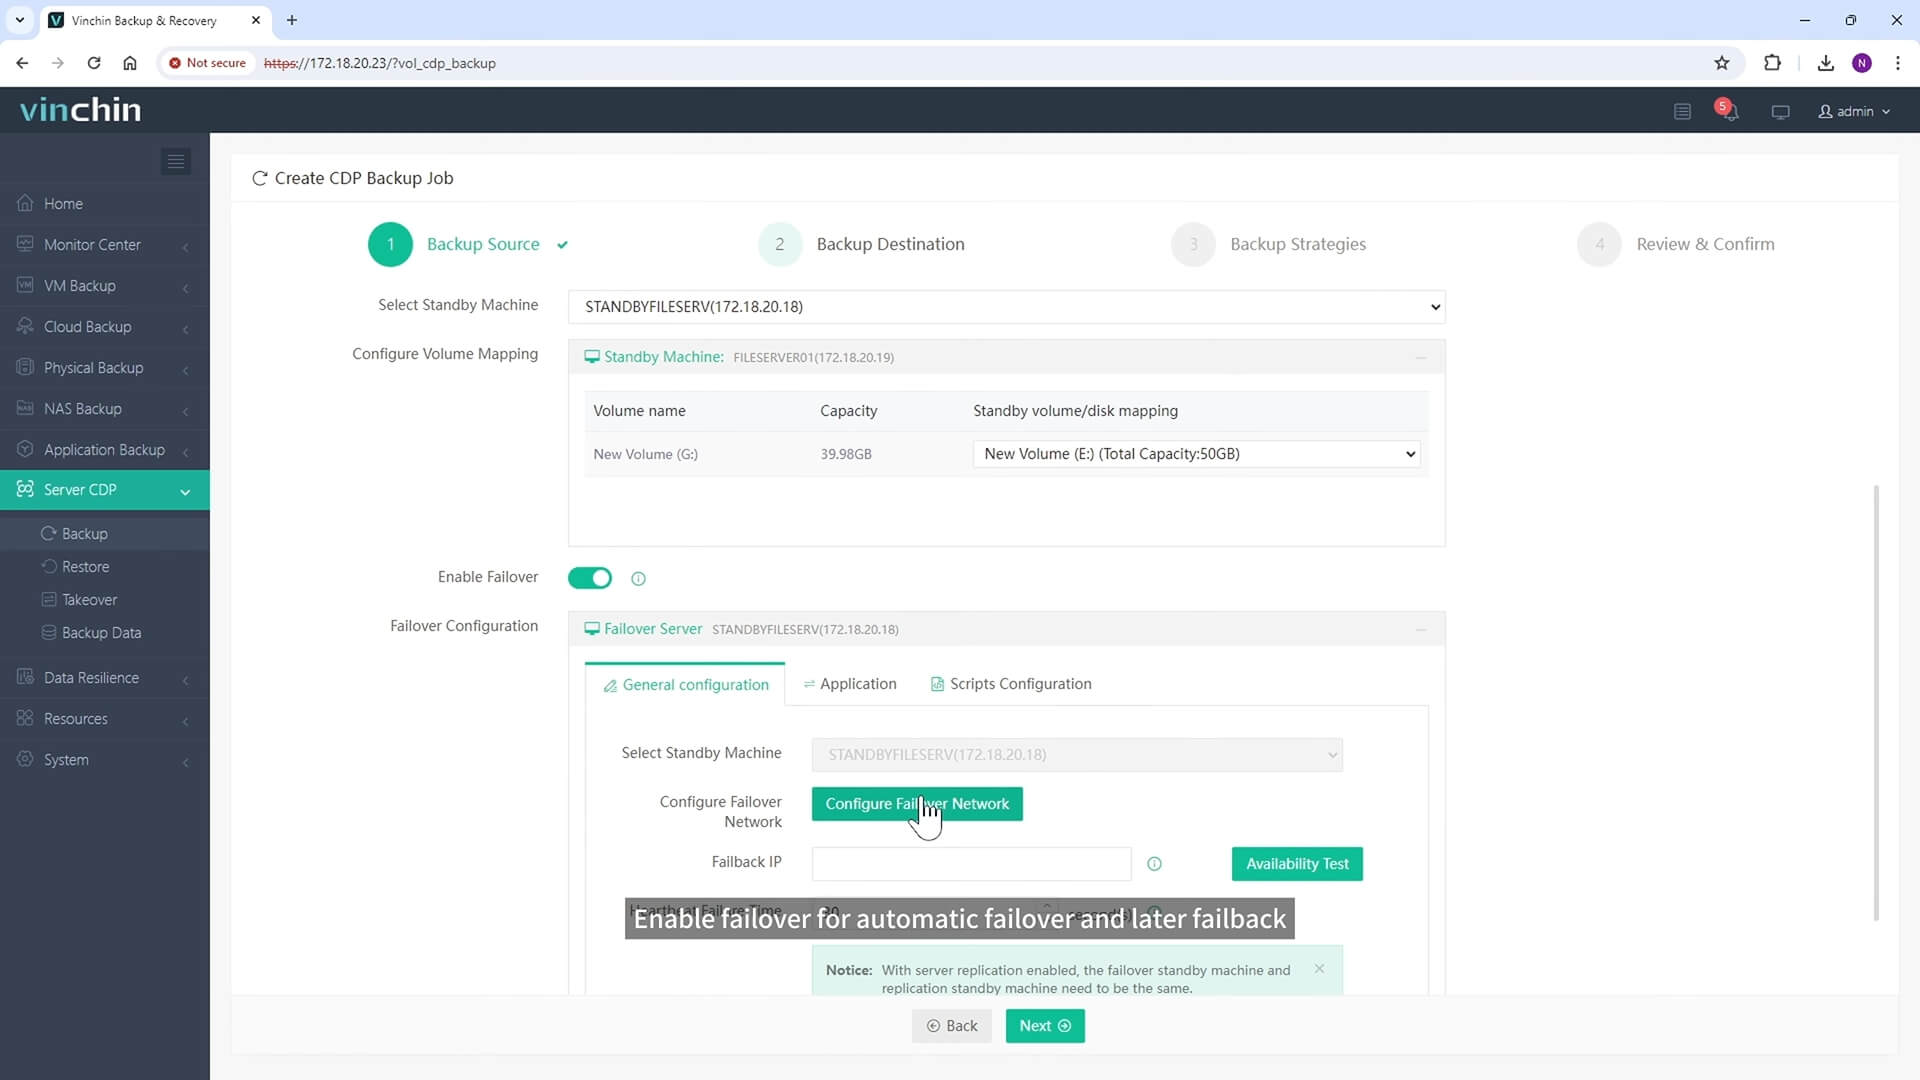
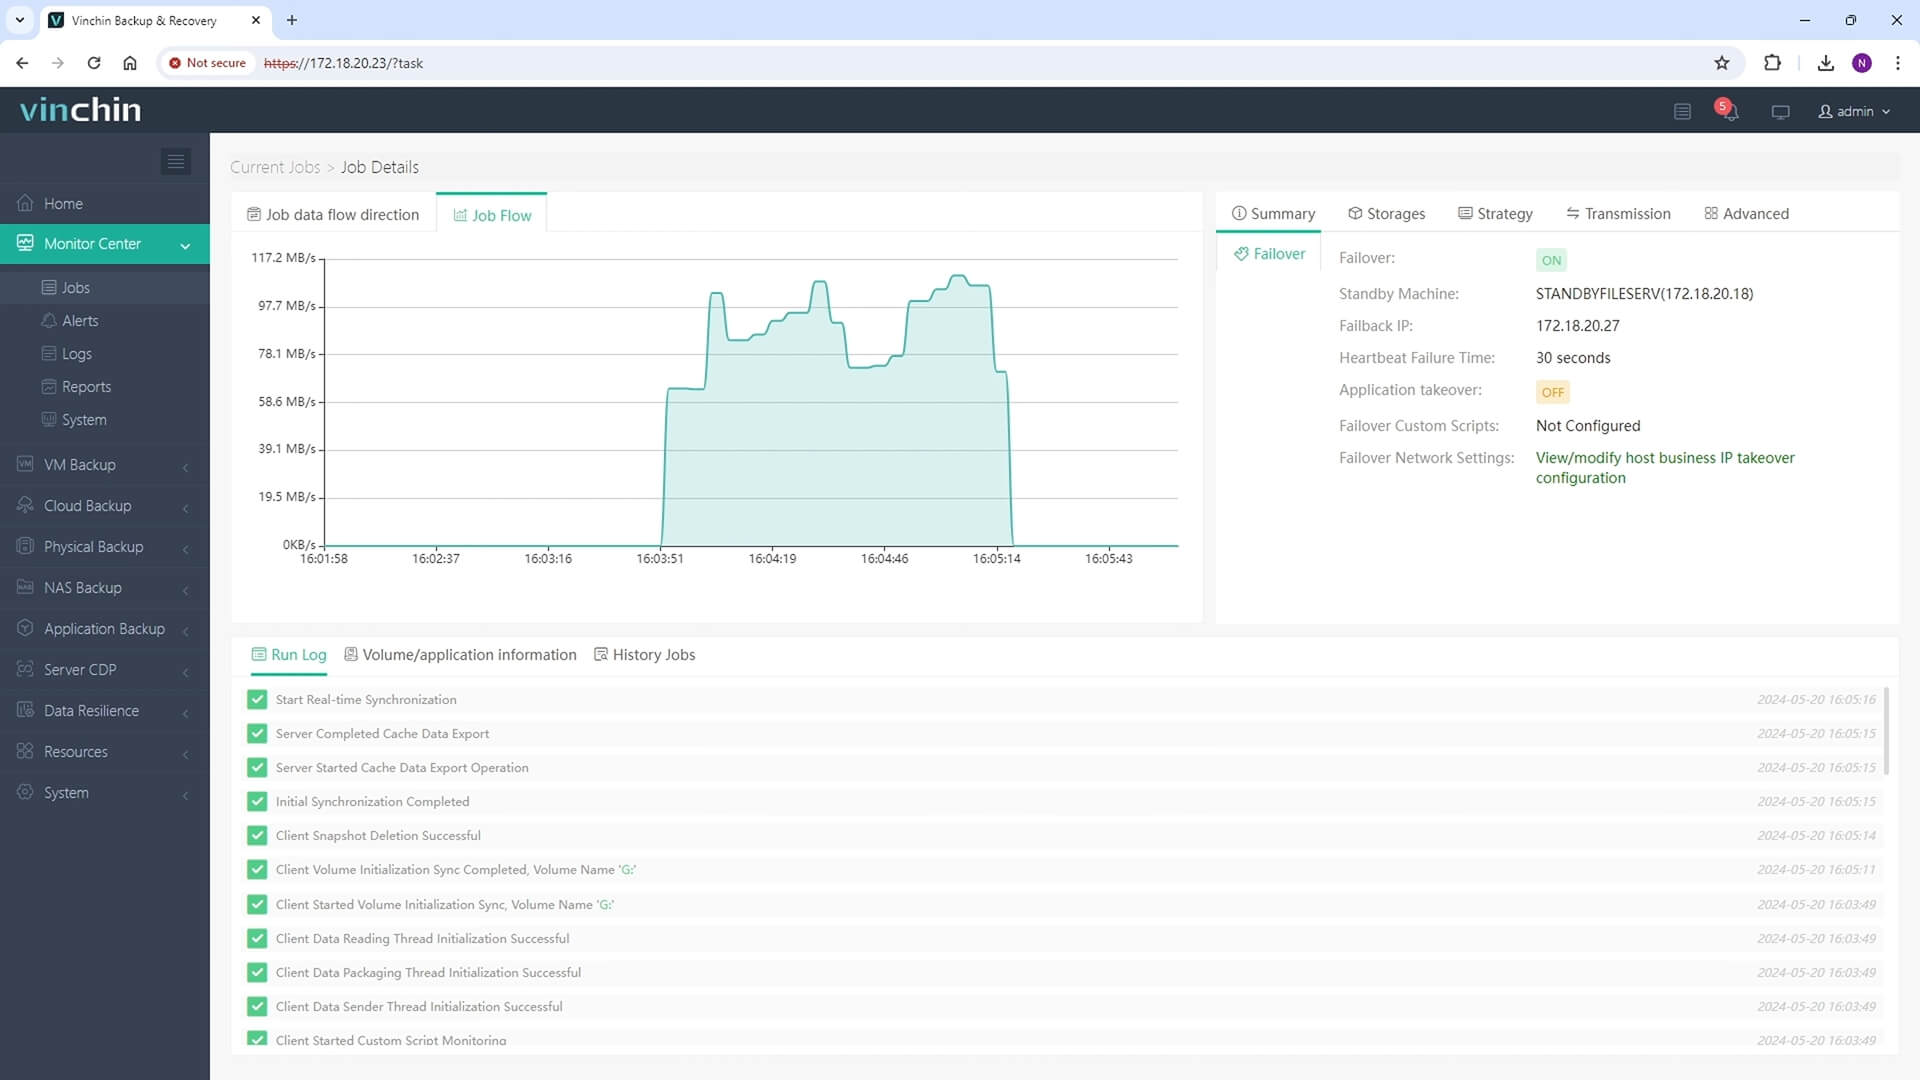
Enable Failover for automatic failover and later failback. Configure the Failover Network, Failback IP, and Heartbeat Failure Time
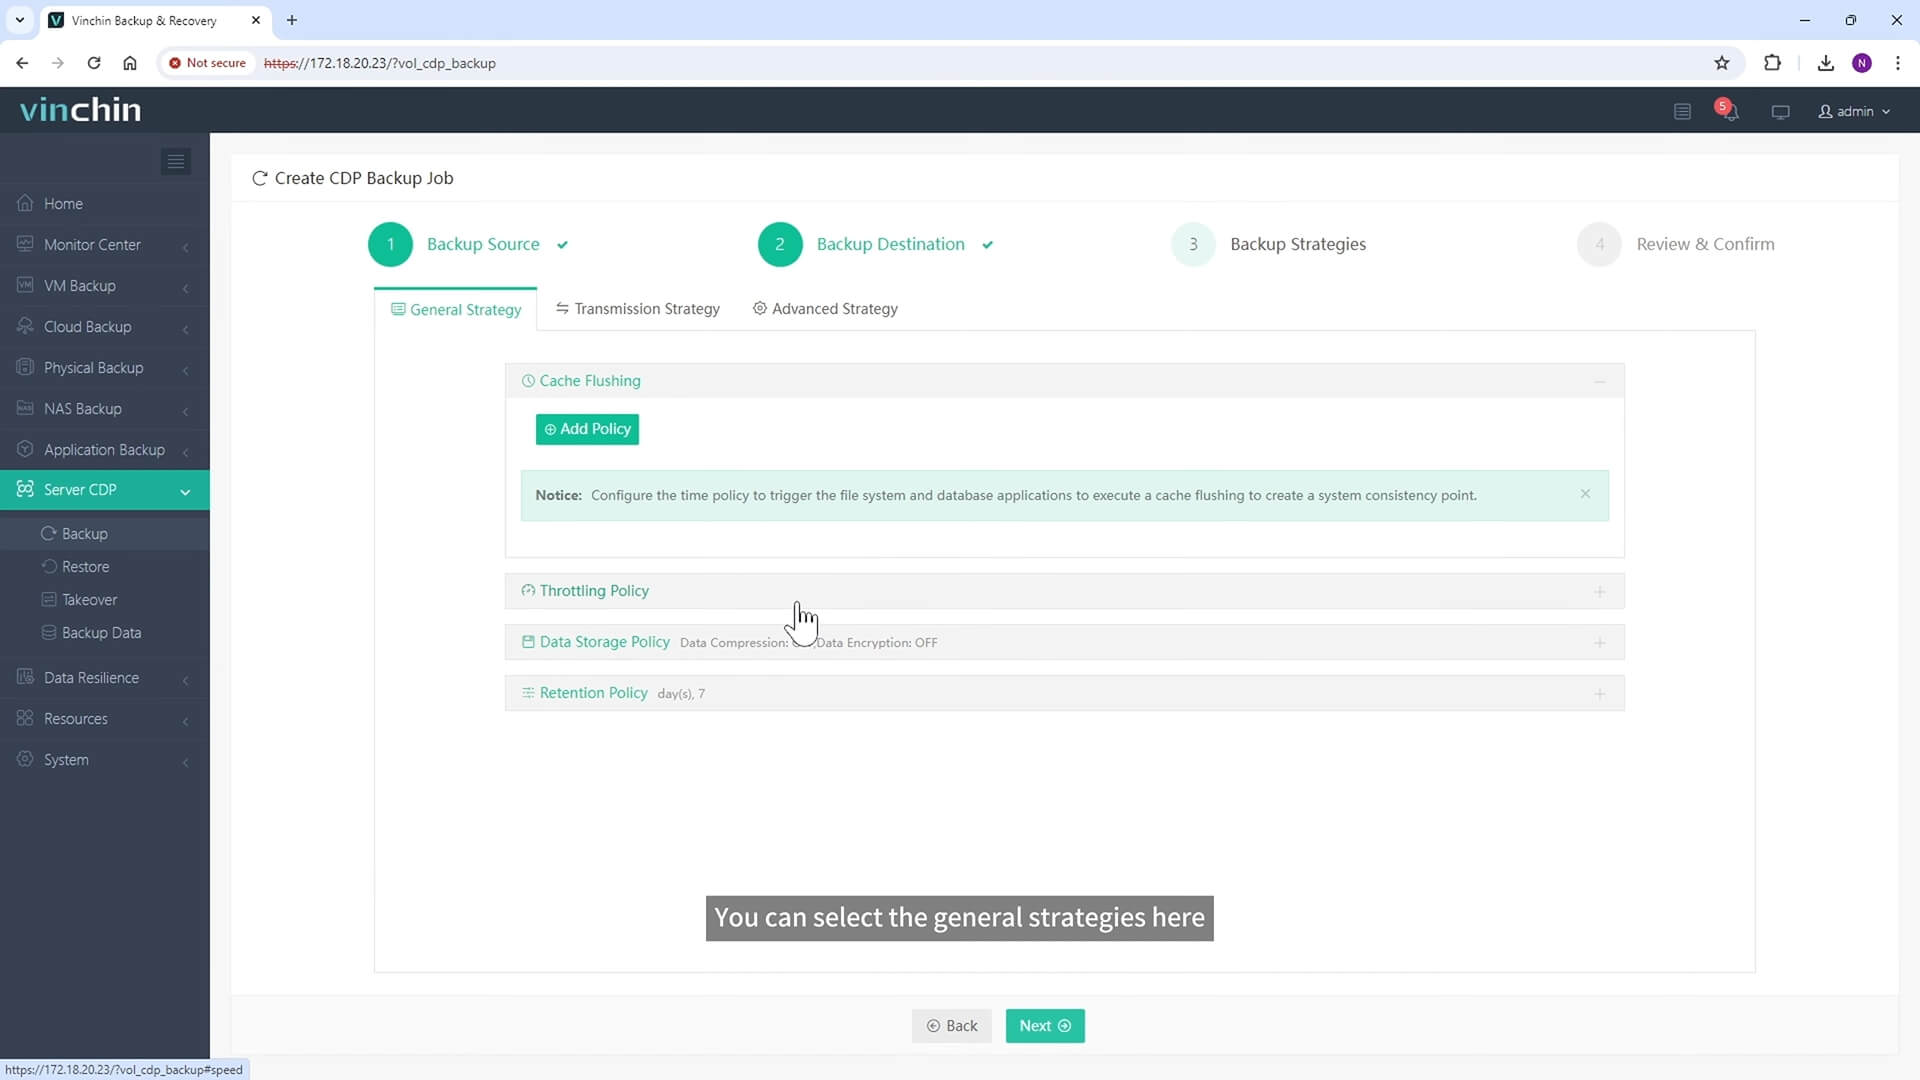
You can select the general strategies here like Throttling Policy, Data Compression and Encryption, and Retention Policy for maximum rollback days.
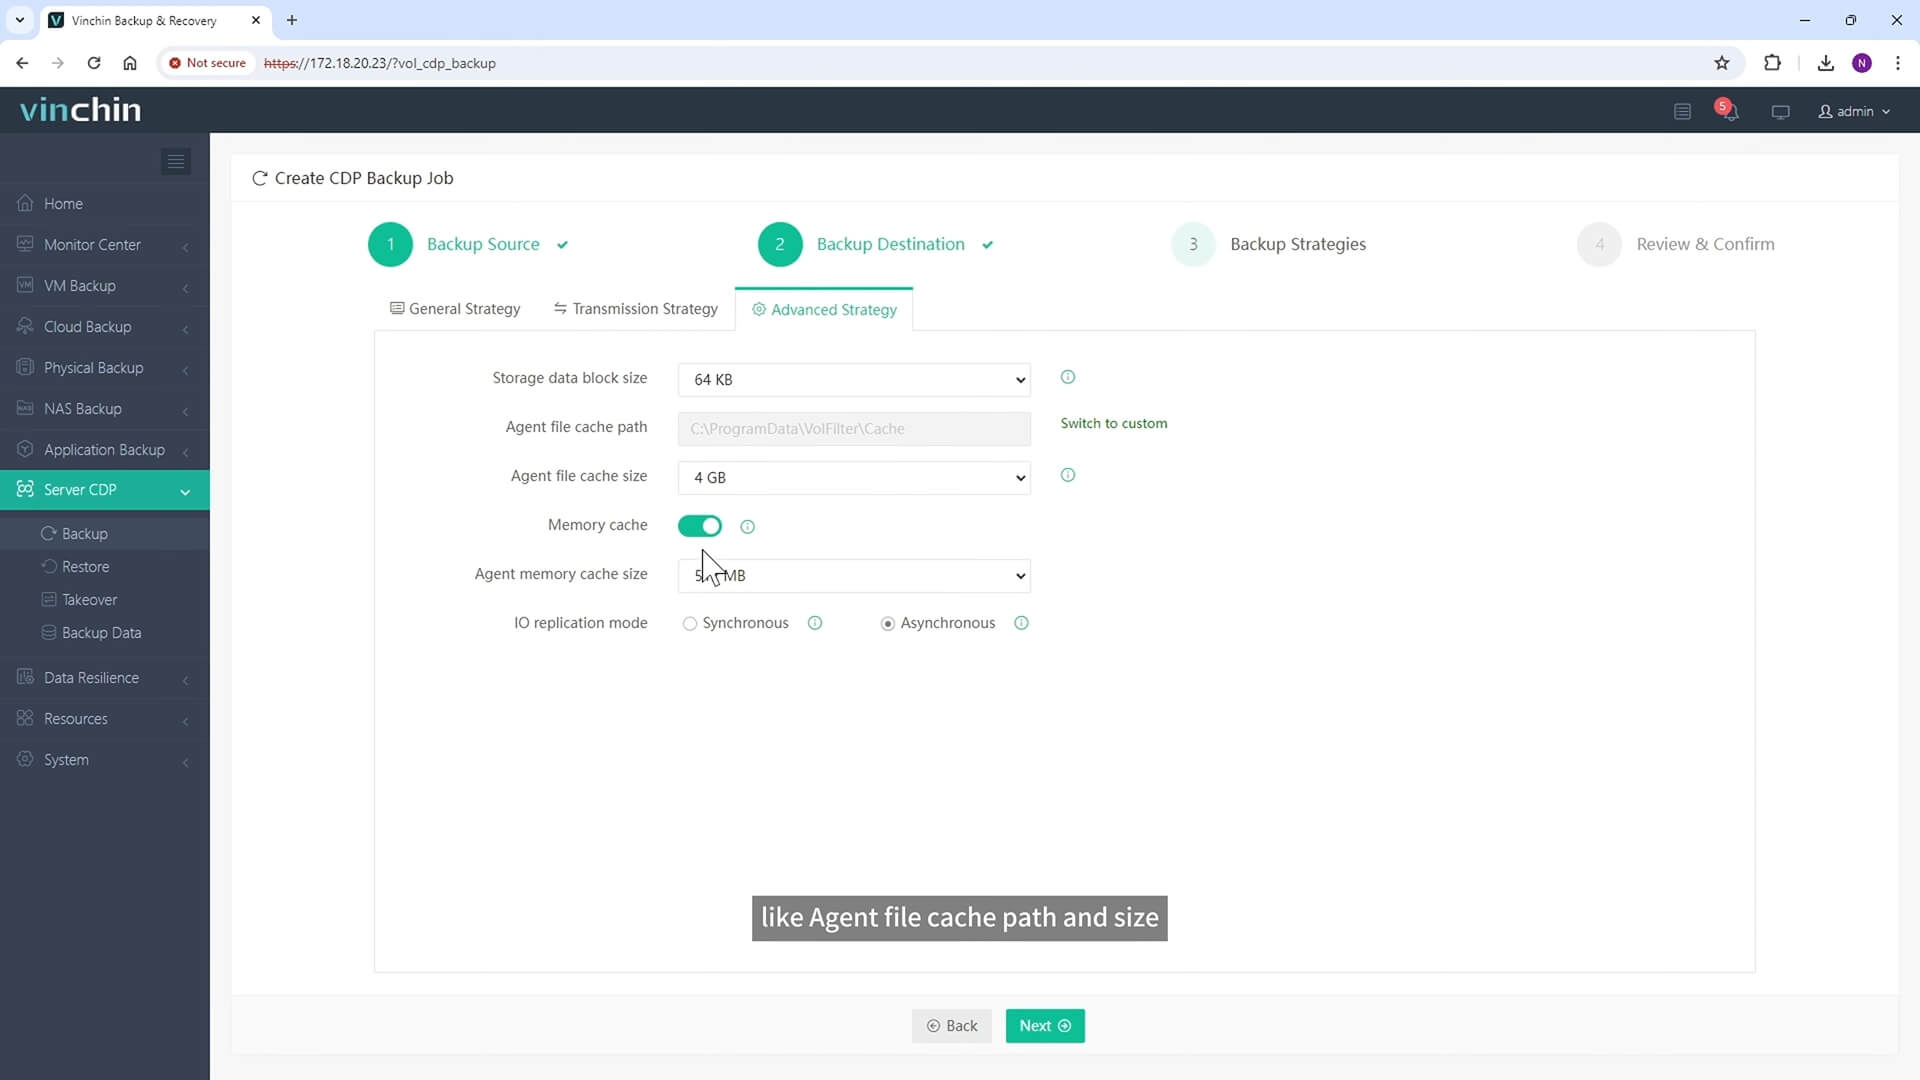
You can also select Transmission Strategies and Advanced Strategies like Agent file cache path & size, Agent memory cache size, and IO replication mode.
Submit the job
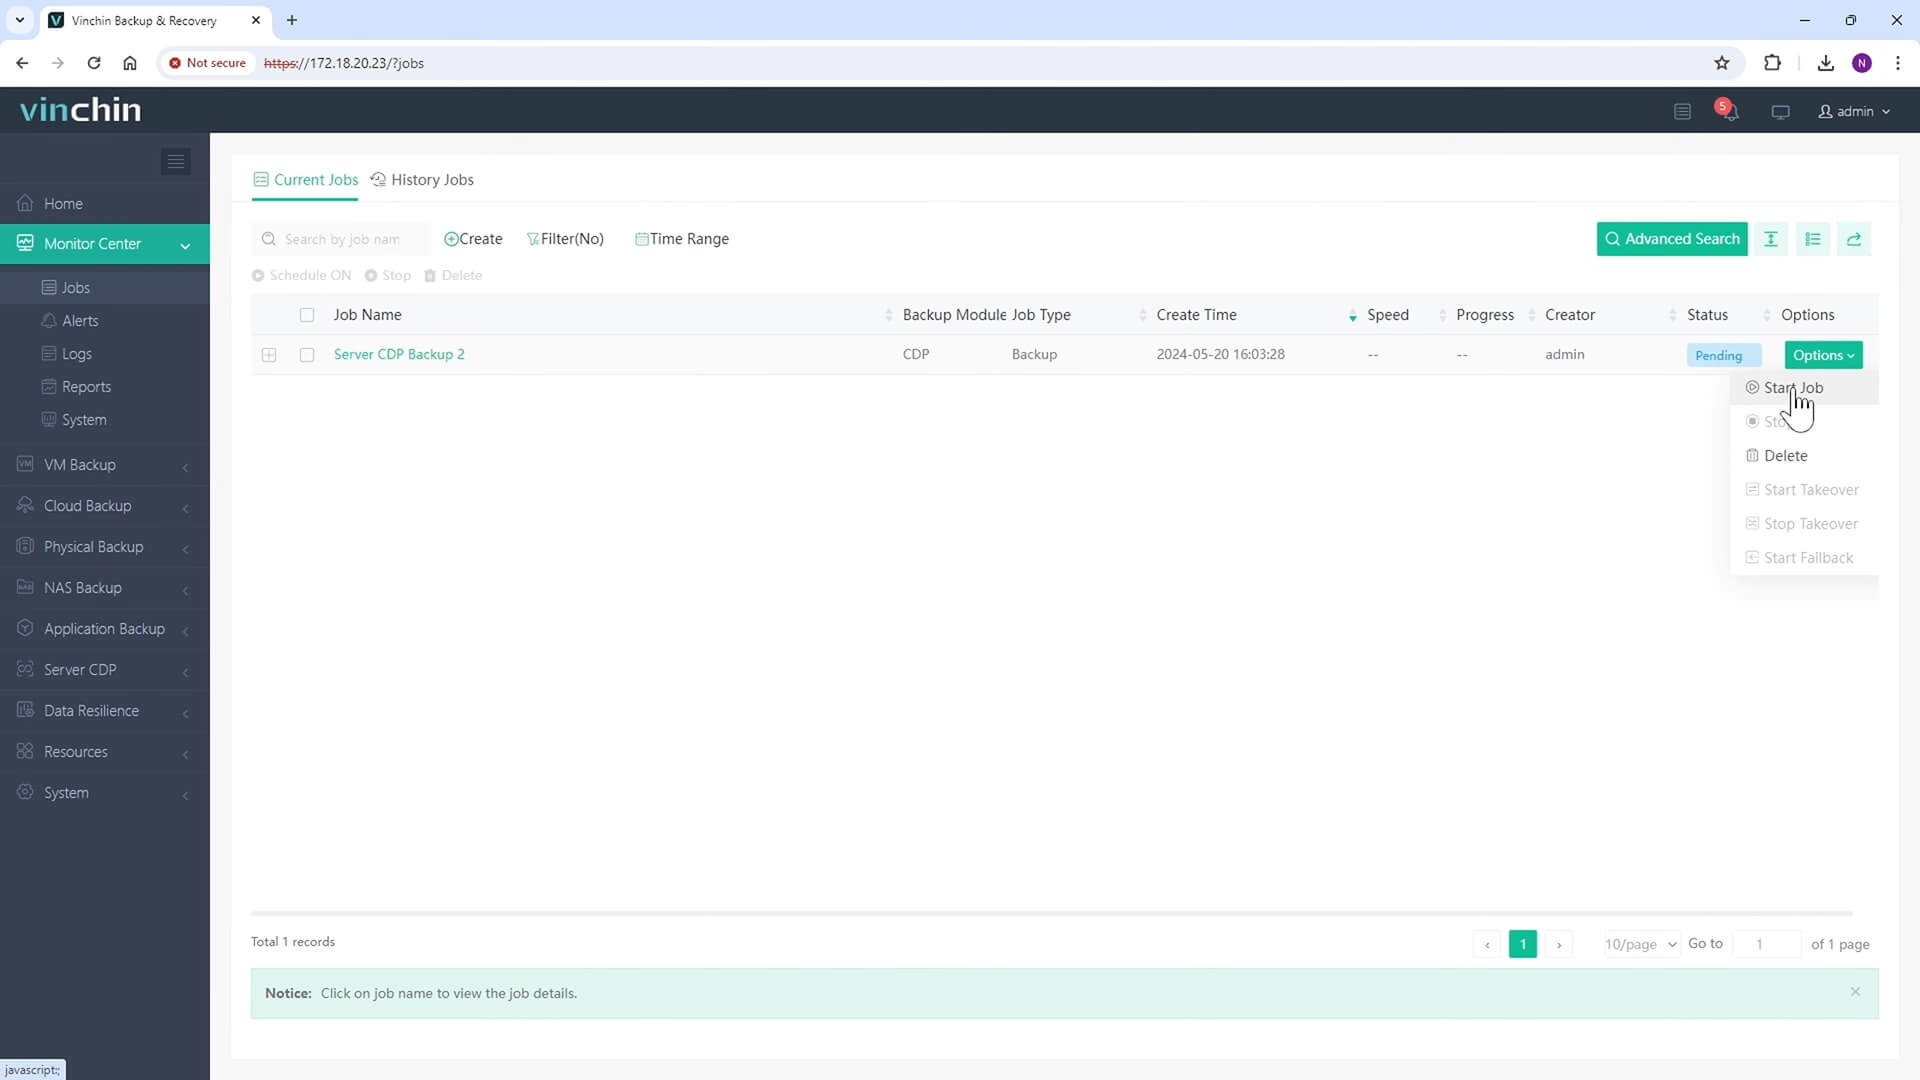
let's start it
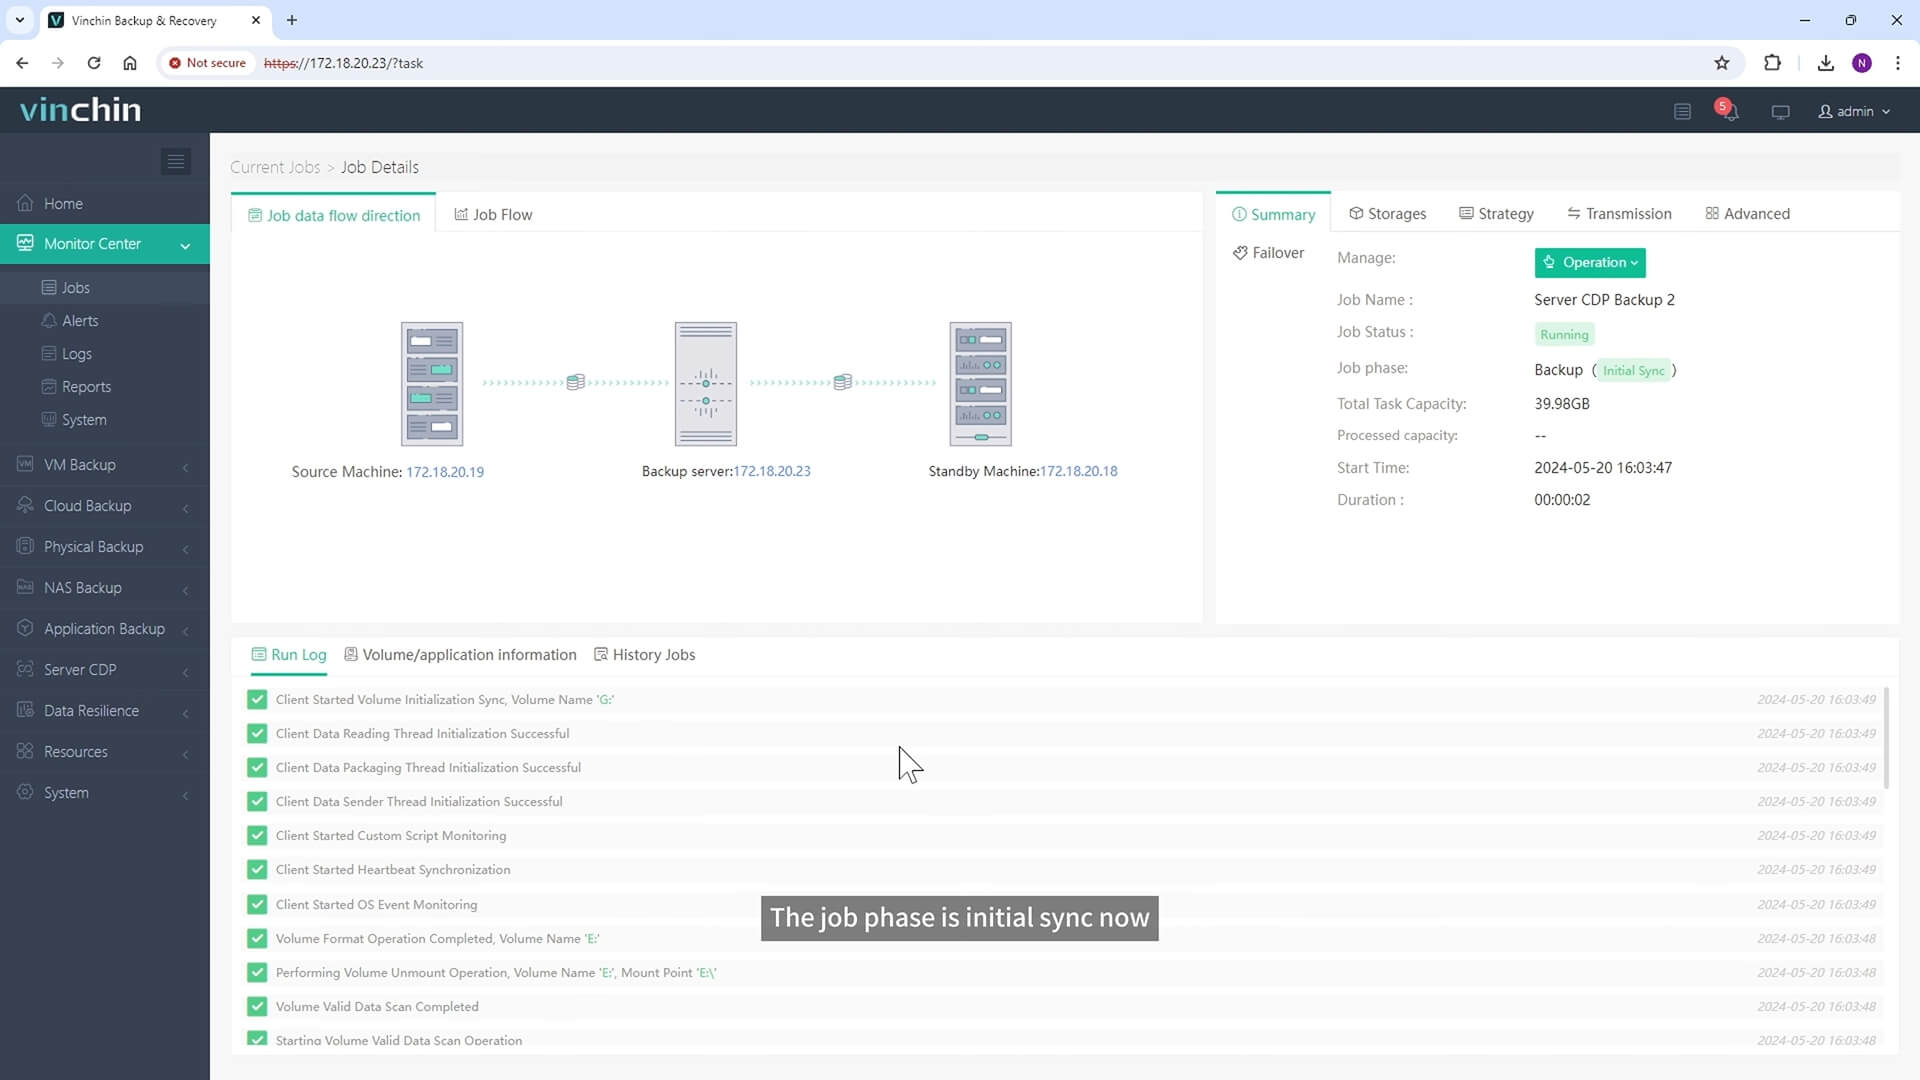
Now the job start the handshake with client and initializing the process and network and then start initializing the real-time monitoring. The Job phase is Initial Sync now.
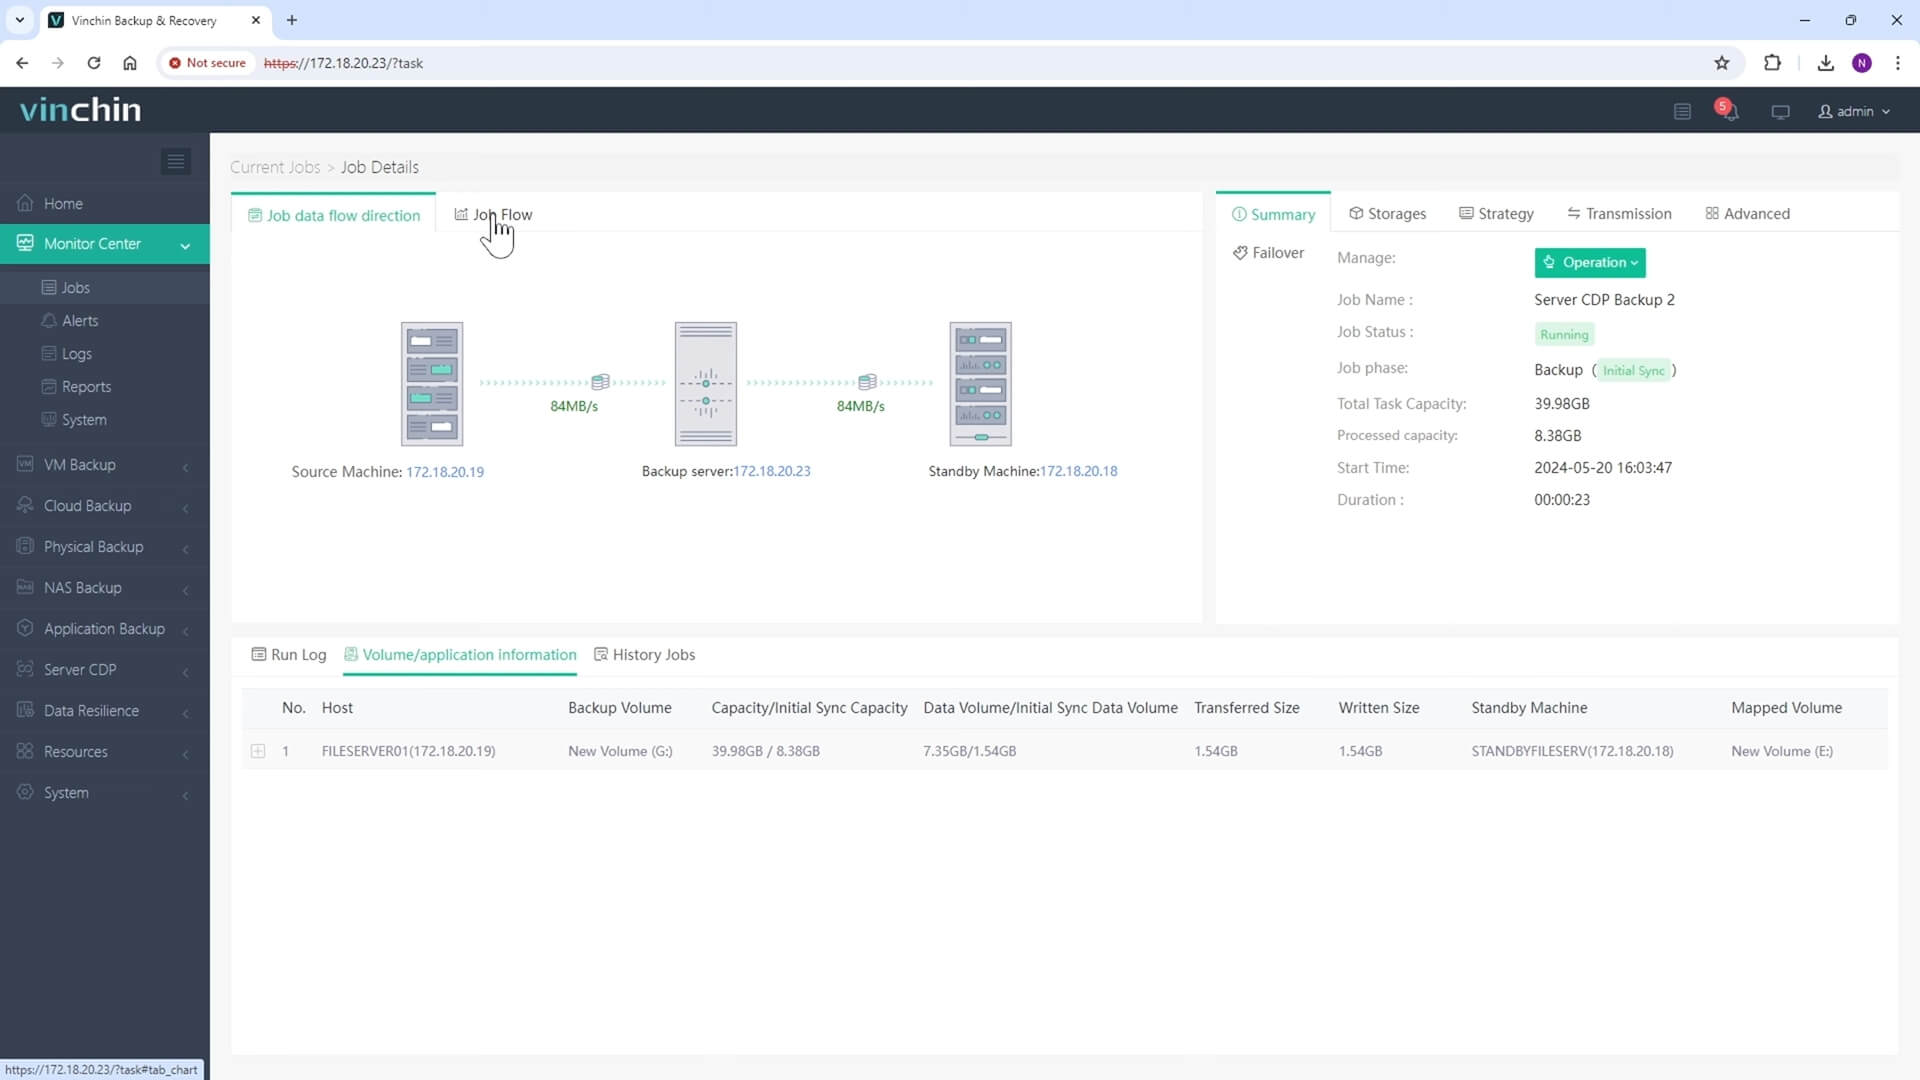
Here you can view the synced data, job flow and data flow direction.
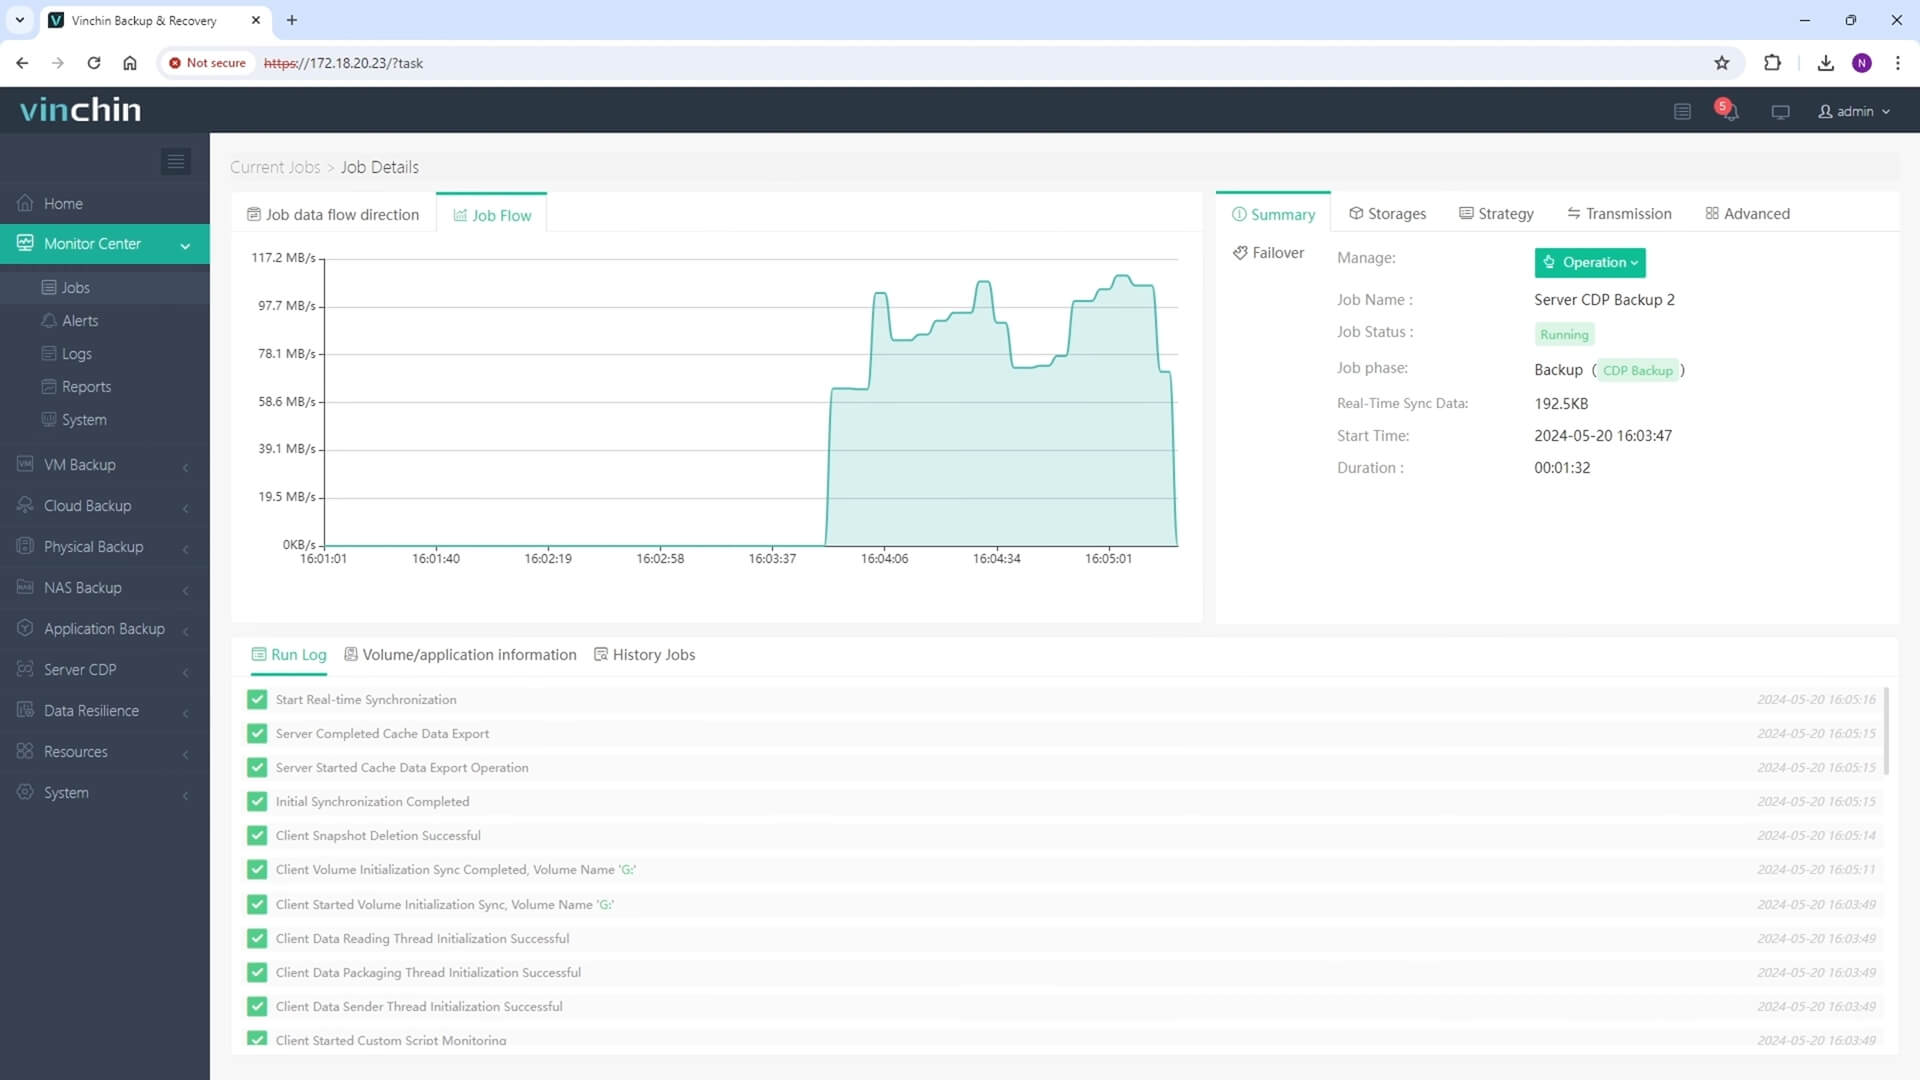
Now the Initial Sync is completed and the job phrase is turned into CDP Backup. It means the CDP real-time synchronization is started.
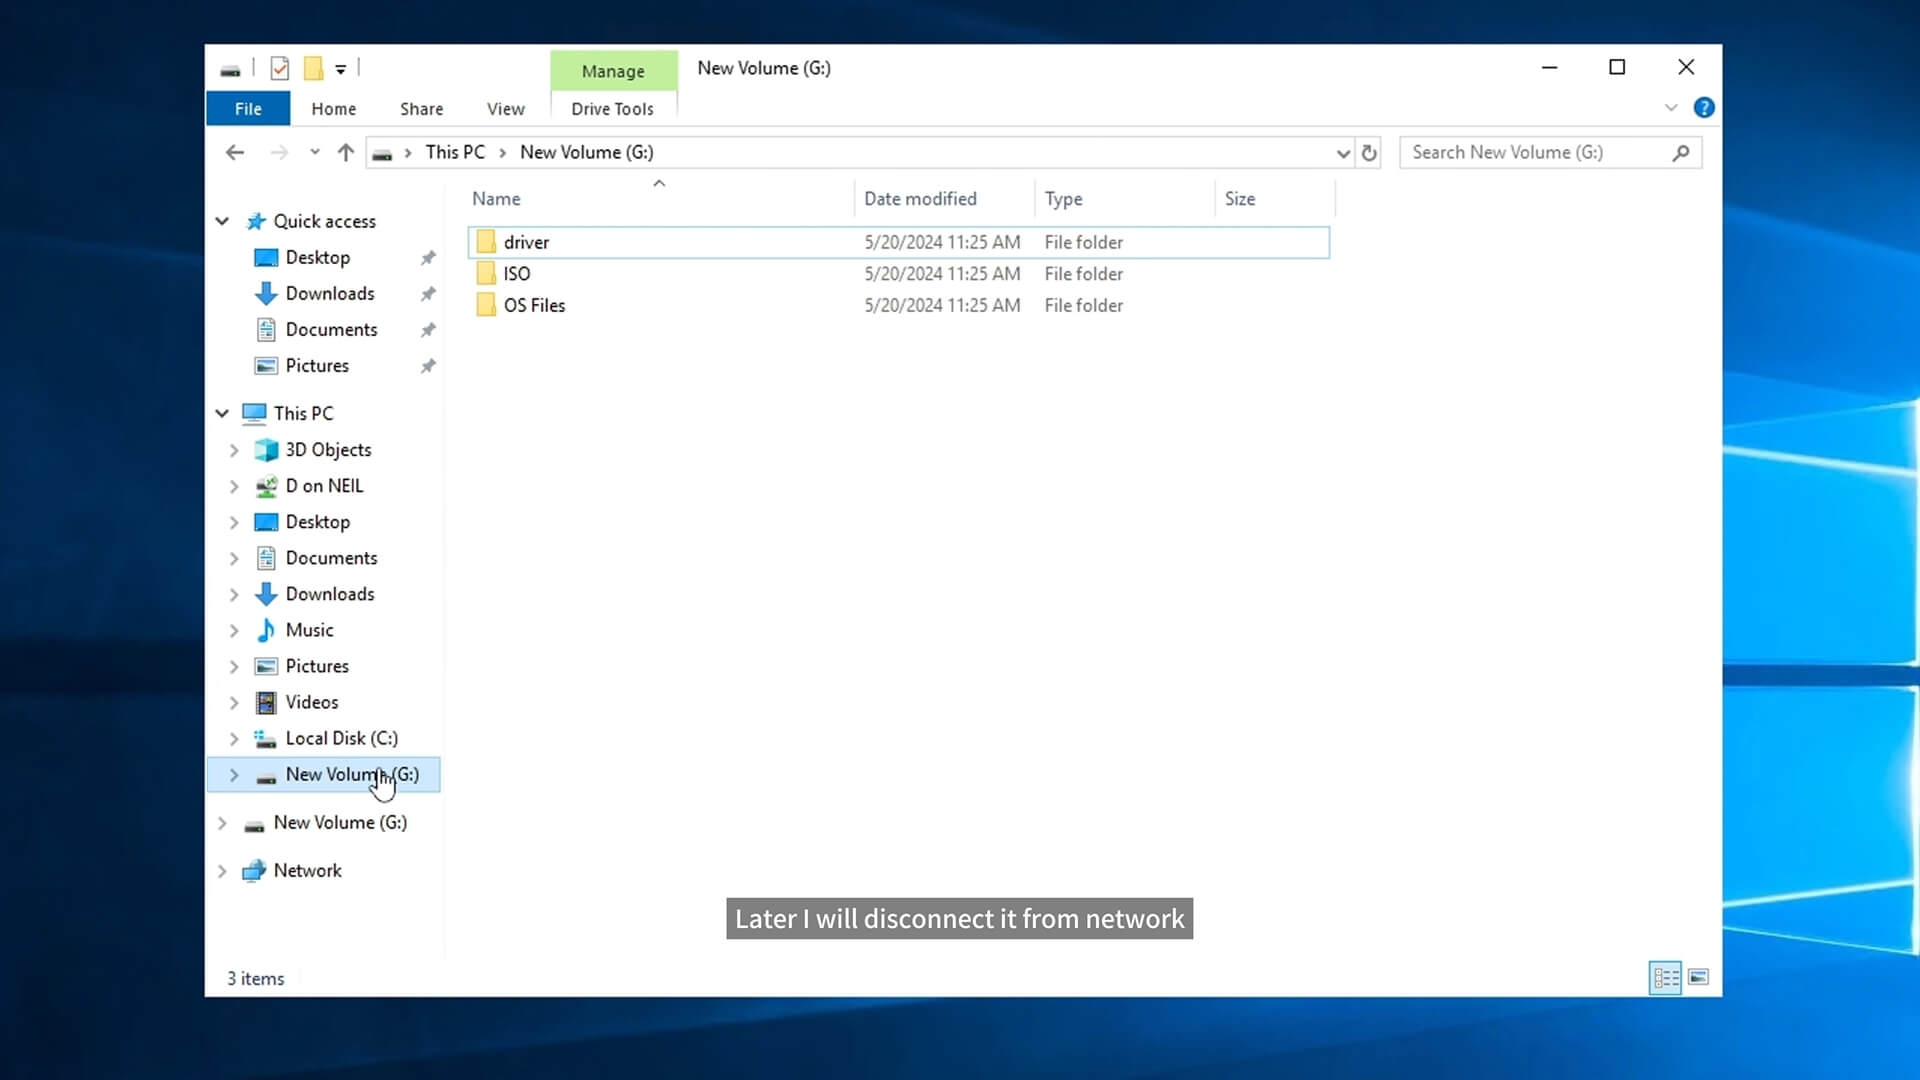
Let’s log in to the source server and view the folders on it. Later I will disconnect it from network to simulate the case when the production machine is offline for network failure.
Here we can see the basic information of this job and Heartbeat Failure Time.
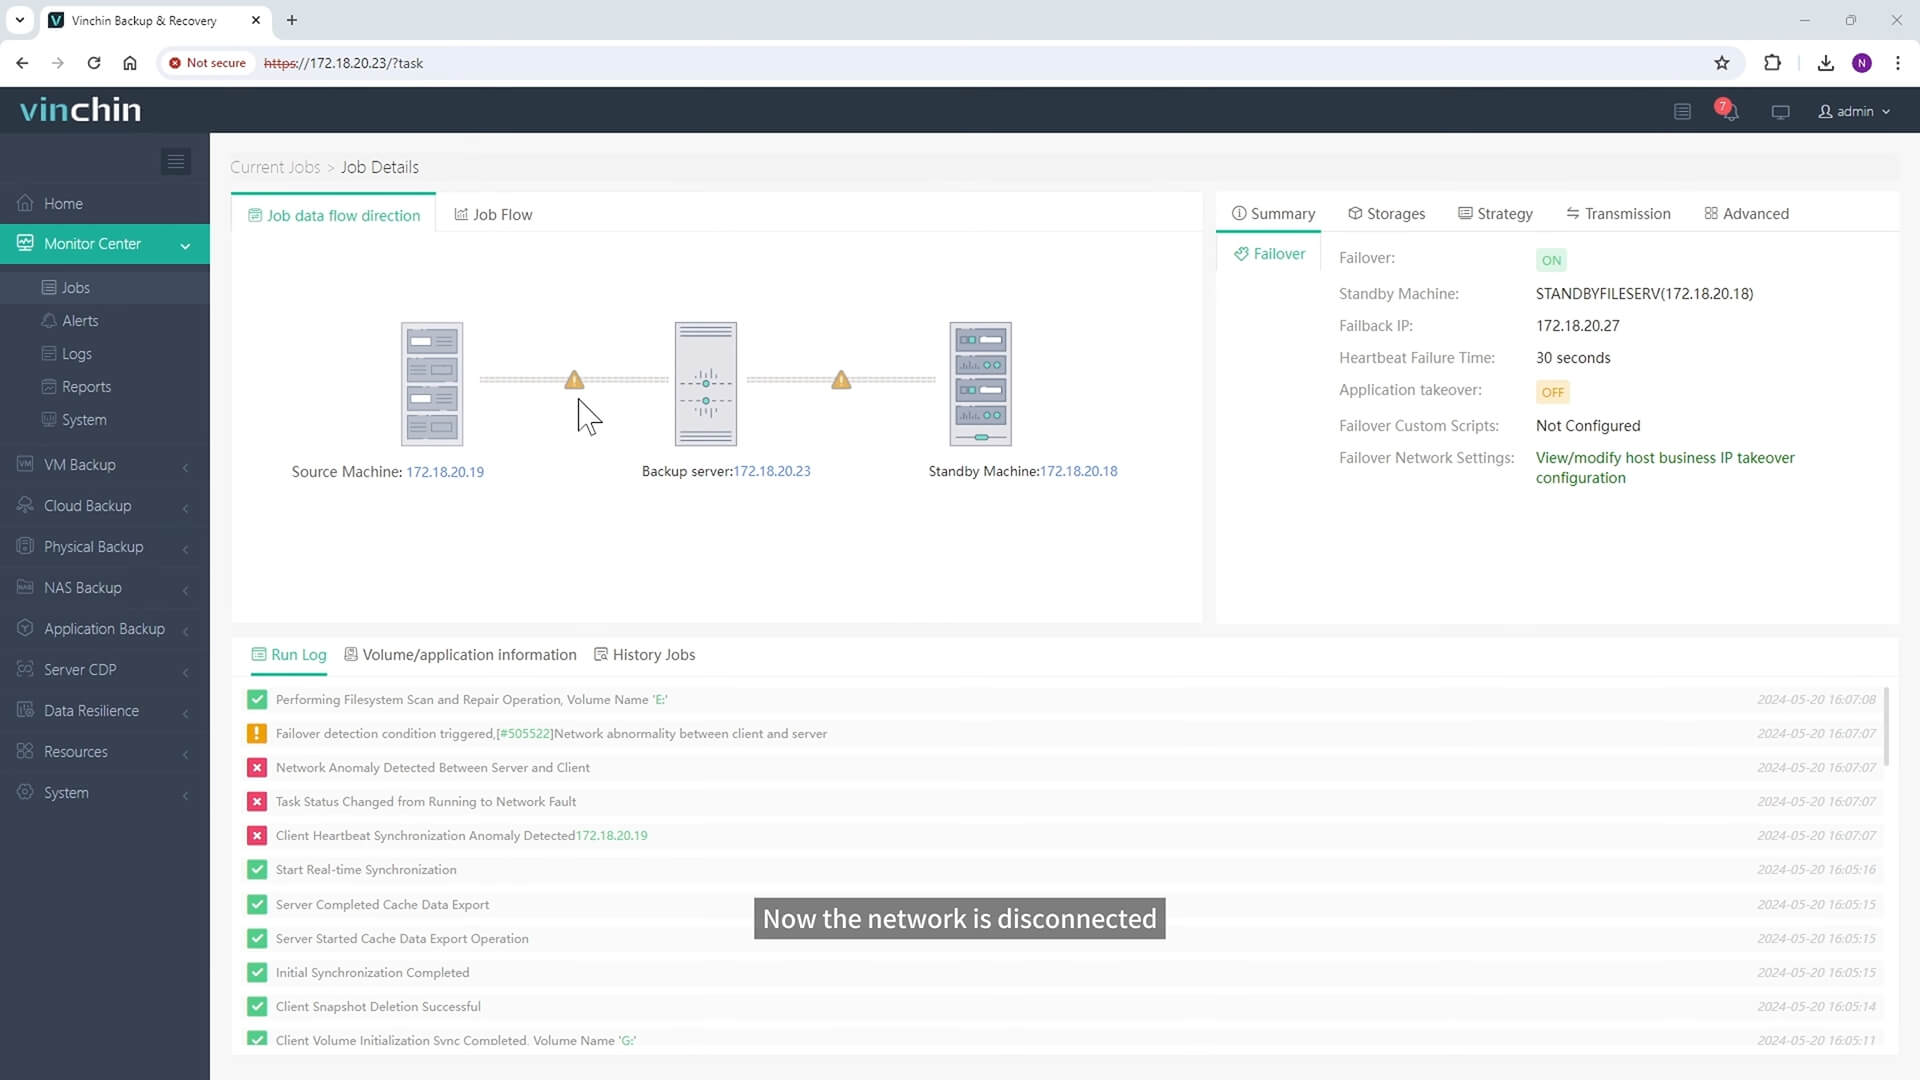
Now the network is disconnected and the task status is changed to Network Fault.
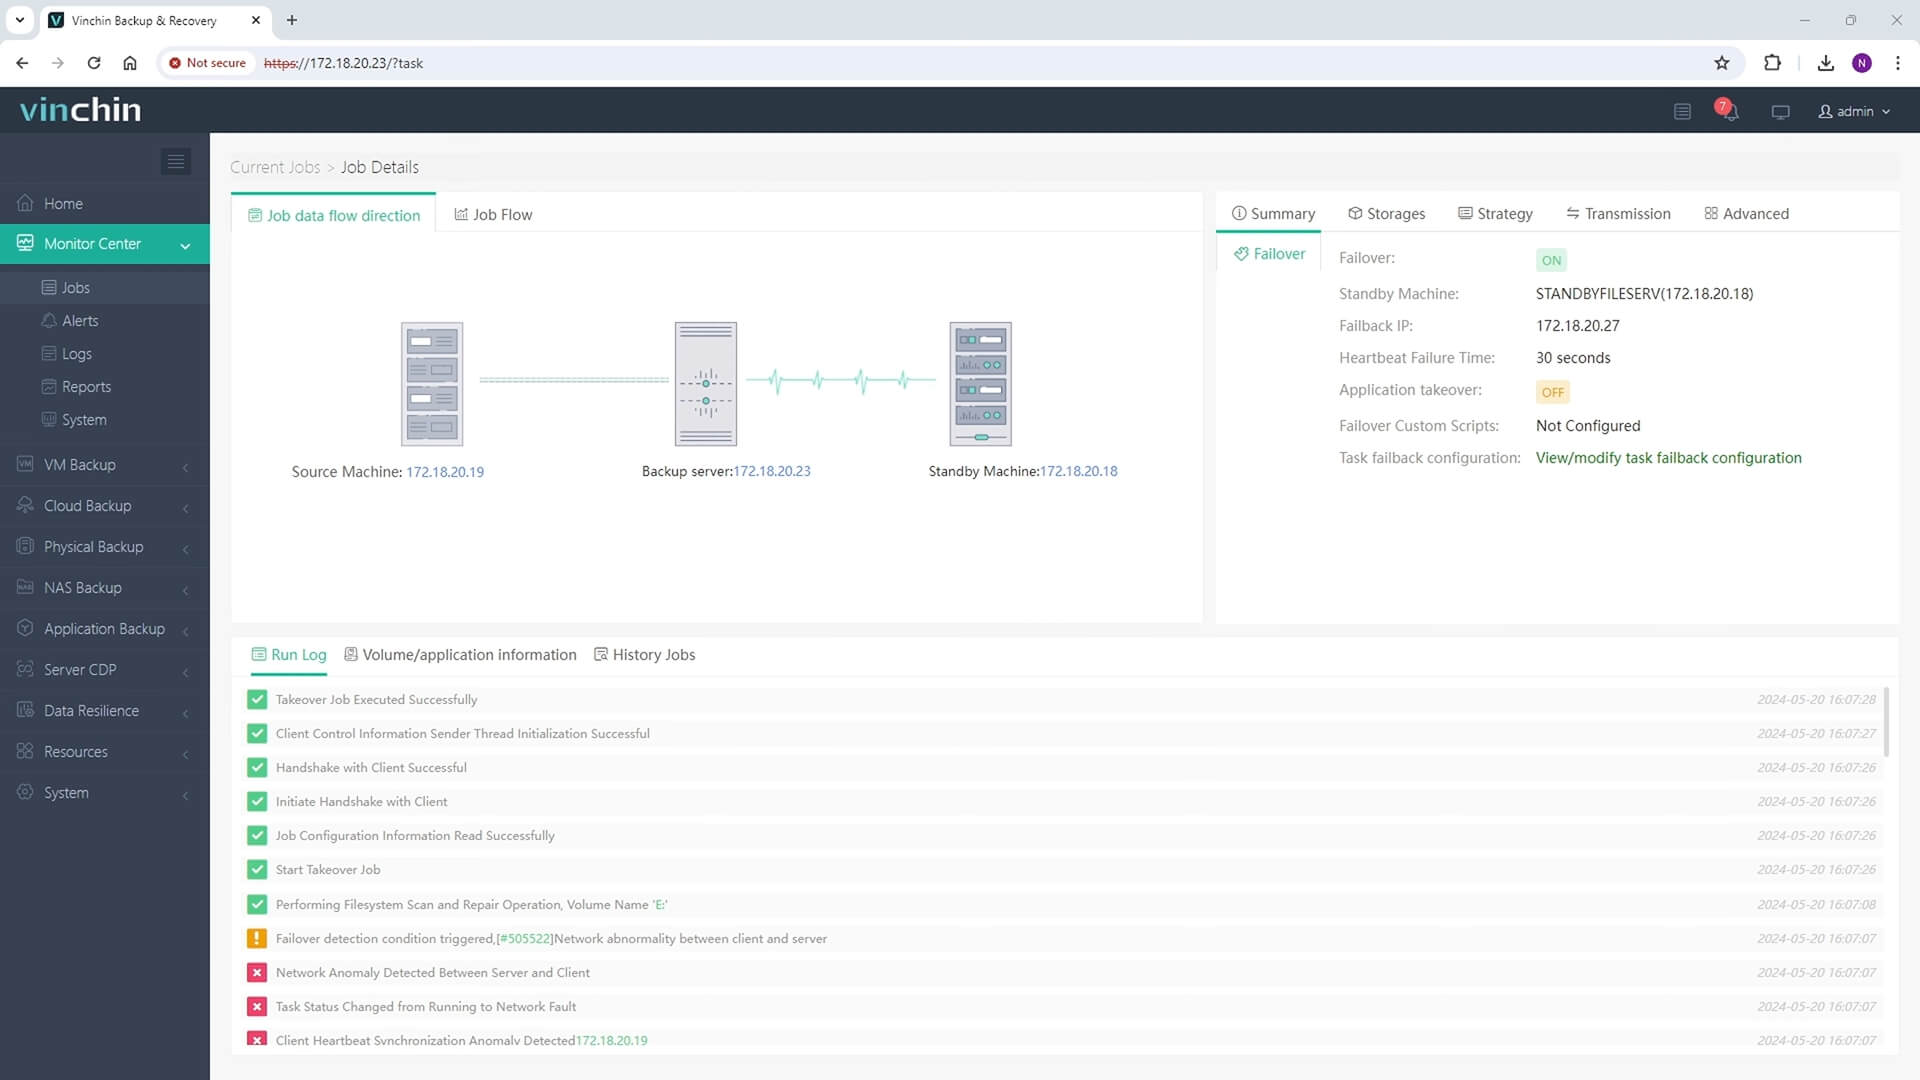
After 30 seconds, CDP backup job will automatically takeover the job and the job data flow direction is changed successfully.
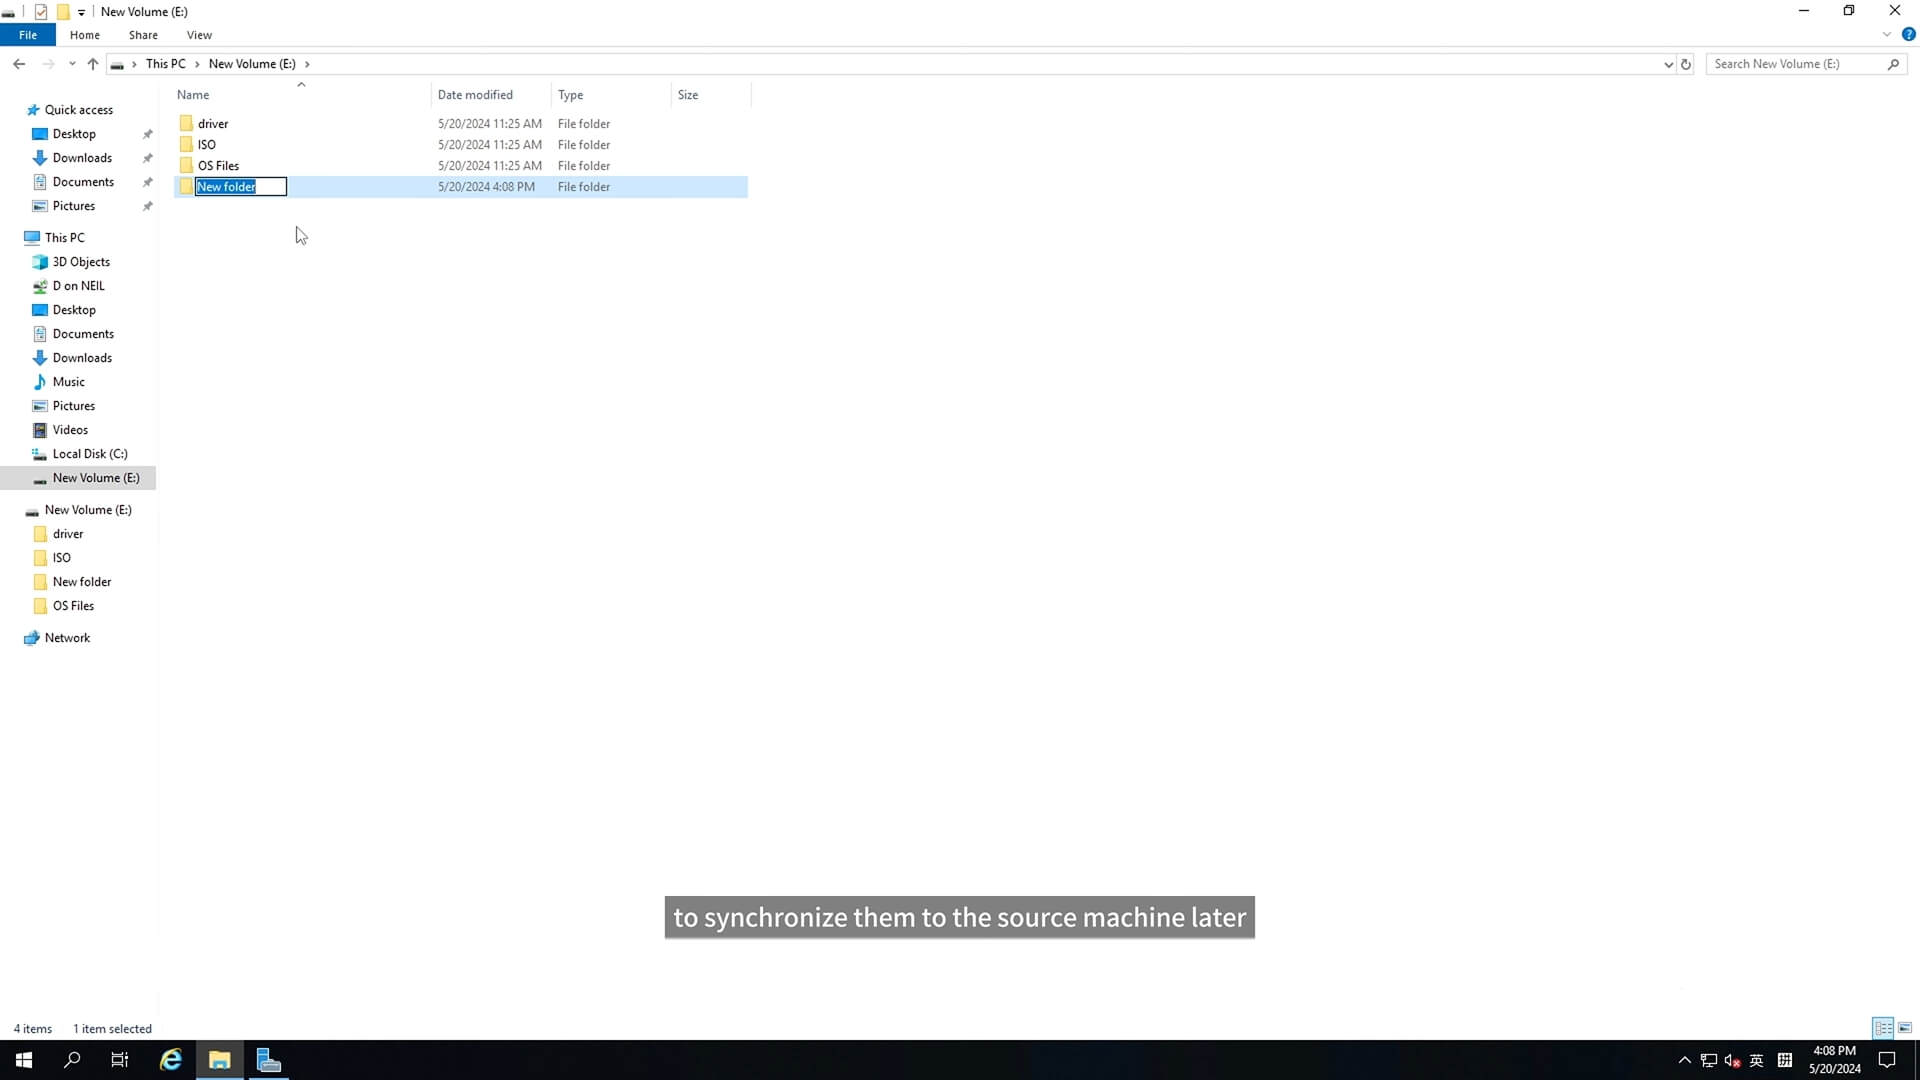
Now let’s take a view of the folders on the standby machine. They are already there. I’m creating some folders here to synchronize them to the source machine later.
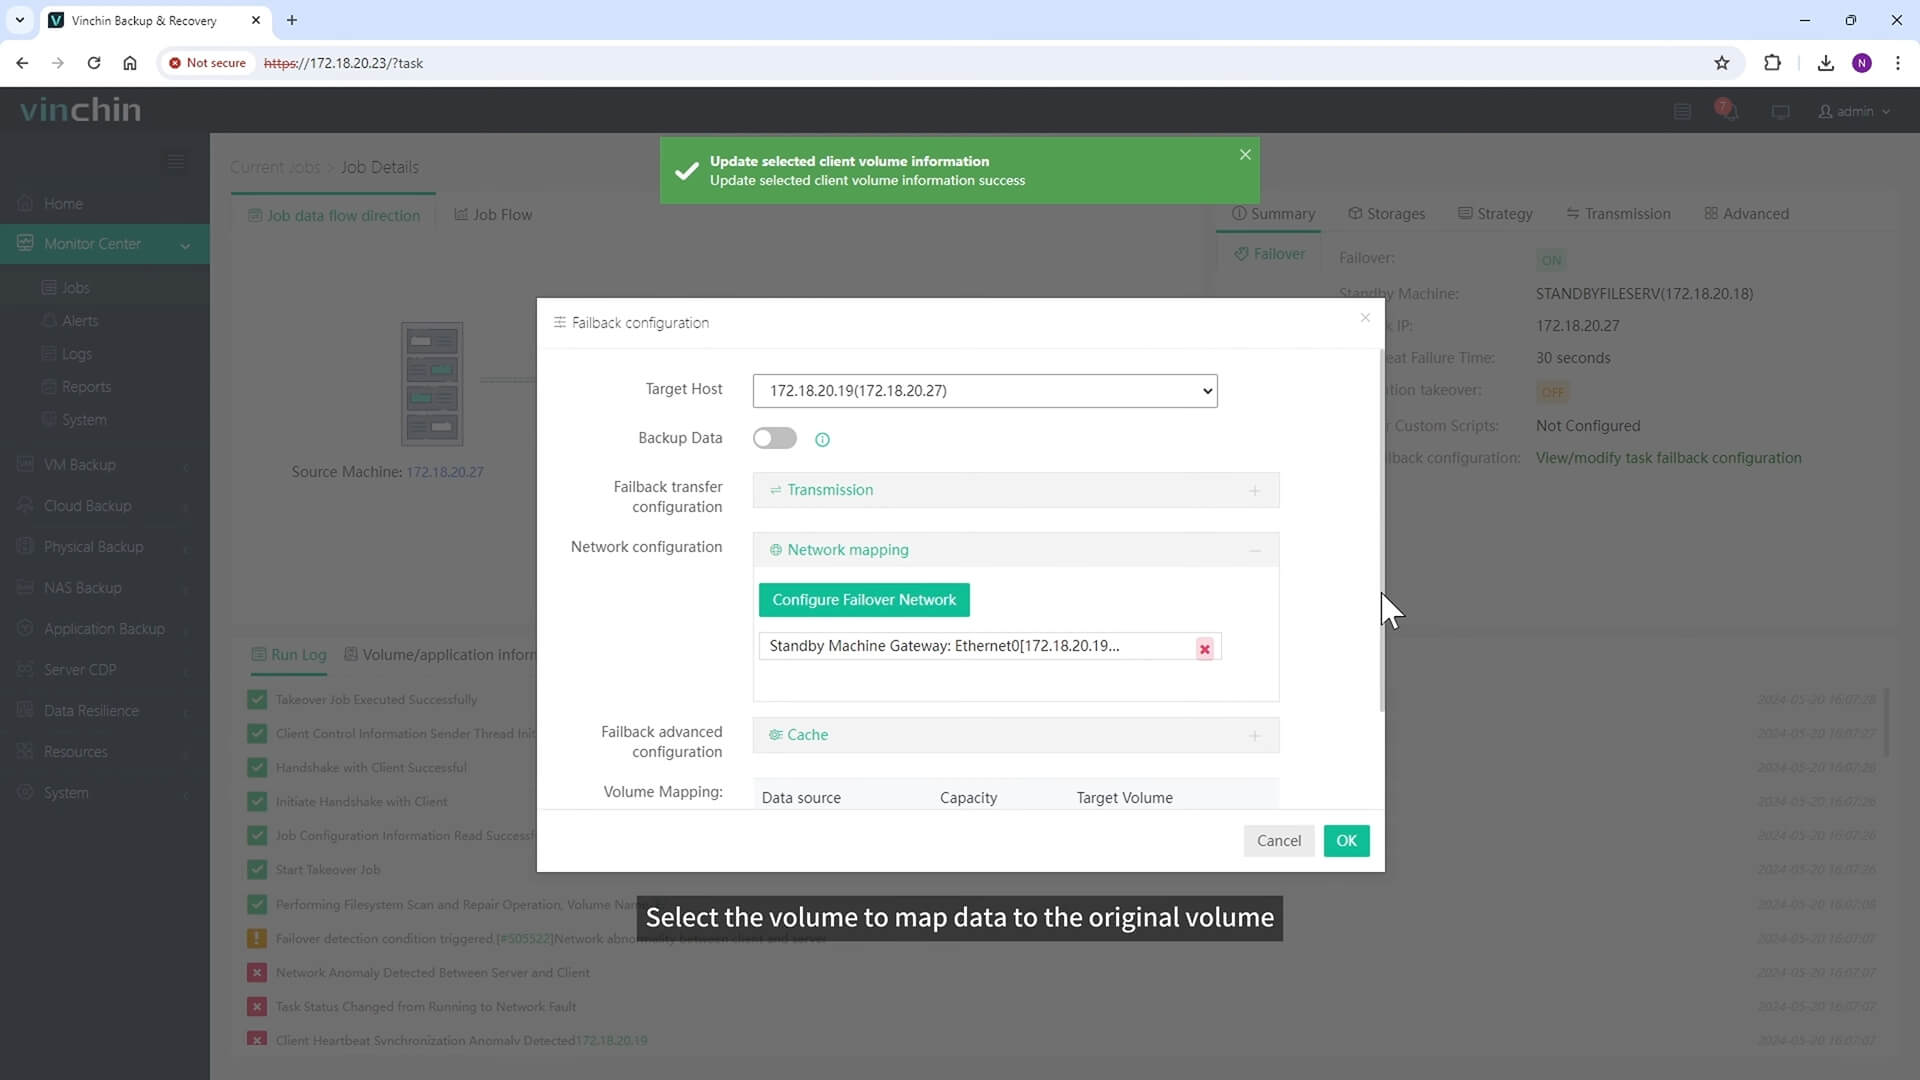
Now I have brought the source server online and will configure the failback job. Click here to modify the failback configuration. Select source server as the target host > select the volume to map data to the original volume.
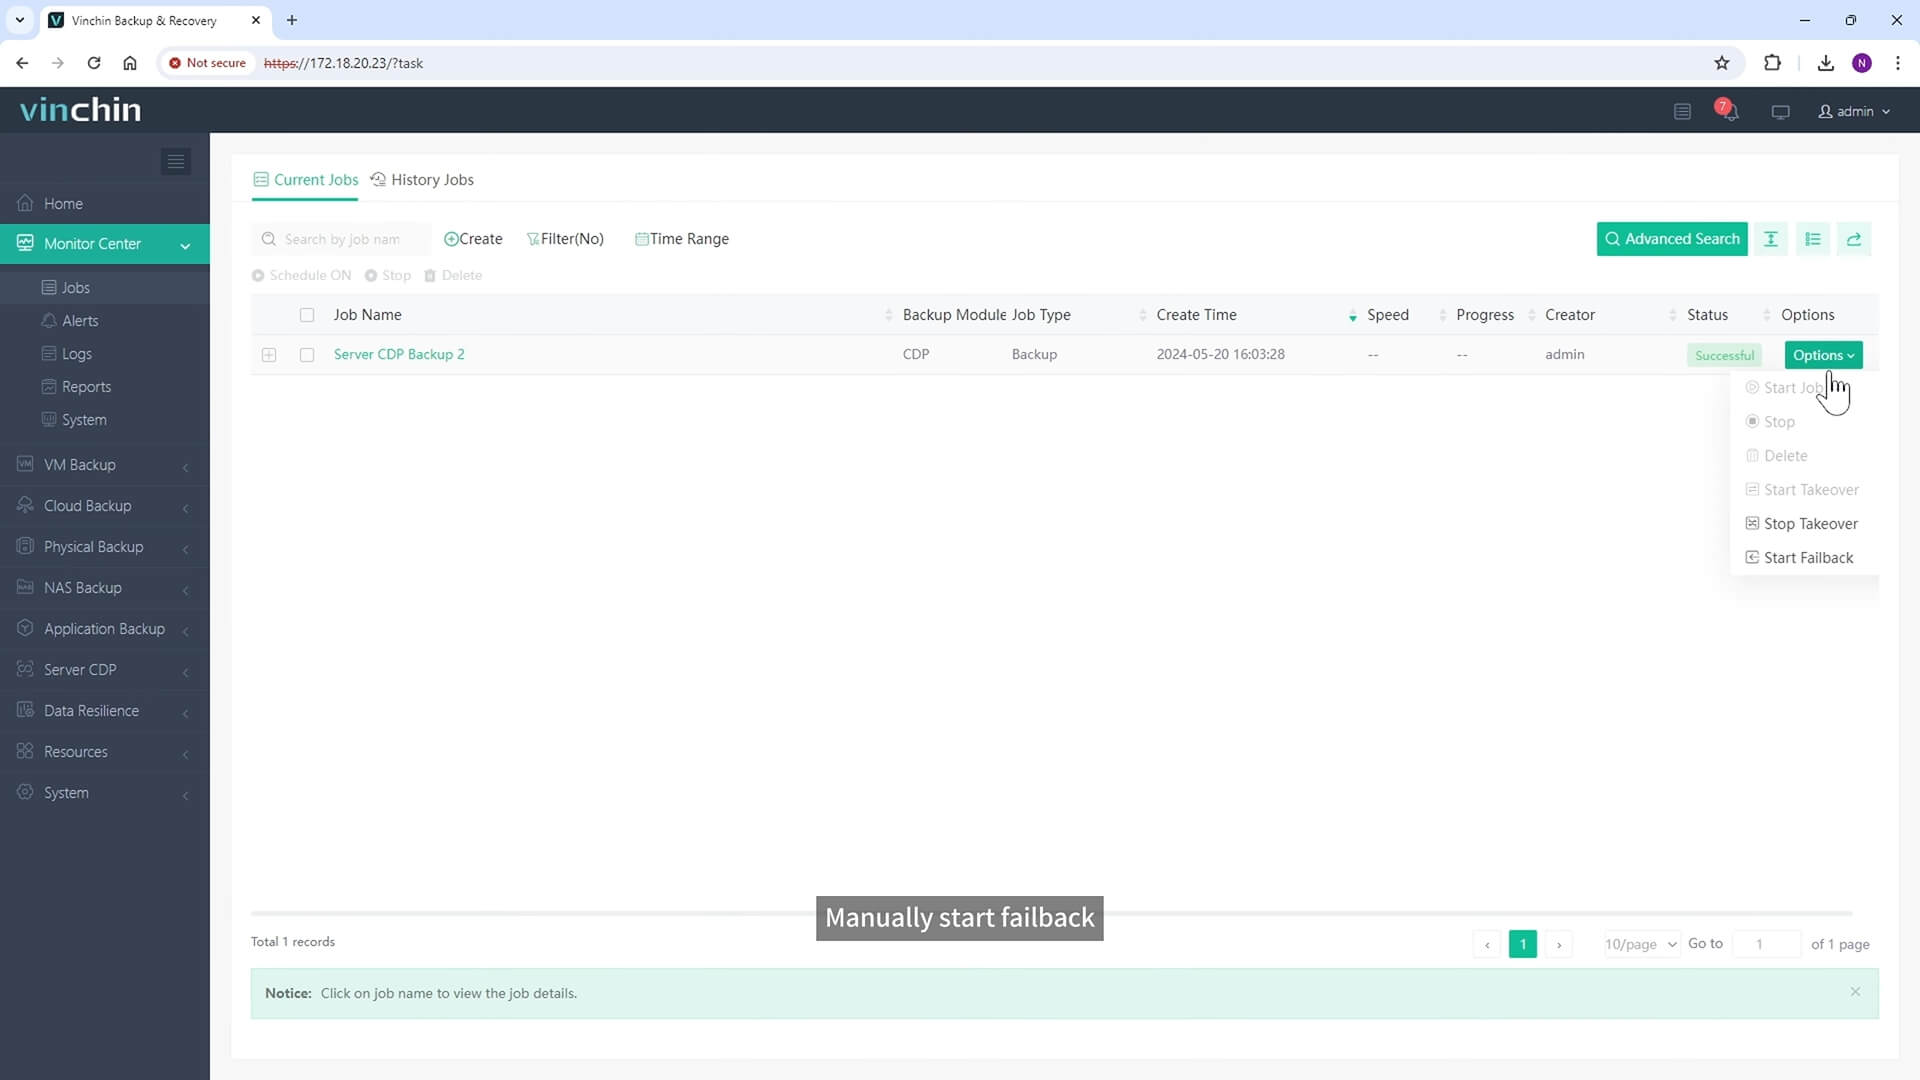
Manually start Failback
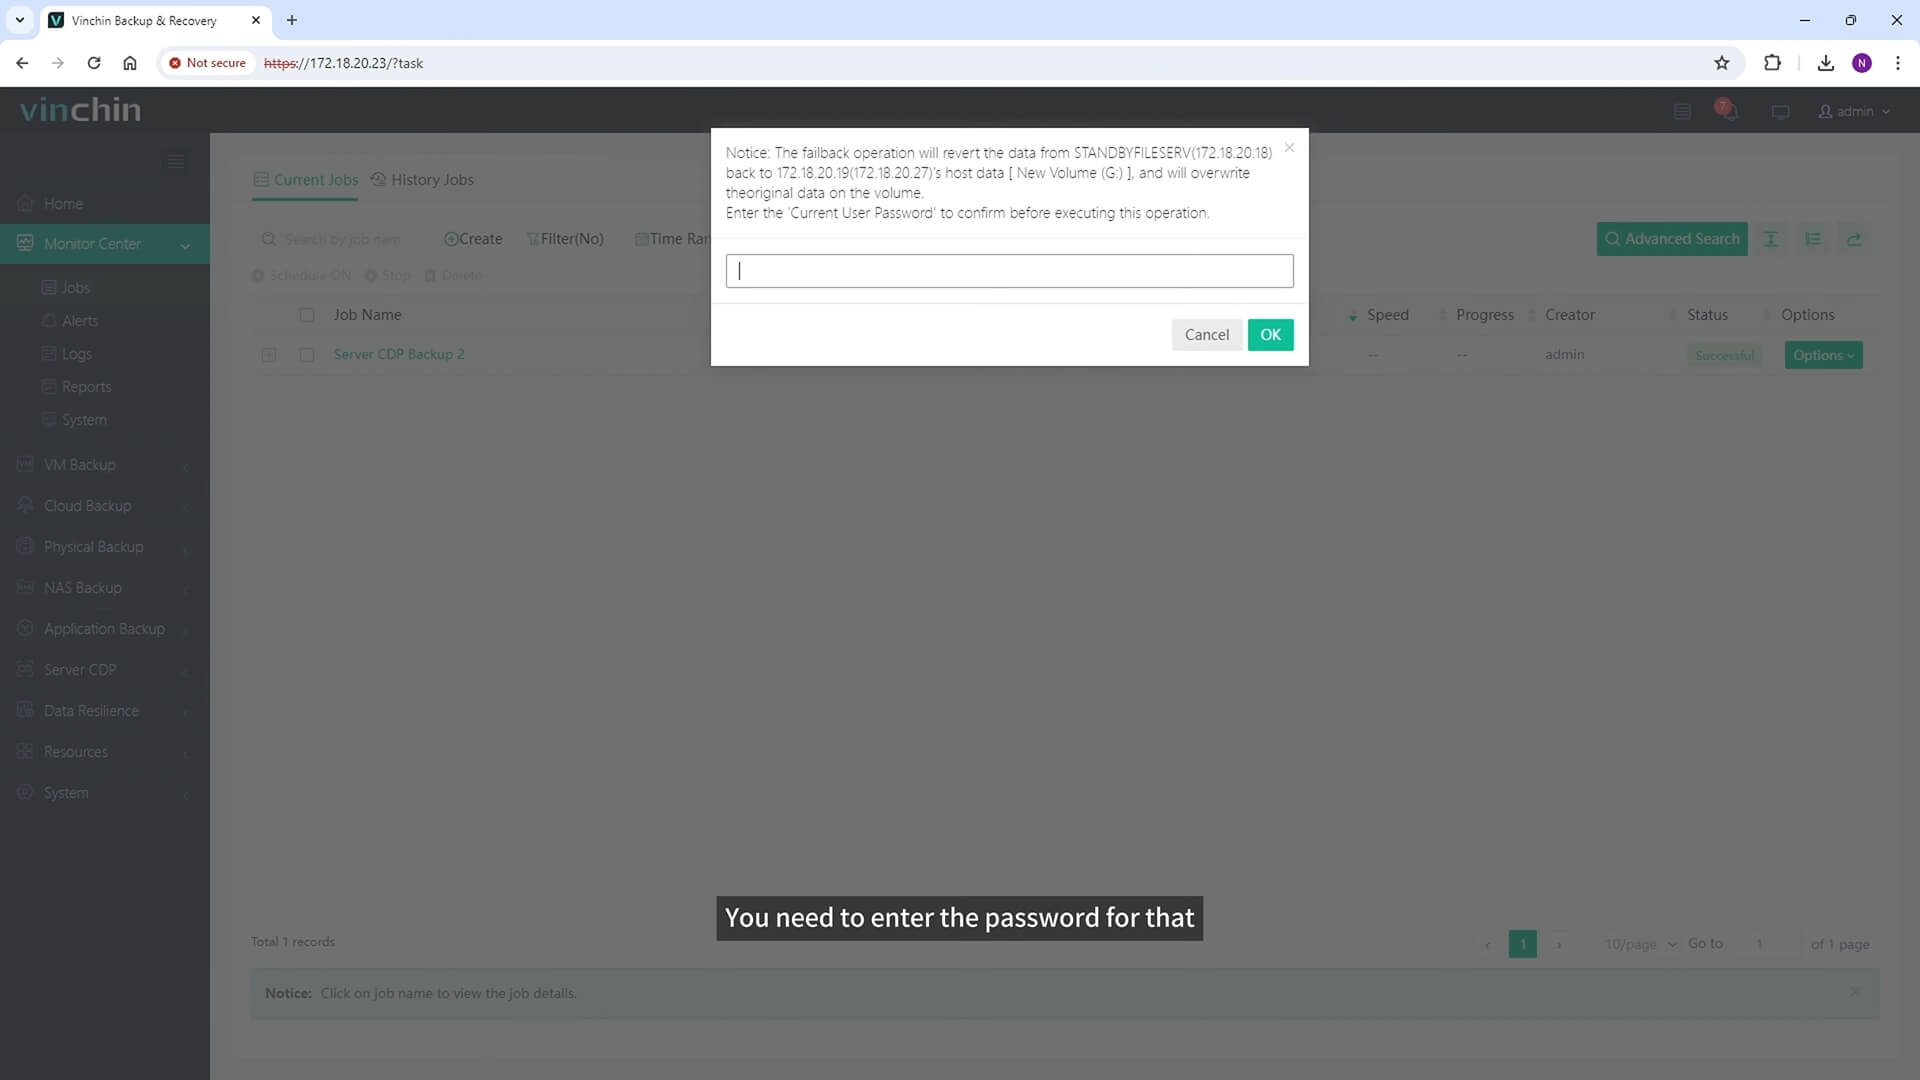
You need to enter the password for that.
Now the data is being synchronized to the original server.
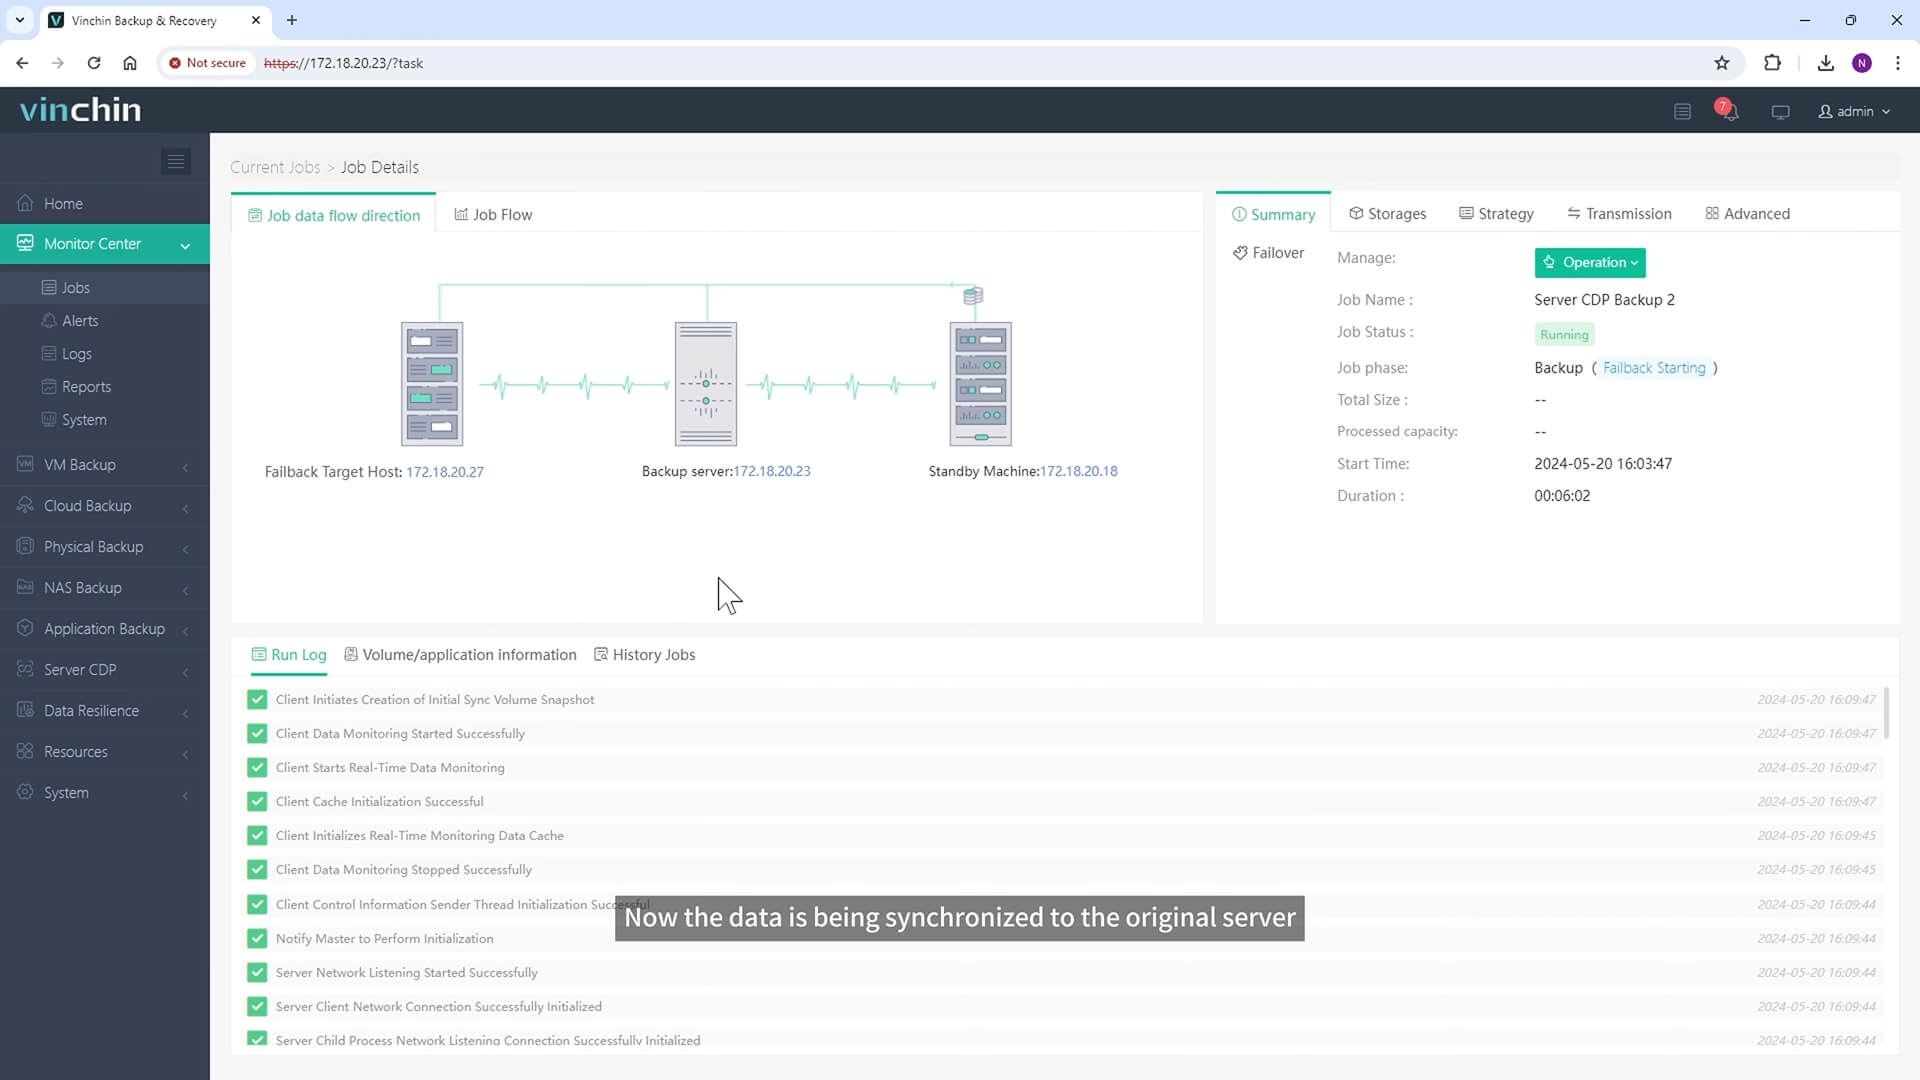
After failback CDP backup job is completed, stop the CDP backup job. It will perform the filesystem scan and repair operation for data volume.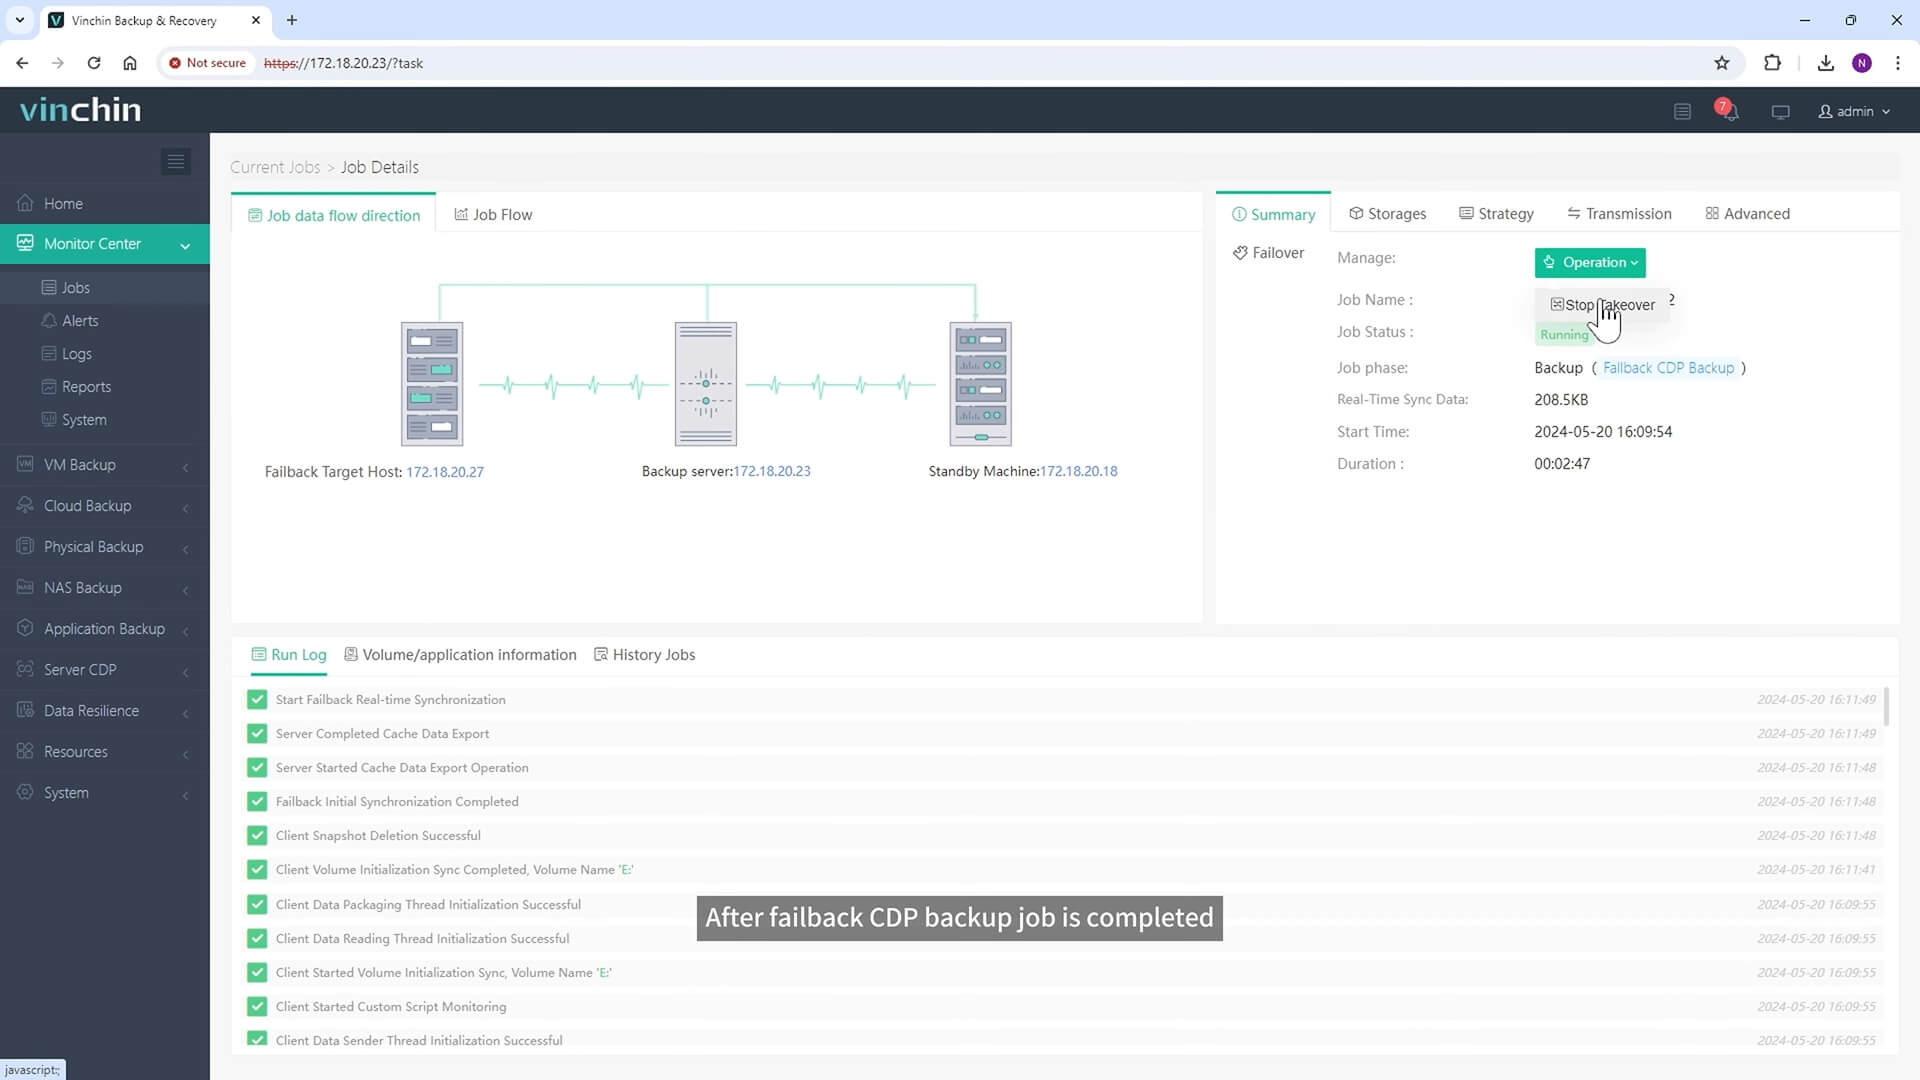
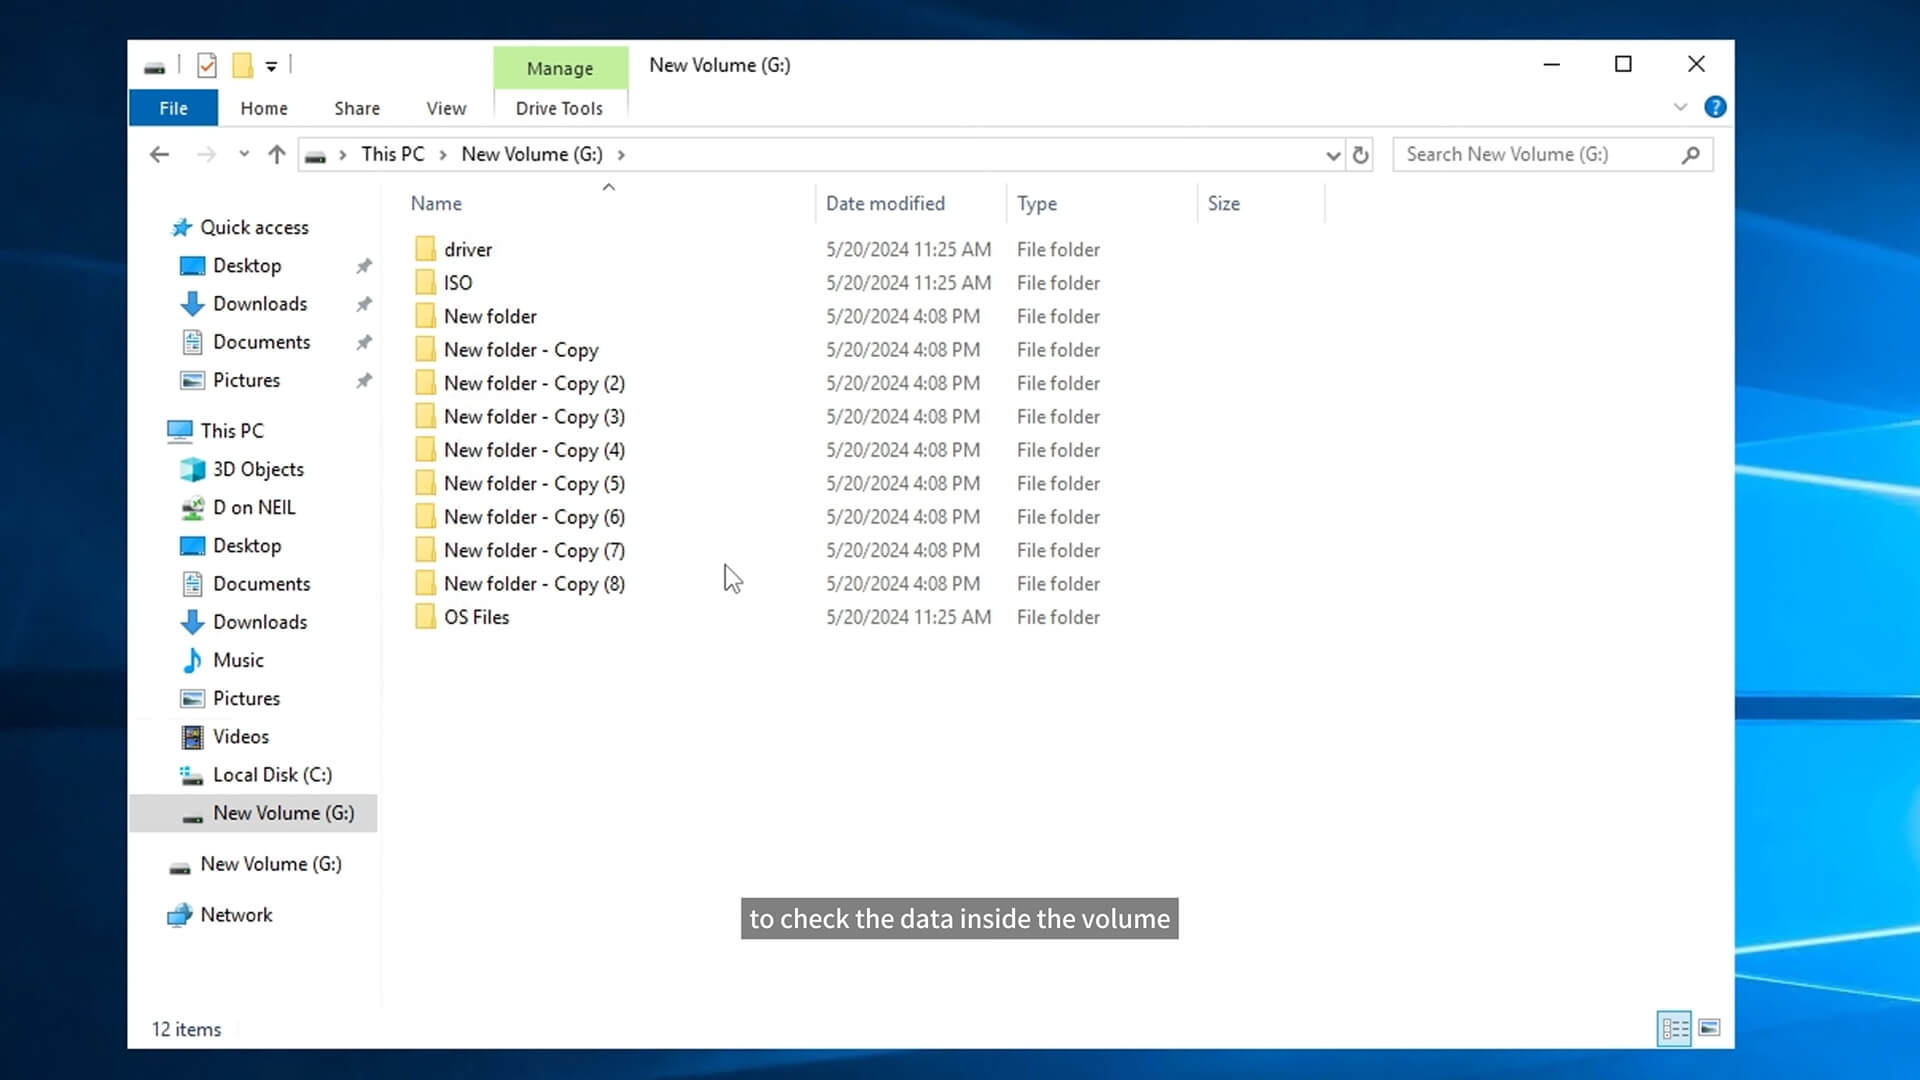
Now the takeover is completed so let's go back to original server to check the data inside the volume. The new folders are synchronized successfully.
Vinchin Backup & Recovery has helped thousands of companies protect workloads and you can also start a 60-day full-eatured free trial to experience its powerful feafures.
Share on:


