Among many virtualization solutions, Microsoft's Hyper-V has won wide recognition and application with its excellent performance, deep integration with Windows Server and rich management functions. Especially when dealing with data sharing requirements between virtual machines, Hyper-V's shared disk function (Shared VHDX) shows its unique advantages and value.
What is Hyper-V Shared VHDX?
In Windows Server 2012 R2, virtual disk files (only .vhdx format) can be shared among multiple virtual machines. Administrators can use these .vhdx files as shared storage for virtual machine failover clusters or guest clusters. For example, shared .vhdx files can be created for data disks and witness disks (but shared .vhdx files should not be used as virtual disk files for operating systems). This change simplifies the deployment of guest cluster configurations. Compared to Virtual Fibre Channel or iSCSI, the configuration of shared .vhdx files is easier to deploy. When configuring virtual machines to use shared .vhdx files, there is no need to change storage configurations, such as zoning and LUN masking, and the underlying storage infrastructure is not exposed to virtual machine users.
Applicable Scenarios for Shared VHDX
Shared virtual disks are ideal for the following scenarios: SQL Server database files, file server services running inside virtual machines, and database files located on shared disks.
In a guest failover cluster, the shared virtual disk must be in the .vhdx format. While the shared virtual disk must use .vhdx file format for data drives, the operating system disk of the virtual machine can use either .vhd or .vhdx file formats.
There are two main deployment methods for Hyper-V guest failover clusters using shared virtual disks. The shared virtual disk of the guest failover cluster can be deployed on:
1) Cluster Shared Volume (CSV) for block storage (including Storage Spaces in the cluster).
2) File-based storage in an SMB 3.0 scale-out file server.
Hyper-V guest failover clusters can be configured and deployed using Hyper-V Manager, Failover Cluster Manager, and Windows PowerShell.
Conditions to Configure a Shared VHDX
To deploy a guest cluster using a shared VHDX, the following conditions must be met:
1) Two Windows Server 2012 R2 or Hyper-V Server 2012 R2 cluster nodes with Hyper-V installed.
2) The servers must belong to the same Active Directory domain.
3) The configured shared storage resources must be available—such as block storage CSV (e.g., Storage Spaces in the cluster) or SMB 3.0 scale-out file server cluster (running Windows Server 2012 R2) with file-based storage.
4) The failover cluster must have sufficient memory, disk, and processor capacity to support multiple virtual machines required for the guest failover cluster.
Steps to Configure a Shared VHDX
This experiment demonstrates how to designate a virtual hard disk (.vhdx file) as shared storage for multiple virtual machines configured as a guest failover cluster.
1. First, configure the Hyper-V failover cluster and use Cluster Shared Volume (CSV) on block storage. If the administrator wants to store all virtual machine files on a scale-out file server, shared block storage on the Hyper-V cluster is not required.
2. Open the Failover Cluster Manager, right-click Roles, and select New Virtual Machine.
3. Select a Hyper-V failover cluster node and create two or more virtual machines.
4. Specify the name and storage location for the virtual machines, choose CSV, and click Next.
5. Specify the virtual machine generation, choose Generation 2, and click Next.
6. Allocate memory for the virtual machine and click Next.
7. Specify the virtual machine network and click Next.
8. On the Connect Virtual Hard Disk page, create a virtual hard disk or use an existing virtual hard disk residing on shared storage. (If using an existing virtual hard disk, the guest operating system must be Windows Server 2012 or Windows Server 2012 R2.) In the "Location" box, specify the CSV path or SMB file share path.
9. On the Summary page, confirm that all settings are correct and click Finish, then wait for the virtual machine creation to complete.
10. Wait for the virtual machine high availability configuration to complete.
11. Click View Report, confirm that there are no errors, then click Finish.
12. Return to Failover Cluster Manager, check the created virtual machines, and join both virtual machines to the same domain.
13. Right-click the created virtual machine and select Settings.
14. On the Virtual Machine Settings page, click SCSI Controller, then click "Add" disk controller. Click "New" to open the virtual hard disk creation wizard.
15. On the Disk Type page, choose Fixed Size or Dynamically Expanding. Shared virtual hard disks do not support differencing disks.
16. Specify the name and location of the virtual hard disk file. Shared virtual hard disks do not support the .vhd format.
17. Create an empty virtual disk.
18. Since the virtual machine is currently running, do not click Apply. If "Apply" is clicked on a running virtual machine, the virtual machine must be stopped, or the virtual hard disk must be removed and added again without clicking "Apply."
19. Expand the created virtual hard disk, click Advanced Features, and check "Enable Virtual Hard Disk Sharing." If the checkbox is grayed out:
1) Remove the virtual hard disk and then re-add it to the running virtual machine. If doing so, be sure not to click "Apply" in the new virtual hard disk wizard, but instead, configure sharing in "Advanced Features" immediately.
2) Stop the virtual machine and then check the "Enable Virtual Hard Disk Sharing" checkbox.
Click Apply and then OK.
20. Configure another virtual machine, click SCSI Controller, and select "Add" disk drive. Click Browse and select the created shared virtual hard disk file.
21. Click Advanced Features and select "Enable Virtual Hard Disk Sharing."
22. Log in to the virtual machines "BJ-Server-02" and "BJ-Server-03," open Disk Manager, and choose to bring the disk online, initialize it, and create a new volume.
23. At this point, the shared virtual disk can be used to create a guest cluster, enabling high availability for both virtual machines and the applications running on them.
Professional Hyper-V Protection Solution
Vinchin Backup & Recovery is designed to provide comprehensive data protection and disaster recovery for virtualized environments, including those using Microsoft Hyper-V. It is developed to address the needs of businesses looking for reliable and efficient ways to backup and restore their virtual machines in the event of data loss, system failures, or other catastrophic events.
It also supports VMware vSphere, XenServer, XCP-ng, oVirt, RHV, OpenStack, Proxmox, etc. and database, NAS, file server, Linux & Windows Server, etc. Tailored for virtual environments, Vinchin offers automated backups, agentless backup, LAN/LAN-Free options, offsite copying, data deduplication, and cloud archiving. With data encryption and ransomware protection, it provides dual insurance for Hyper-V VM backups and supports easy migration between Hyper-V and other platforms.
It only takes 4 steps to backup Hyper-V VMs with Vinchin Backup & Recovery:
1. Select the backup object.

2. Select backup destination.

3. Configure backup strategies.

4. Review and submit the job.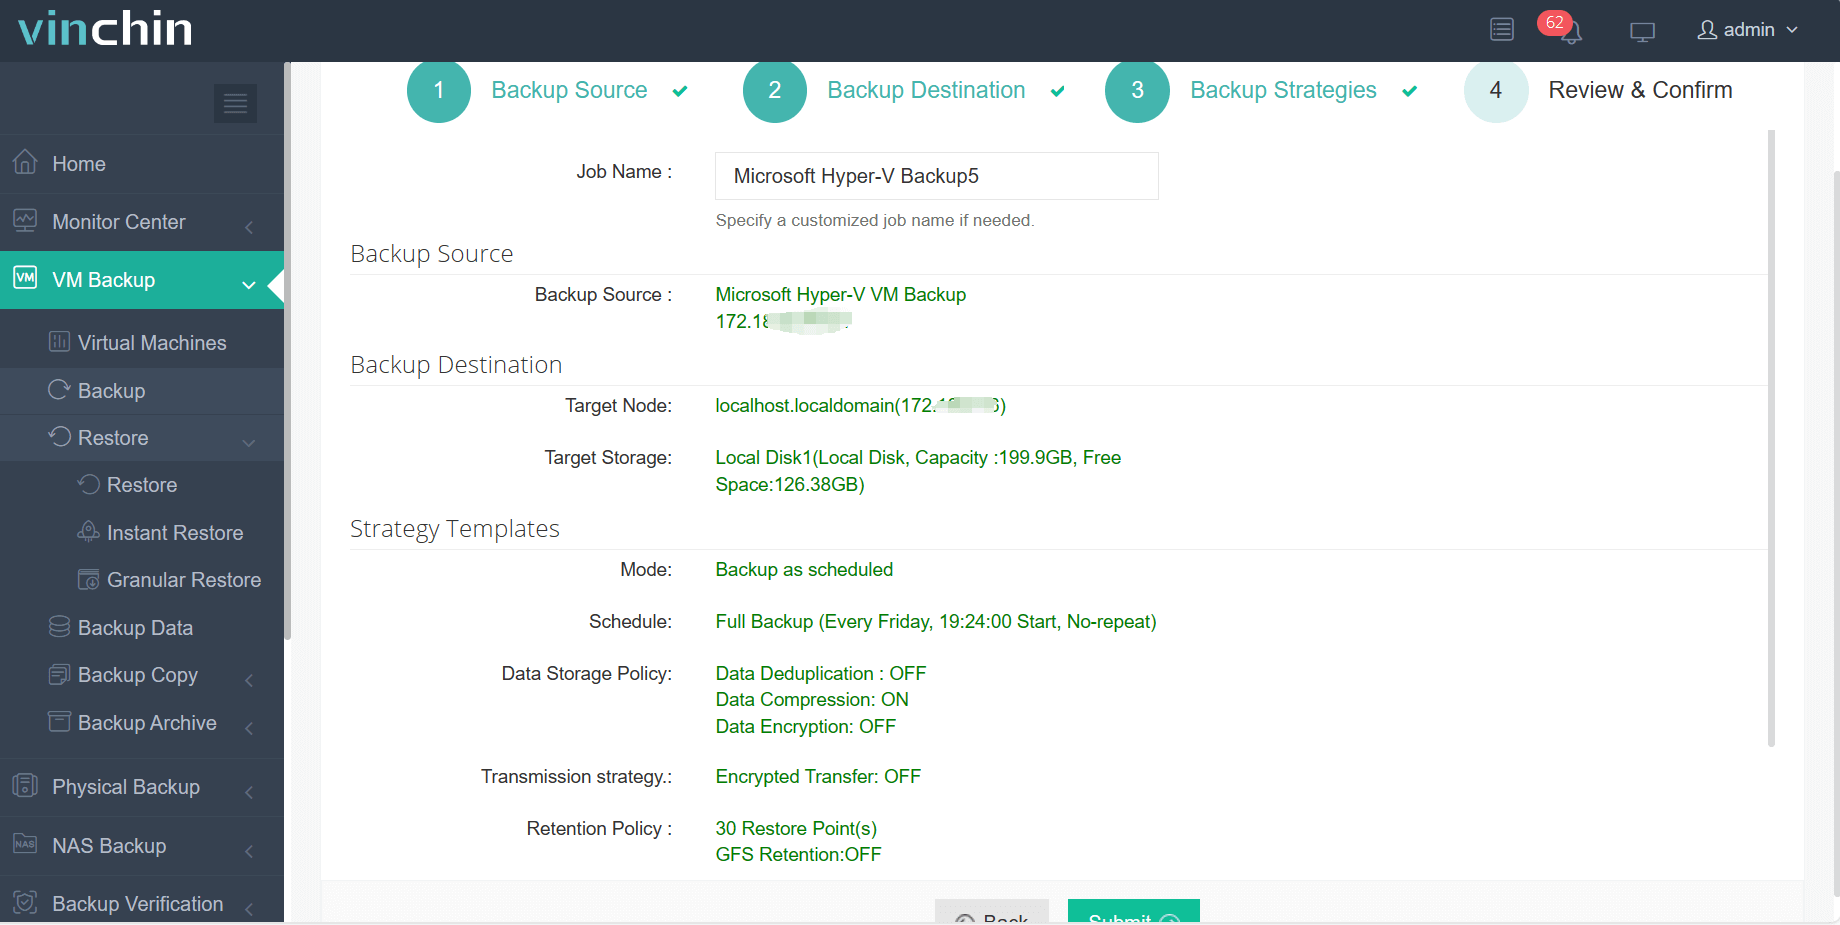
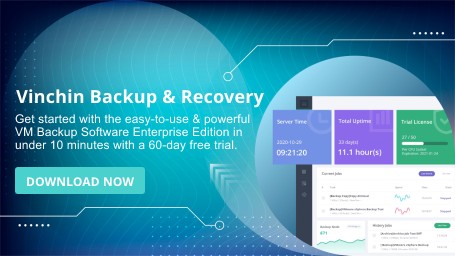
Come on and experience the full capabilities of this robust system with a complimentary 60-day trial! Contact us with your requirements, and you will receive a tailored solution for your IT landscape.
Hyper-V Shared VHDX FAQs
1. What are the limitations of Shared VHDX?
Cannot be backed up using traditional VM-level backup solutions.
Live migration is limited; VMs using Shared VHDX must be moved together.
No Hyper-V Replica support; it cannot be replicated to another host.
Cannot be resized dynamically while in use.
2. What is the difference between VHD and VHDX?
VHDX is an improved version of VHD, supporting up to 64TB, better performance, resilience against corruption, and advanced features like Trim and 4K sector alignment.
Conclusion
Shared VHDX provides a streamlined solution for guest failover clustering by enabling multiple virtual machines to access the same virtual disk file. Compared to traditional methods like virtual Fibre Channel or iSCSI, shared VHDX is easier to configure and does not require complex storage zoning or LUN masking.