


You will learn how to backup and restore Sangfor VM with Vinchin Backup & Recovery in 8 steps here. Vinchin supports Sangfor on both Windows server core and Windows server with desktop experience.
First, let's open a browser and log in Vinchin Backup server web console. Go to VM Backup > Backup page.
Step 1. Select Backup Source

Here you can click a Sangfor host and select the VM to backup. For multiple VMs on the host, you can select a group of VMs to backup to add them to the list on the right. After adding the VMs which you want to backup, click Next.
Step 2. Select Backup Destination

Select the Target Node and then select the Target Storage for the VM backup. Click Next.
Step 3. Select Backup Strategies
In Schedule, you can choose Backup as scheduled or Once-off backup. Backup as scheduled will automatically backup the selected VMs at a specific time, and Once-off backup will backup the VMs only once.

For Scheduled backup job, you can schedule Full Backup with Incremental Backup combination, Full Backup with Differential backup combination. After that, you can select to trigger the backup job daily, weekly, or monthly at a specific time.
In Data Storage Policy, you can enable Data Deduplication and Data Compression to reduce the size of backup files.
In Retention Policy, Vinchin allows you to retain backup files by the Number of Restore Points or the Number of Days.
By enabling GFS Retention, you can activate the advanced GFS Retention for your VM backups to apply long-term retention policy of some specific full restore points.
In Transmission Strategy, you can encrypt the backup data for secure data transfer.
After configuring all the backup strategies, click Next.
Step 4. Give a name to the job, review the details of the job, and submit it.

You will be redirected to the Jobs page of Monitor Center. The created backup job will be listed here and you can start job manually, then click job name to monitor the job in real time.
VM restore is also easy. Now, let's go to VM Backup > Restore page
Step 1. Select Restore Point

In the list, you can see all the available restore points. Just select the Sangfor restore point you want to restore, input a name for the job, and click OK.
Step 2. Select Restore Destination
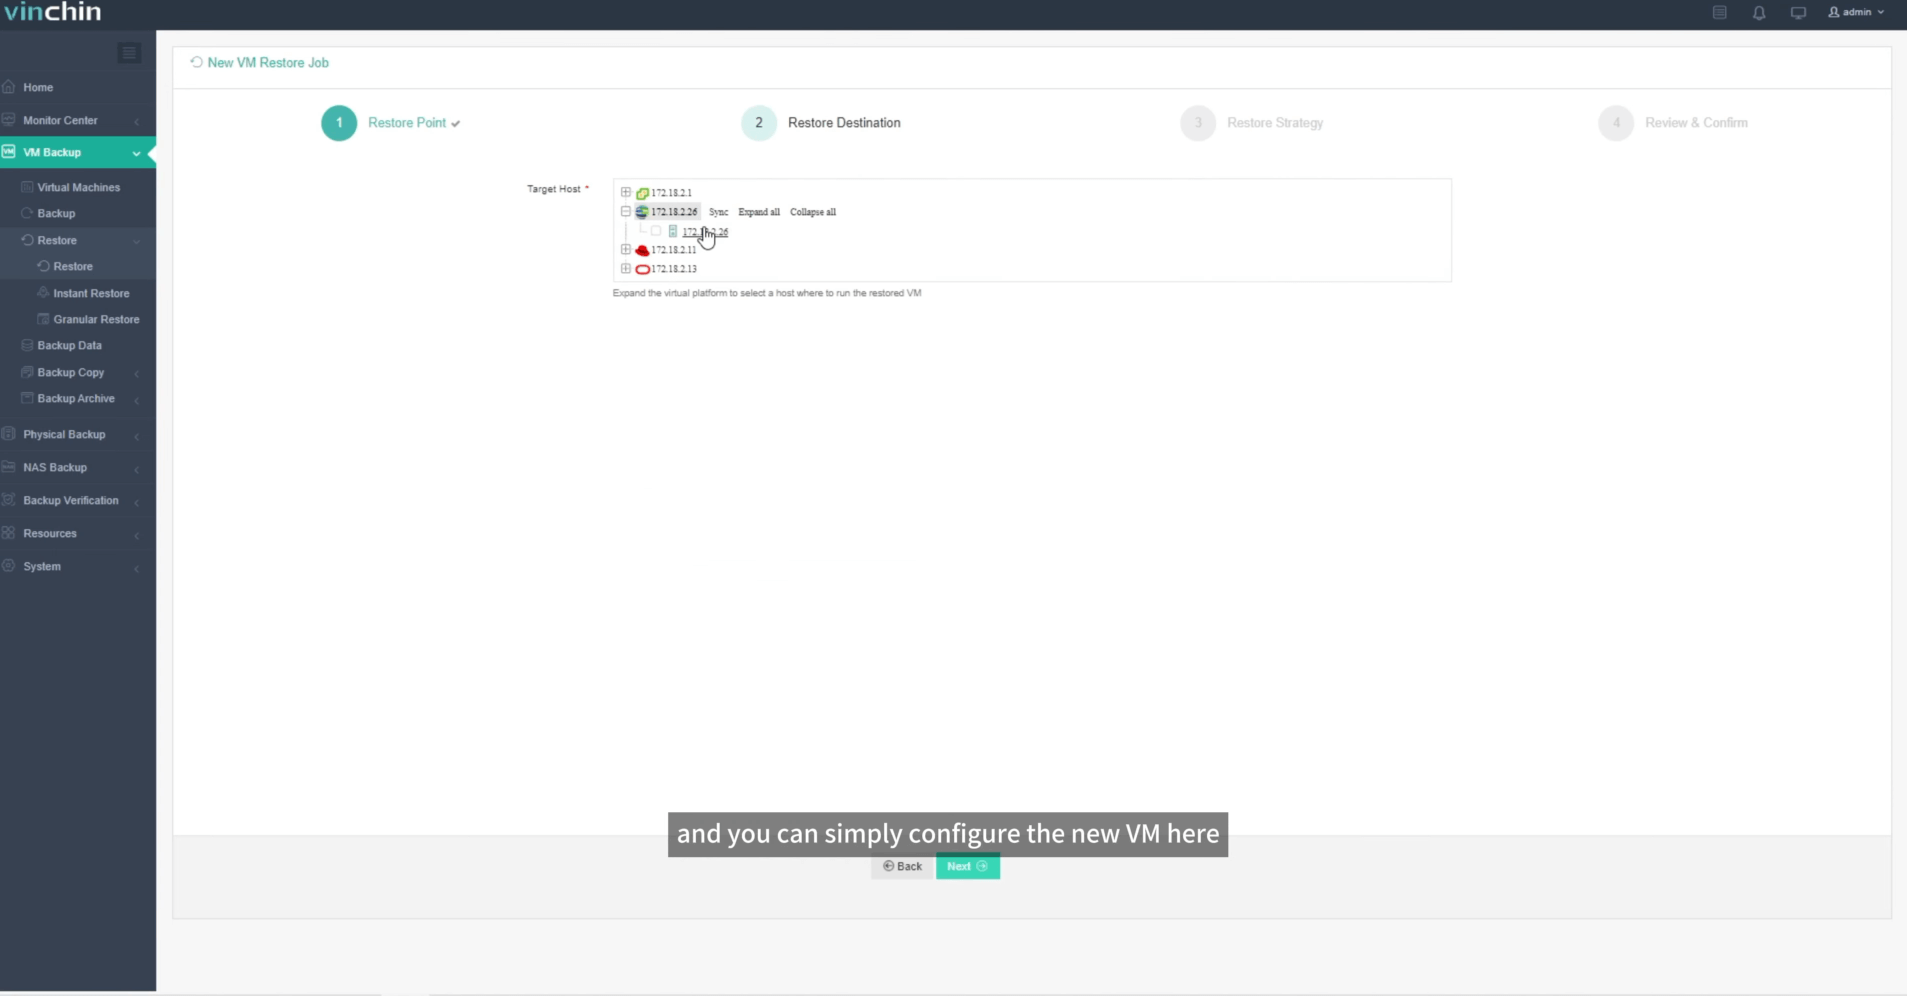
Select the Target Node and then select the Target Storage for the VM restore. Click Next.
Step 3. Select Restore Strategies
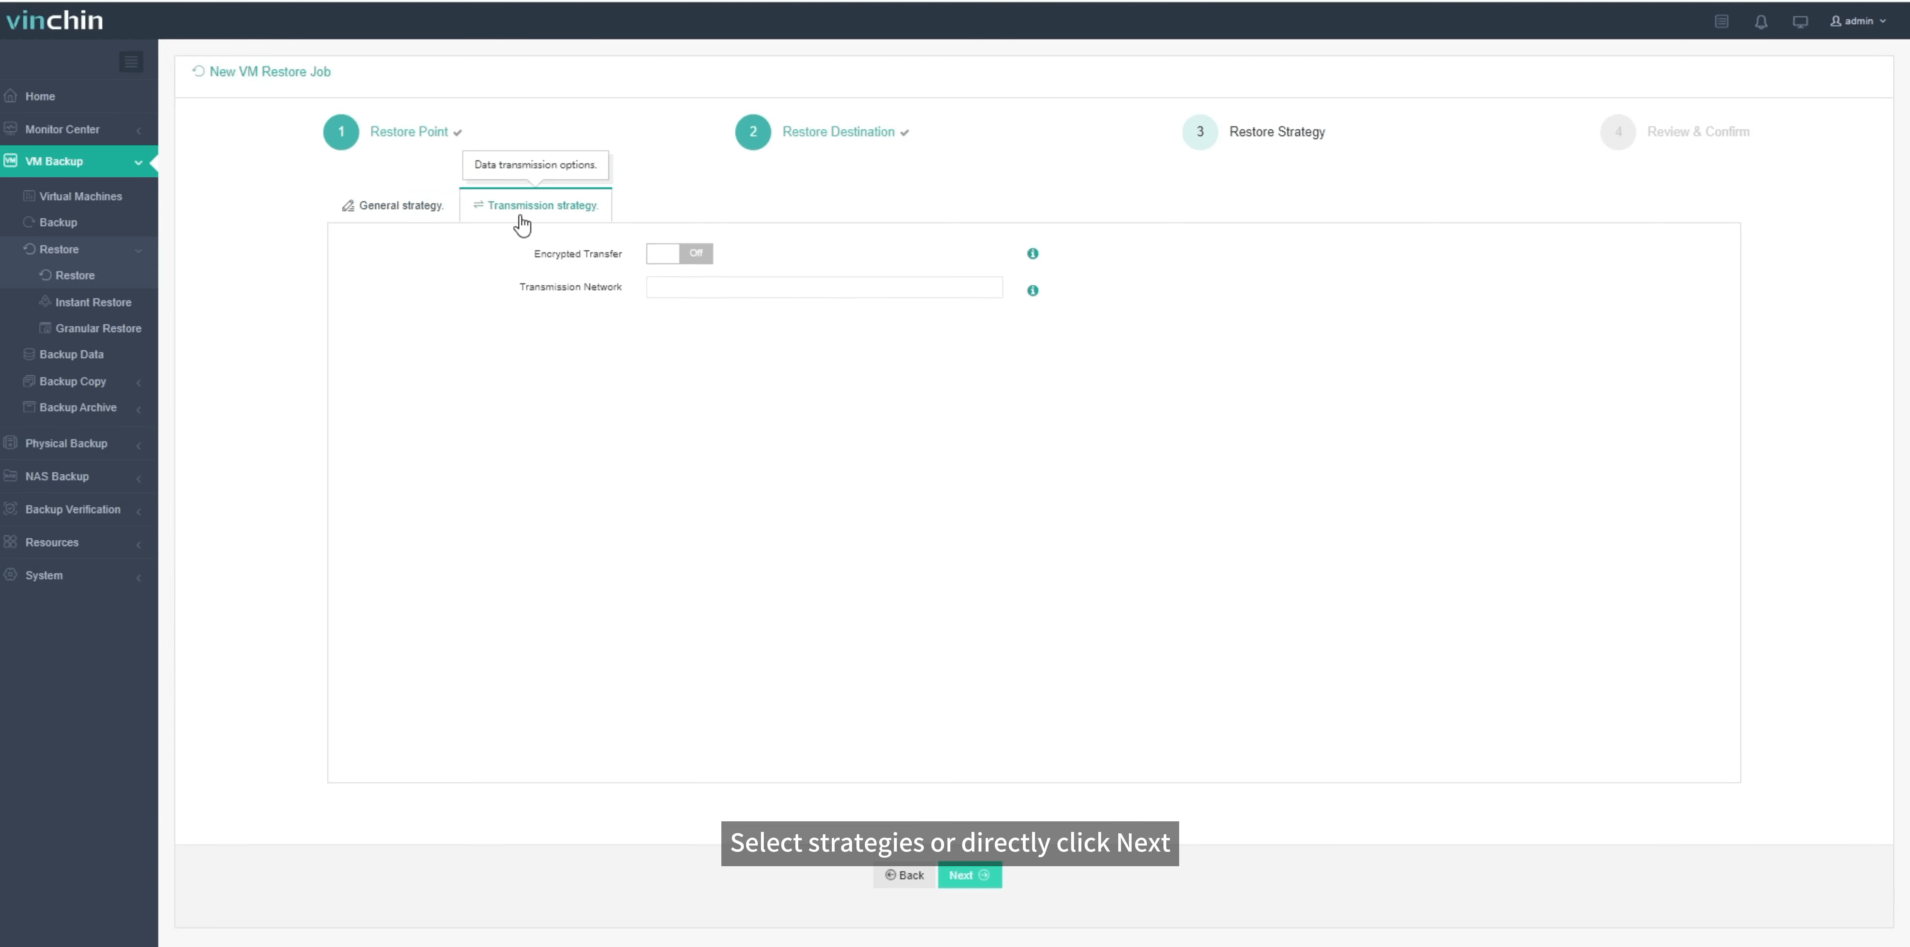
In Schedule, you can choose Restore as scheduled or Once-off Restore. Restore as scheduled will automatically restore the VMs at a specific time, and Once-off Restore will restore the VMs only once.
After configuring all recovery policies, click Next.
Step 4. Name the job, view the details, and then submit
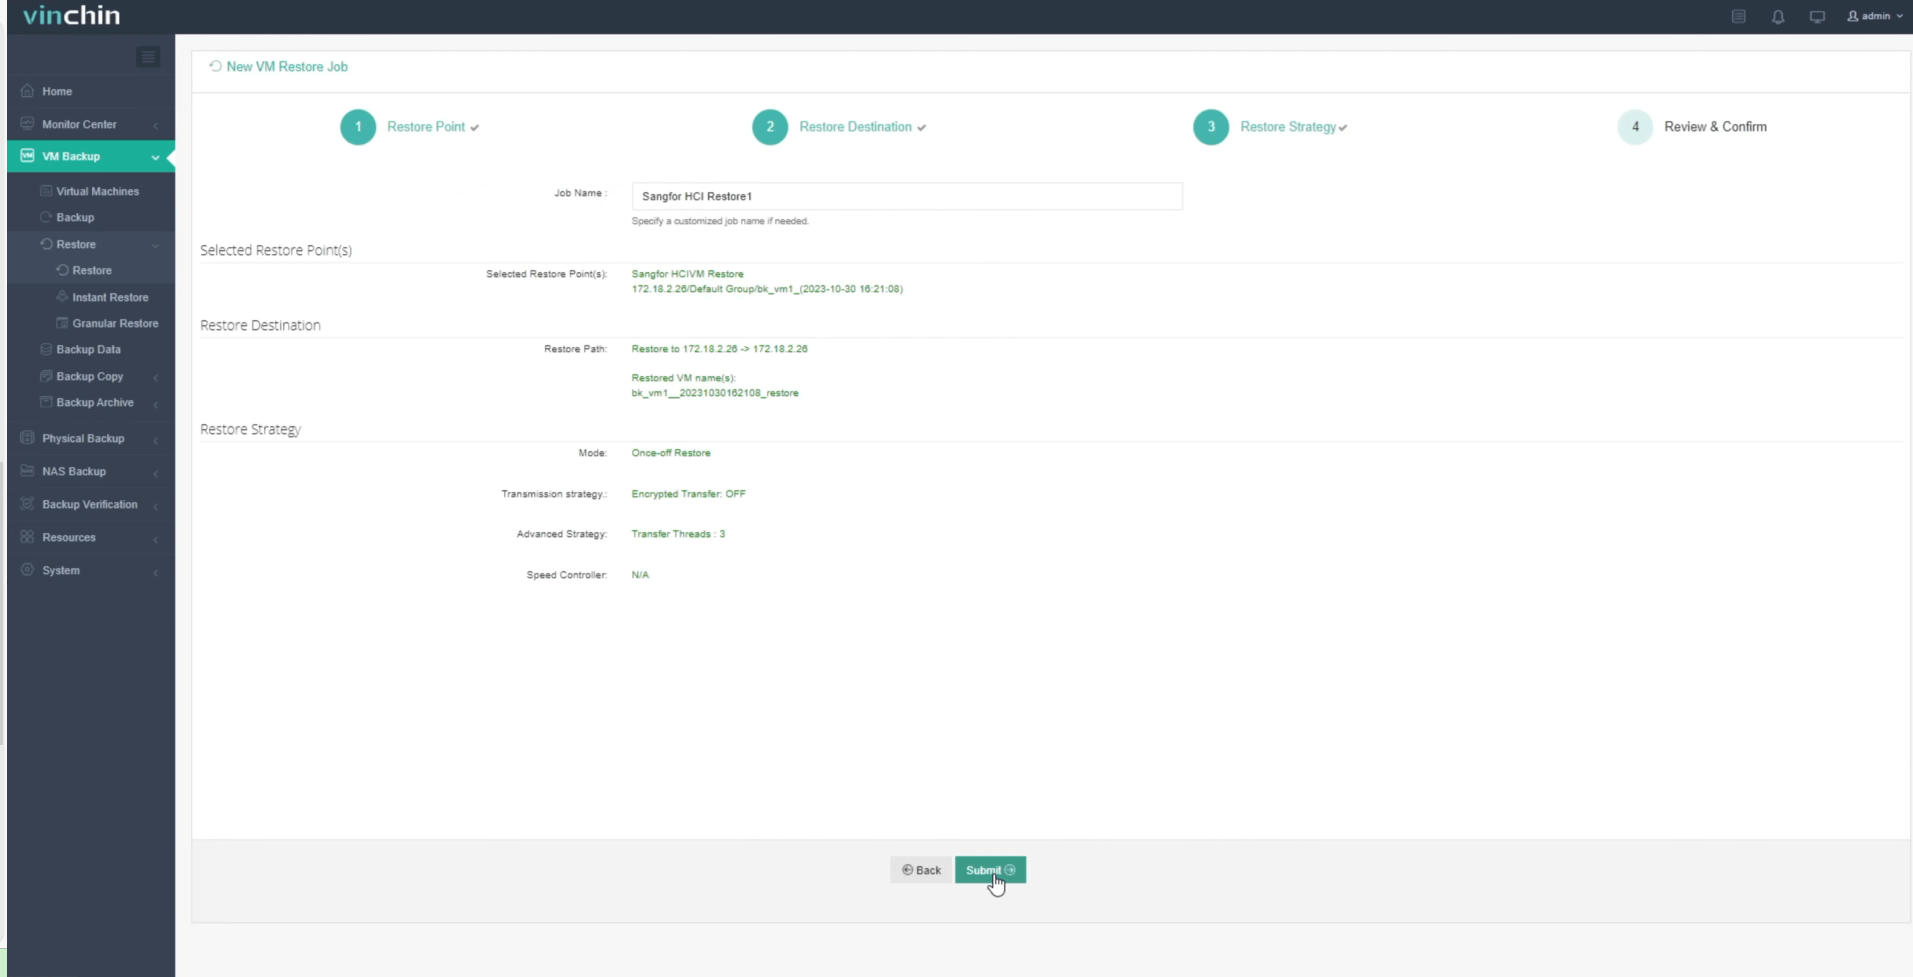
Once the job is created, you'll be redirected to the job list page and the restore job will run now.
Click the job name to check the job progress. And the flow chart shows the real-time transmission speed and the bar under it is the job progress.

Here, you can see the Sangfor VM has been successfully restored.
Experience seamless Sangfor protection with Vinchin Backup & Recovery, and explore its features in a real-world environment through a complimentary 60-day trial. For further details, feel free to reach out directly to Vinchin or get in touch with our local partners.
Share on: