With Vinchin, you can easily migrate VMware virtual machines, including vSphere v8.0, v7.0, v6.x, and v5.x, and corresponding ESXi versions, to Oracle Linux Virtualization Manager 4.4.x or 4.3.x. Vinchin not only provides powerful backup and recovery capabilities, but also enables seamless cross-platform migration in a few simple steps. Ensure data integrity and business continuity. Whether you're looking for disaster recovery or optimizing your virtualization platform, you'll get a stable and reliable migration solution.
Before you restore the VM on OLVM, you need to have a VMware VM backup.
Let's open a browser and log in Vinchin Backup server web console. Go to VM Backup > Restore page.
Step 1. Select Restore Point
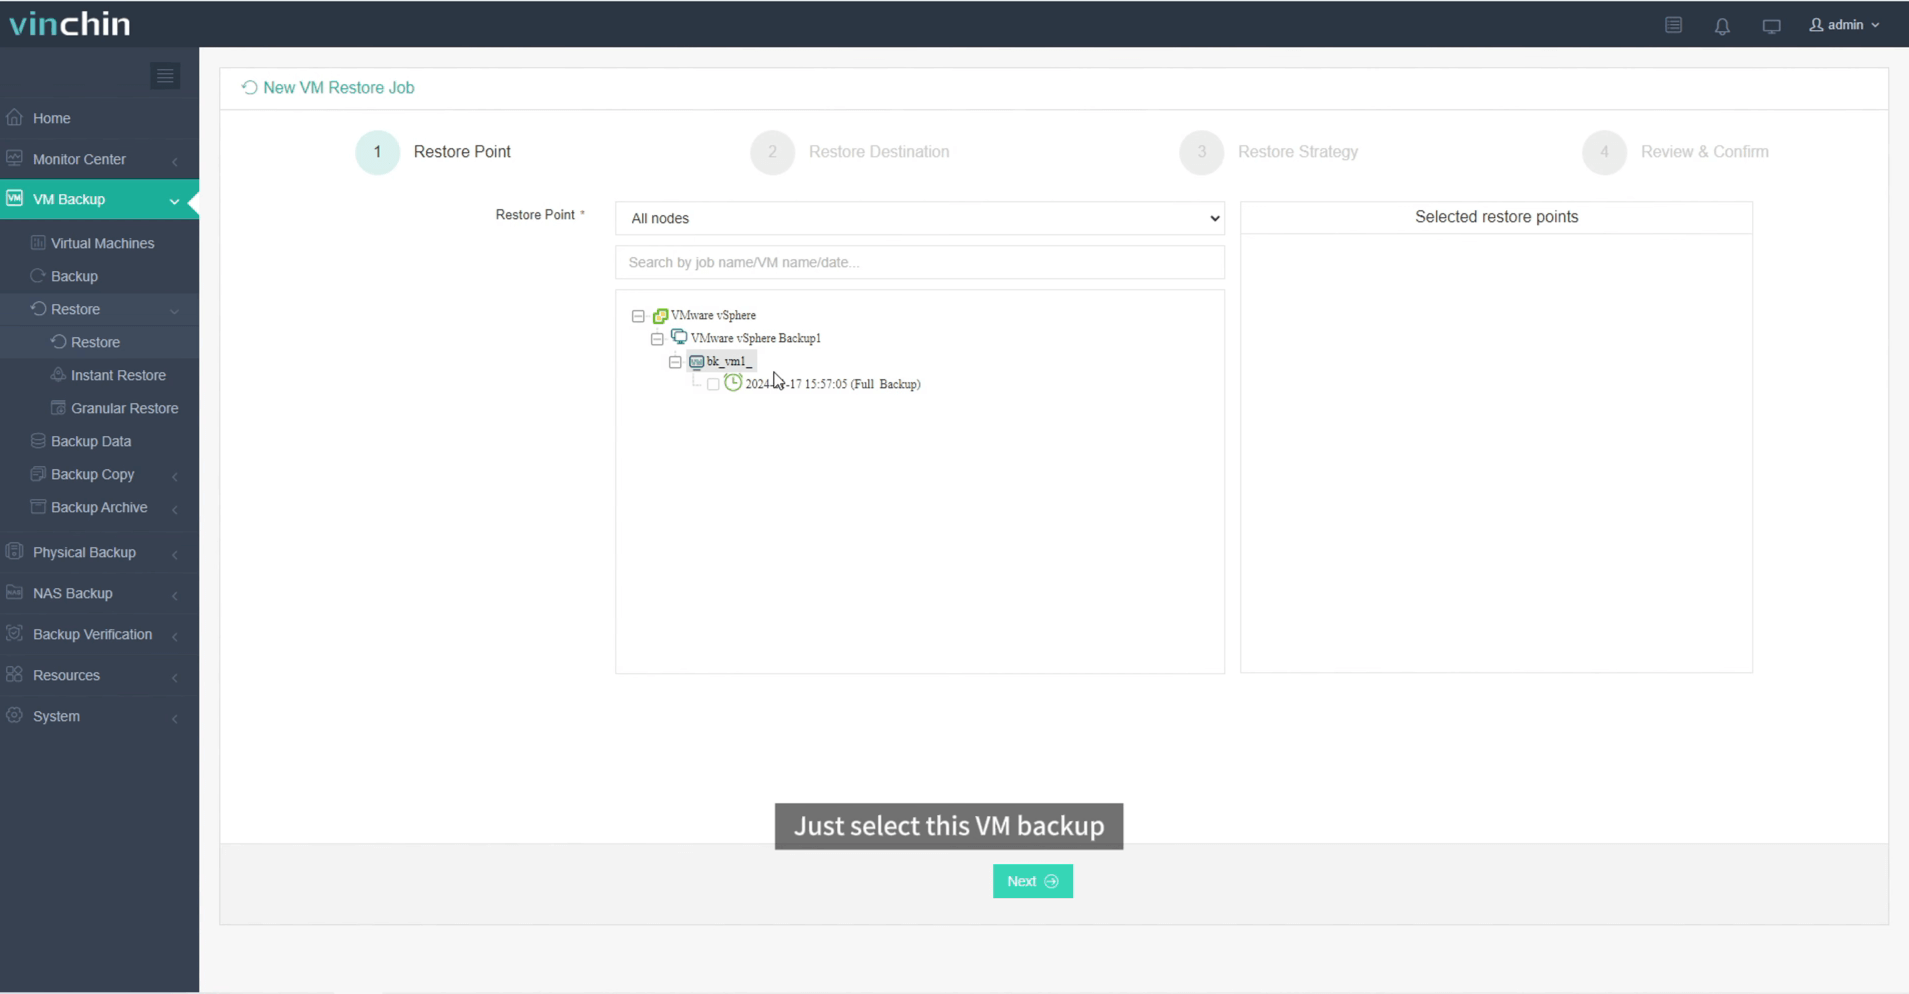
In the list, you can see all the available restore points. Just select the VMware restore point you want to restore, and click Next.
Step 2. Select Restore Destination
Select a Target Host where to run the restored VM. Here, you can simply configure the restored VM.
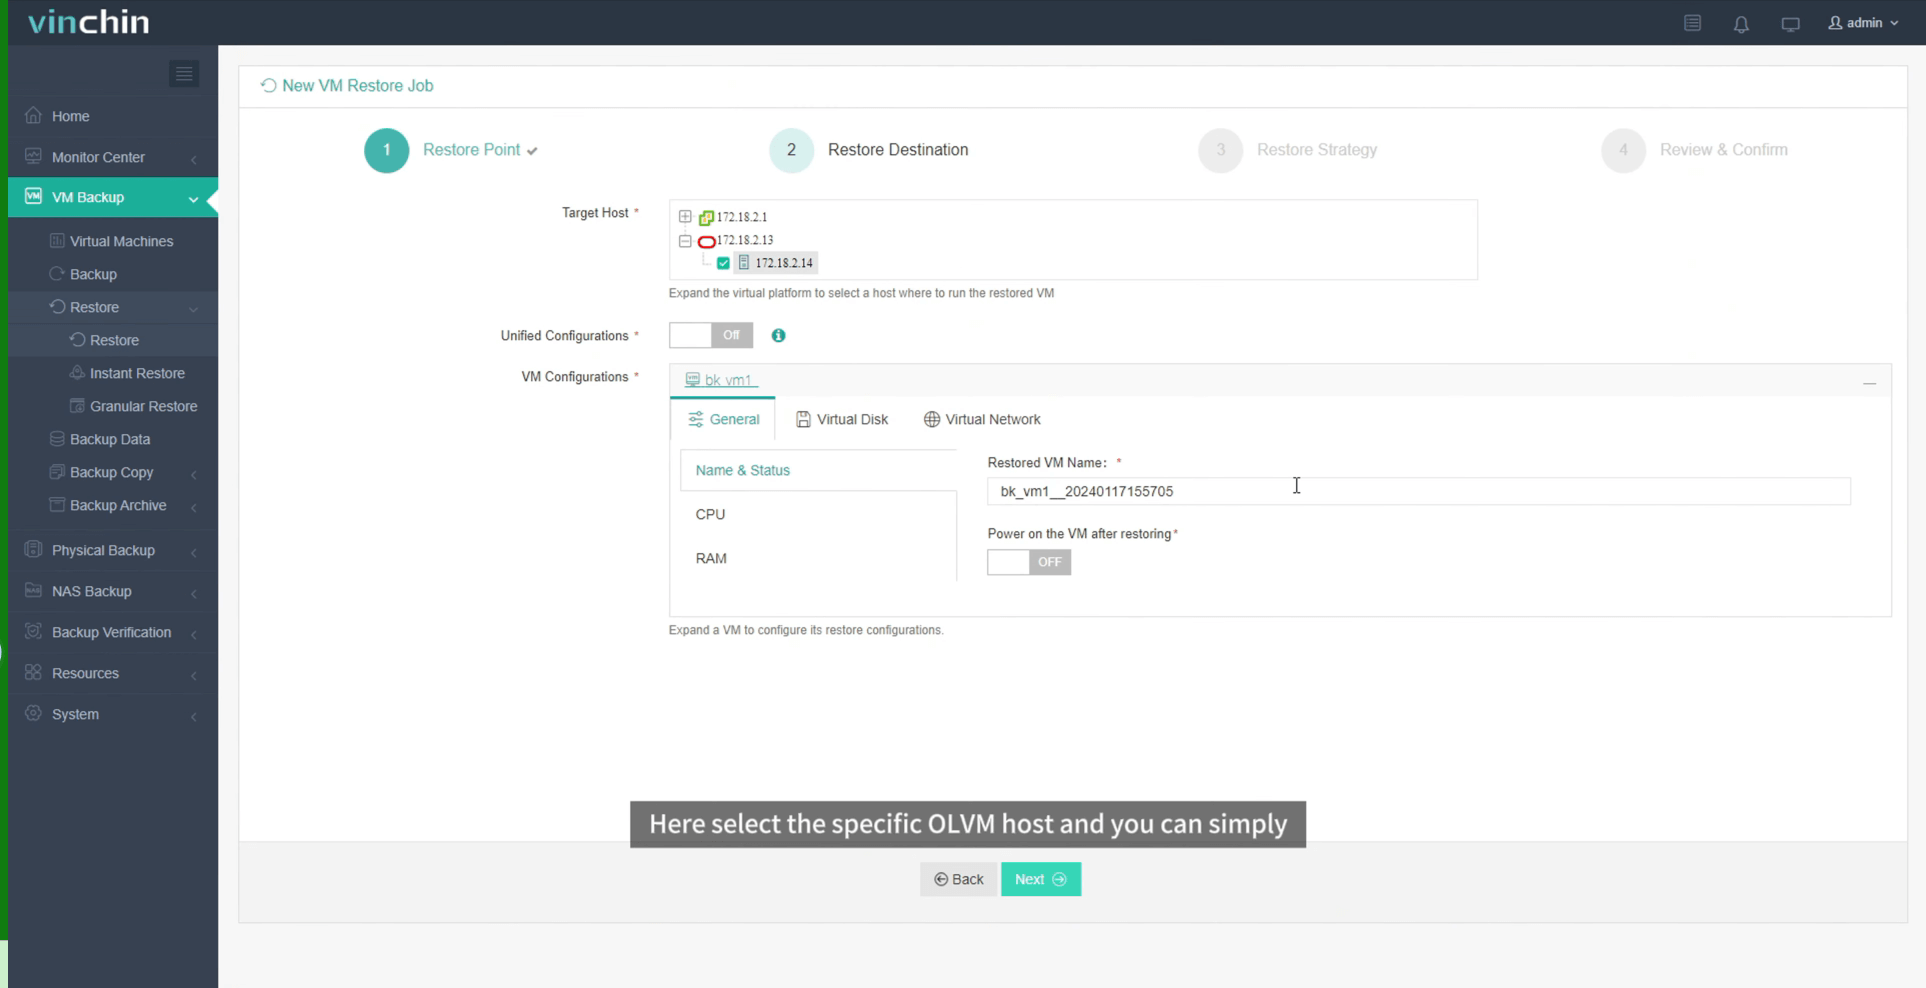
Here select the specific OLVM host and you can simply configure the new VM here, such as VM name, CPU, Memory, Virtual disk and Virtual Network. After configuration, click Next.
Step 3. Select Restore Strategies
In Schedule, you can choose Restore as Scheduled or Once-off Restore. Restore as scheduled will automatically restore the VMs at a specific time, and Once-off Restore will restore the VMs only once.
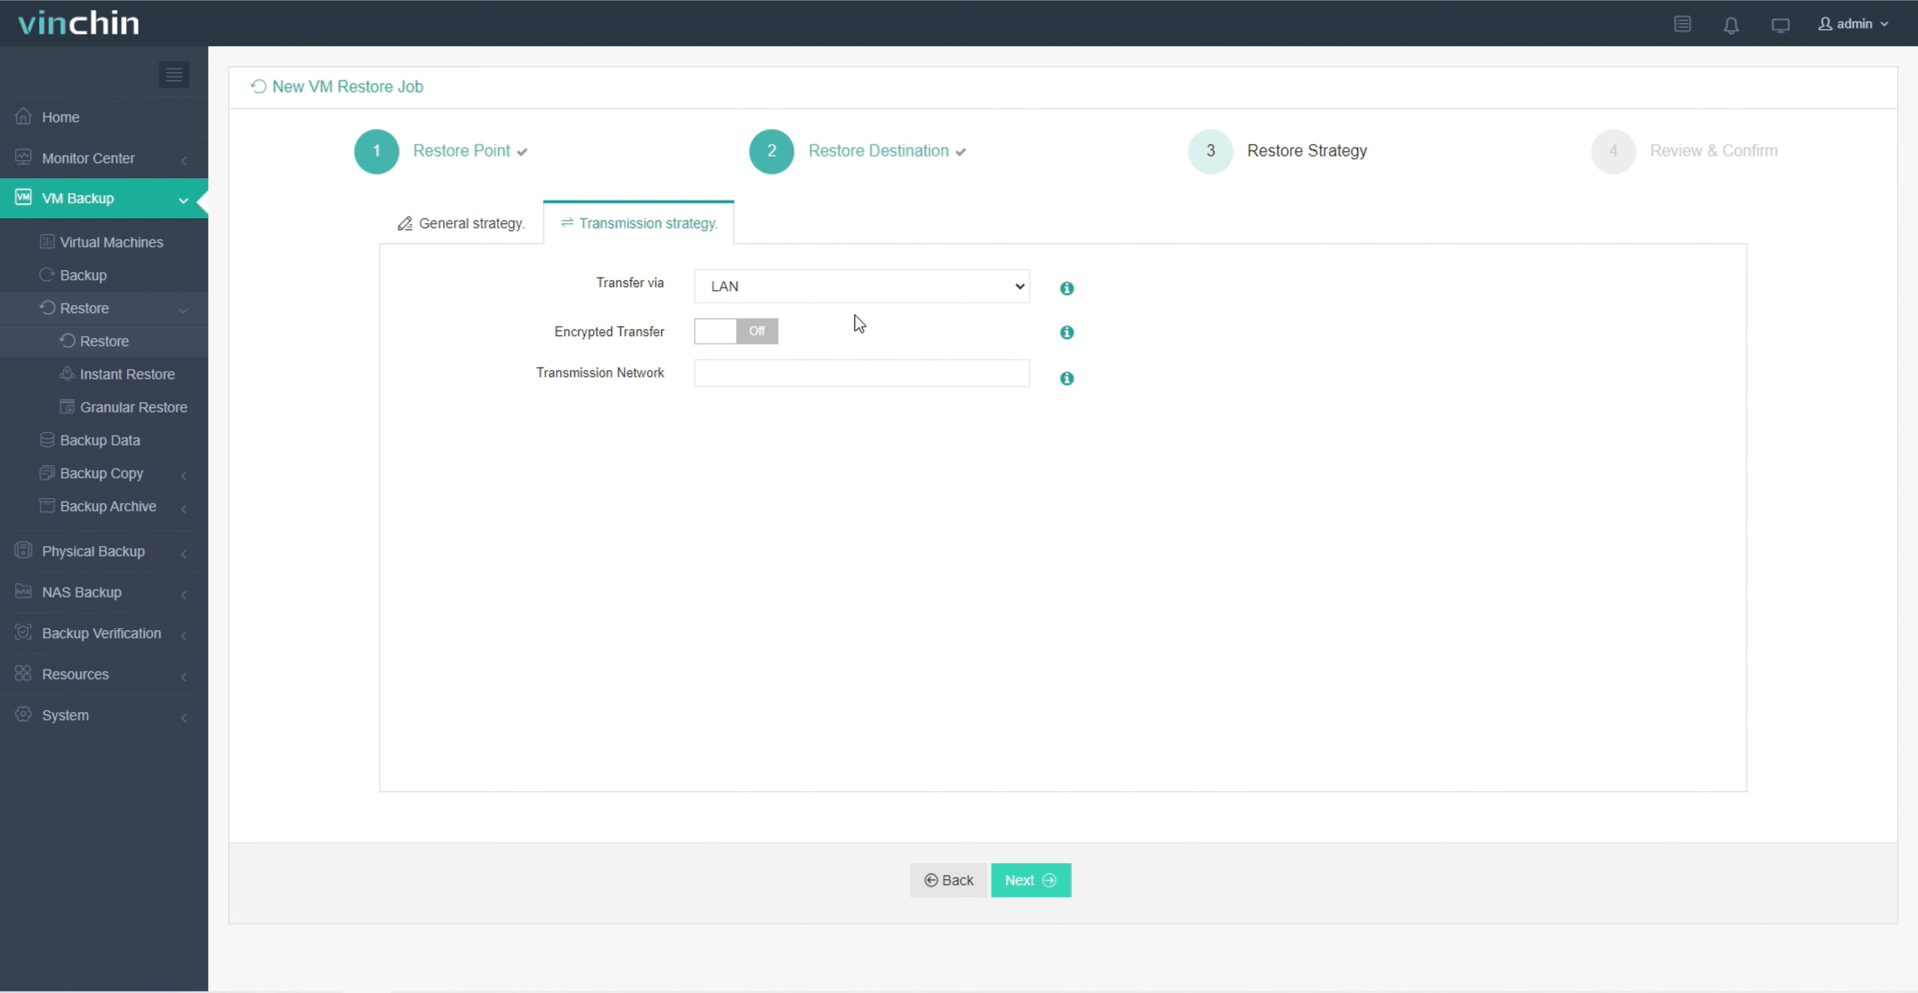
After configuring all recovery policies, click Next.
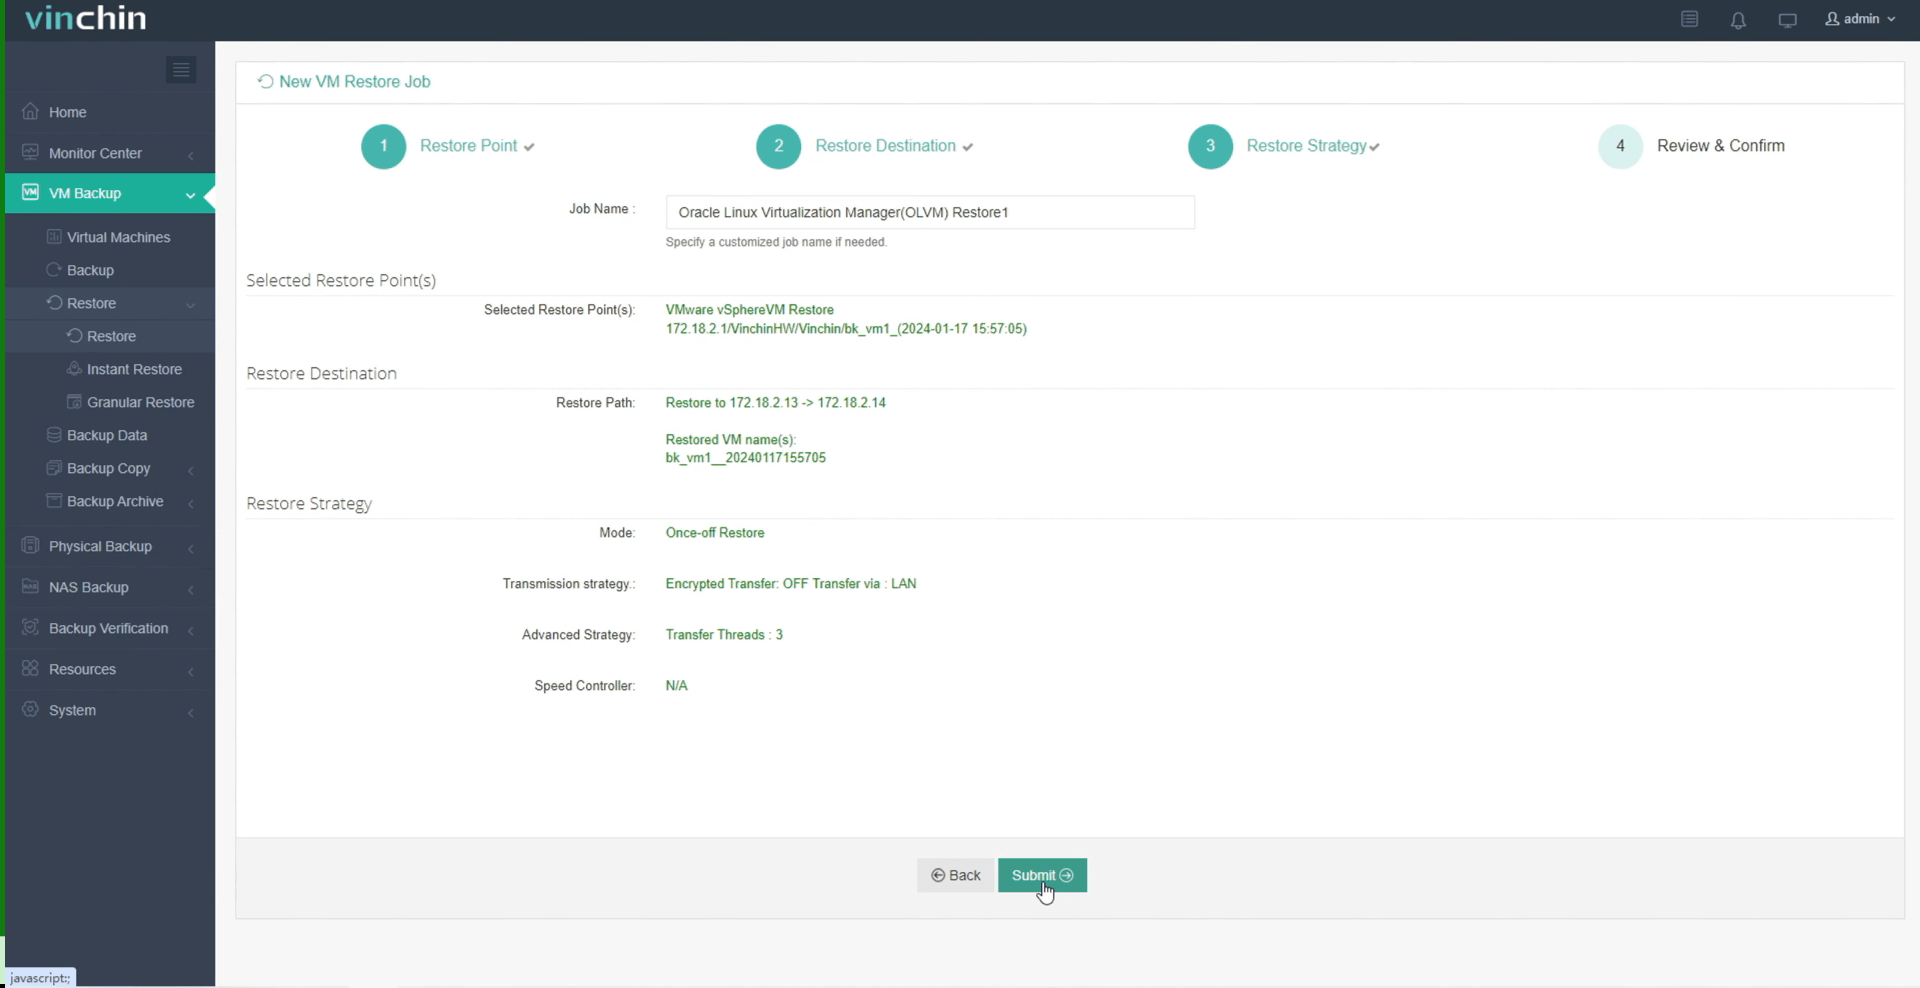
Step 4. Review and submit the job
Once the job is created, you'll be redirected to the job list page and the restore job will run now.
Click the job name to check the job progress. And the flow chart shows the real-time transmission speed and the bar under it is the job progress.
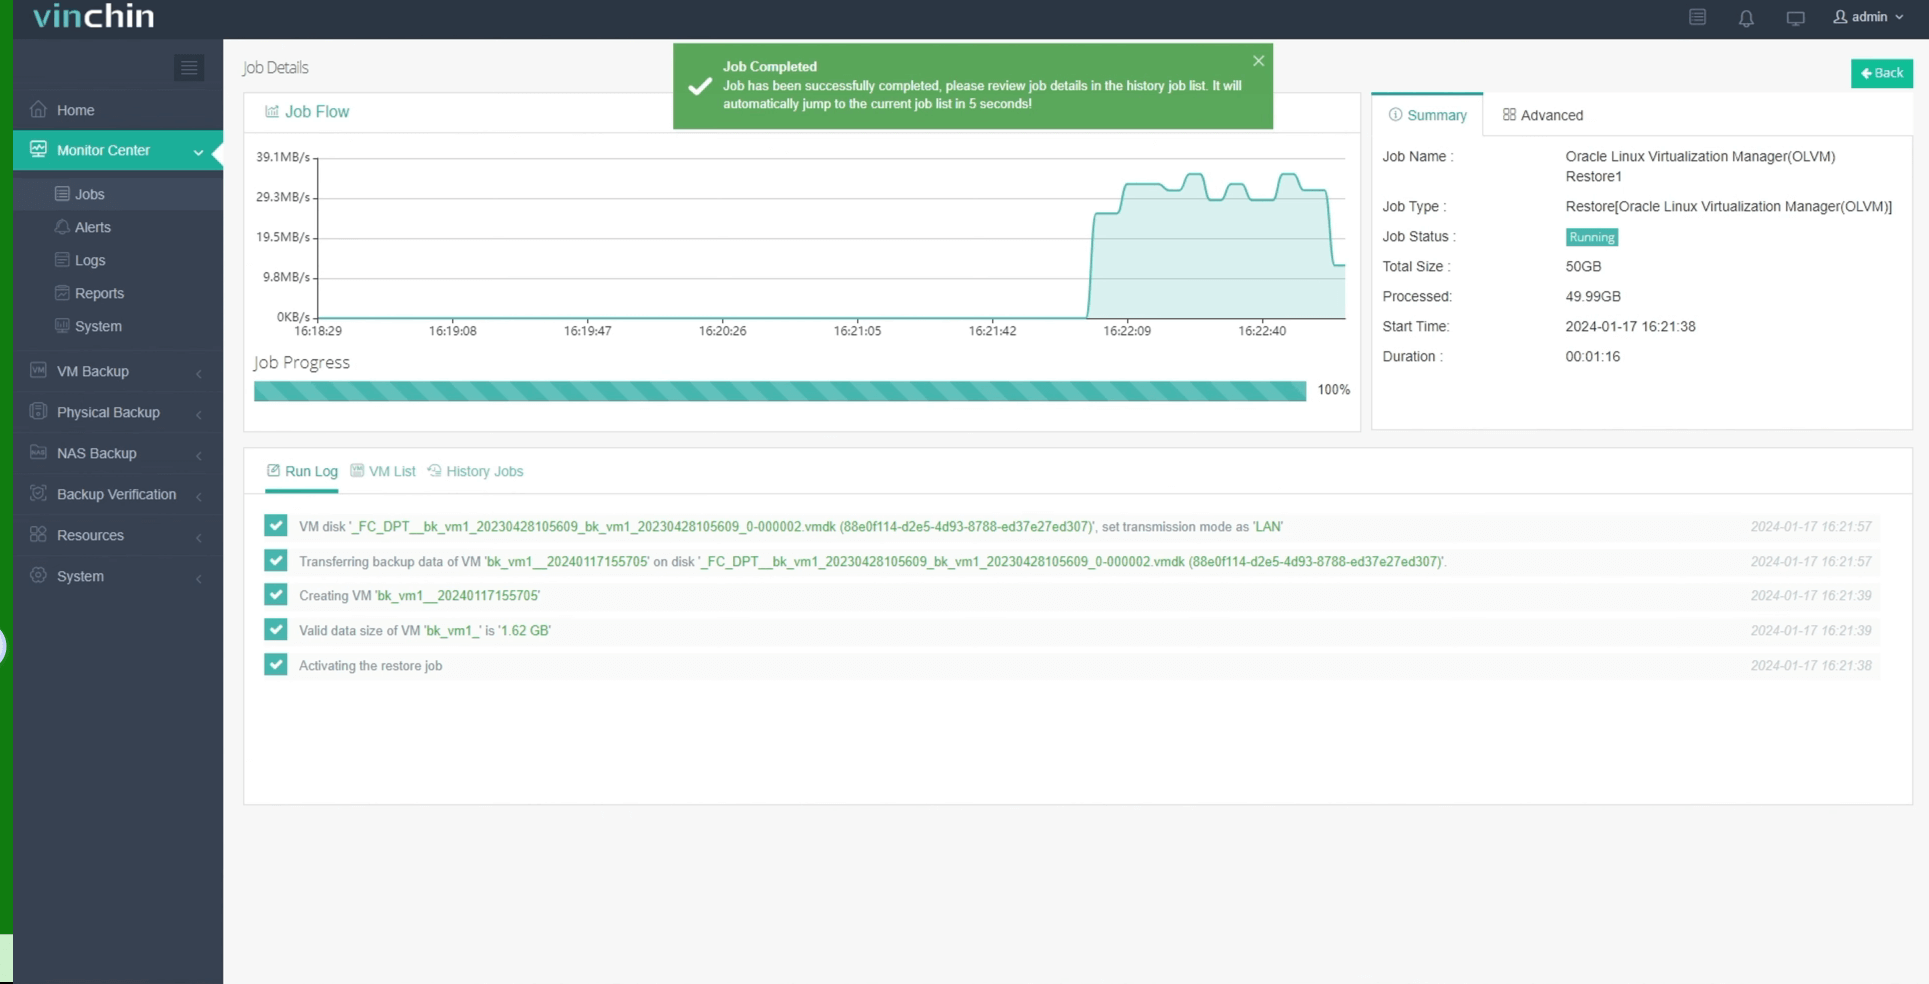
Here, you can see the VM has been successfully restored.
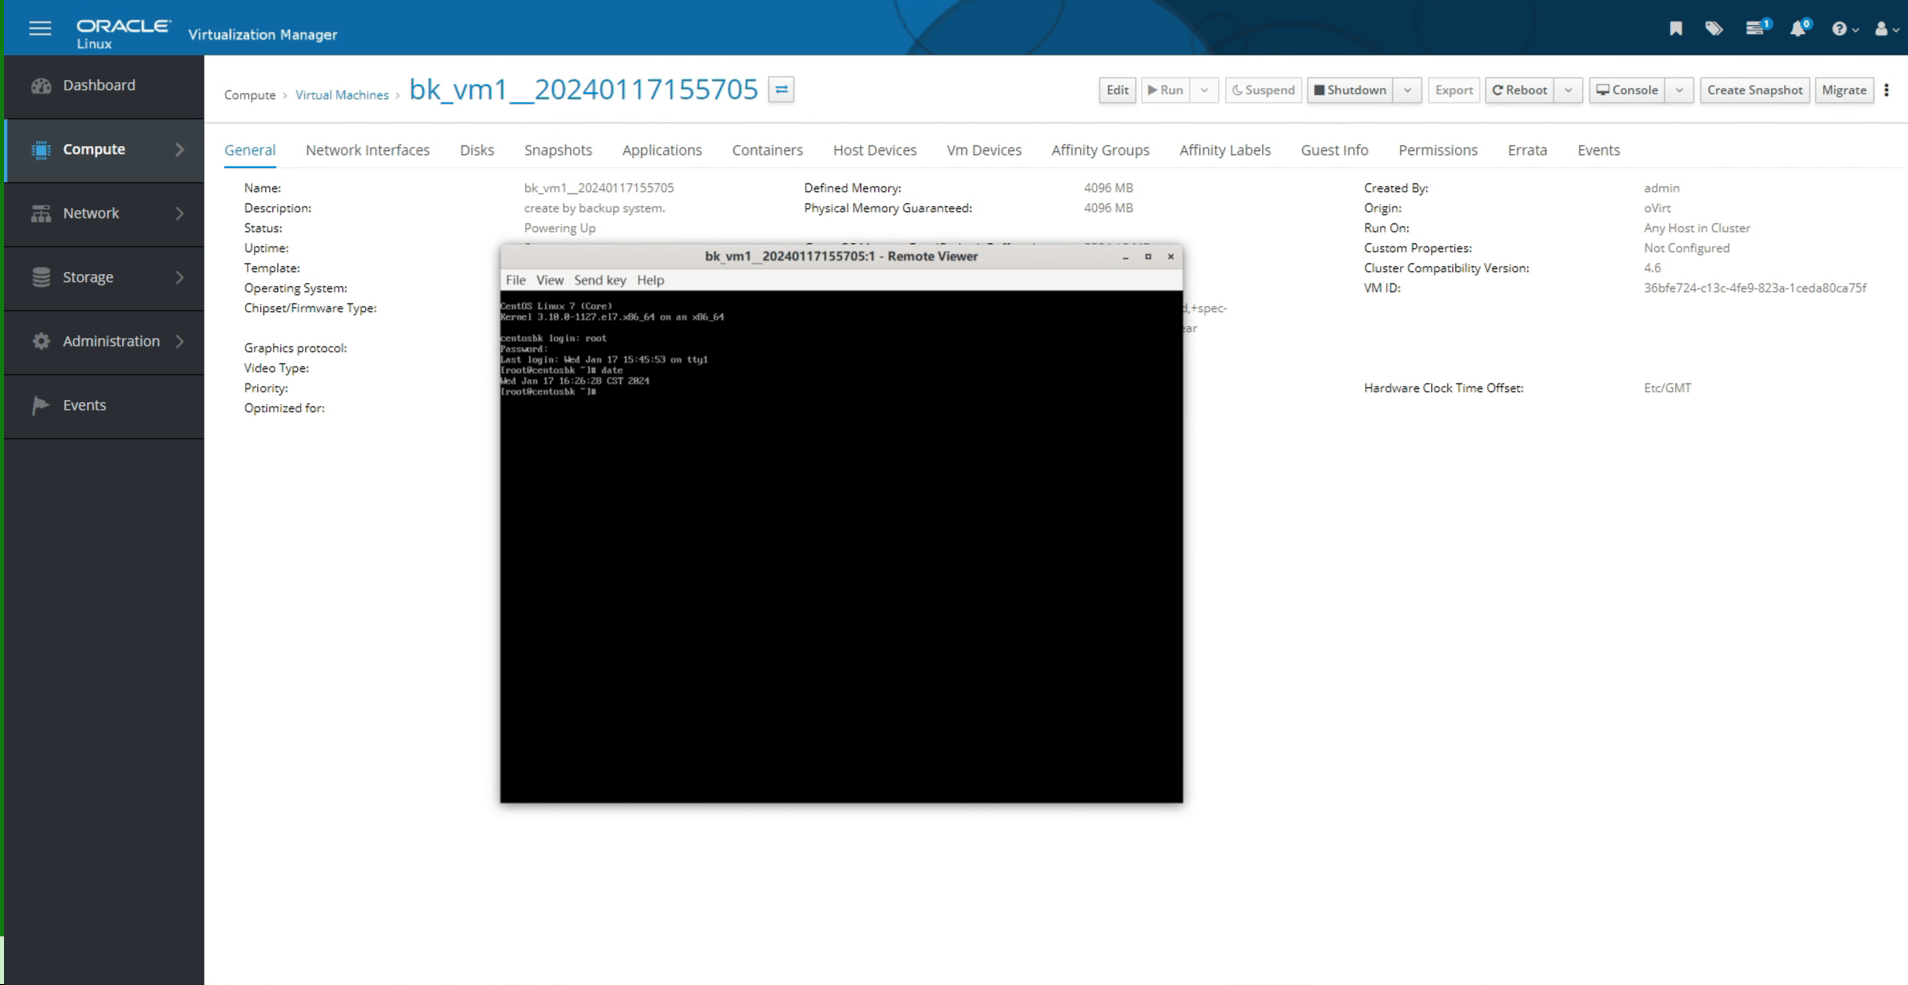
To make sure that everything went well, we are advised to check the new virtual machine in Oracle Linux Virtualization Manager again. Here you can confirm that the migration from VMware to Proxmox has been successfully completed.
Vinchin is now offering a 60-day free trial of its protection service. You are welcome to experience our powerful and reliable service in your own environment. For more information or to get started, contact Vinchin directly or get in touch with one of our local partners. Take the first step towards greater data protection today!
Share on:


