-
What is vmfkstools?
-
Vmkfstools utilization best practices
-
Manage and protect VMware ESXi with Vinchin Backup & Recovery
-
Sum Up
Virtualization technology has been increasingly utilized by more and more companies. Compared with physical environment, virtual environment requires many new skills.
Virtual machine can work like physical machine but it has no real hardware because it just exists on the host as a folder. To monitor and control VM performance, IT administrators need to use command line or professional tools.
VMware is a mature virtualization solution and provides many official tools and commands for virtual environment management like vmfstools command.
What is vmfkstools?
Vmkfstools is the command for VMware users to manage VMFS volumes, storage devices, and virtual disk.
Virtual disk is one of the important components of a VM because it stores VM data and can be used for VM backup and migration. In VMware environment, it is the vmdk file in the VM folder.
With vmkfstools, you can create virtual disk, convert the disk type between thin provisioned disk and thick provisioned disk, change the size of vmdk file, rename vmdk file, clone virtual disk, etc.
P.S. Sometimes you might want to use virtual disk from another virtual environment on VMware ESXi host, like importing qcow2 virtual disk to ESXi host. After converting qcow2 to vmdk format, you still need to use vmkfstools to make sure it can work on ESXi host. The command you need is:
vmkfstools -i source.vmdk -d thin converted_source.vmdk
Vmkfstools utilization best practices
Now, open the command-line interface to let vmkfstools work for you.
Create virtual disk:
vmkfstools -c 2048m /vmfs/volumes/myVMFS/disk.vmdk
This means you would like to create a virtual disk of 2048MB in the specified directory. You can have other suboptions for the newly-created virtual disk.
-d|--diskformat [thin|zeroedthick|eagerzeroedthick]
-W|--objecttype [file|vsan|vvol]
--policyFile fileName
Change virtual disk size:
vmkfstools -X 10GB /vmfs/volumes/myVMFS/disk.vmdk
This will directly resize the target virtual disk to 10GB but there is one thing you should be careful about that if there are any snapshots on the VM, you should delete them before resizing the virtual disk or there will be error causing data loss.
After this, updating the file system like expanding partition on the disk to use the new virtual disk.
Except for vmkfstools command, you can also directly increase virtual disk size in ESXi client.
Convert virtual disk:
vmkfstools --inflatedisk /vmfs/volumes/myVMFS/disk.vmdk
This command is used to inflate a thin virtual disk to eagerzeroedthick disk.
vmkfstools --eagerzero /vmfs/volumes/myVMFS/disk.vmdk
This command will help convert a zeroedthick Virtual Disk to an eagerzeroedthick disk
Clone virtual disk:
vmkfstools -i "/vmfs/volumes/Datastore/examplevm/examplevm.vmdk" "/vmfs/volumes/Datastore 2/newexamplevm/newexamplevm.vmdk" -d thin -a buslogic
This command will help clone the target virtual disk from datastore 1 to datastore 2 and thin-provision the destination copy.
If you are using vCenter to manage ESXi VMs, you can also use vCenter to clone the entire VM.
Rename virtual disk:
vmkfstools -E oldName newName
This will replace all the virtual disk names in the environment.
Delete virtual disk:
vmkfstools -U /vmfs/volumes/myVMFS/disk.vmdk
This will delete both the virtual disk file and descriptor of the target virtual disk.
Check virtual disk:
vmkfstools -x check /vmfs/volumes/my_datastore/my_disk.vmdk
This command can help check or repair a corrupt virtual disk.
Manage and protect VMware ESXi with Vinchin Backup & Recovery
Although VMware has provided many official tools for users to manage virtual environment, it also has many partners who provide professional services.
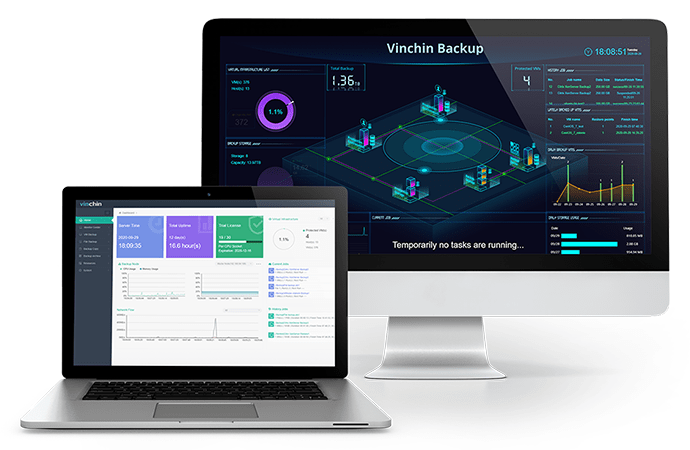
Vinchin has become an official VMware partner and provides professional ESXi backup service. Our product Vinchin Backup & Recovery has helped thousands of users manage and protect VMware virtual environment.

Vinchin Backup & Recovery allows you to backup ESXi VMs agentlessly, meaning adding just ESXi host to protect all the VMs on it, saving a lot of time than traditional VM backup solution.
To protect virtual environment from ransomware, Vinchin Backup & Recovery provides backup data encryption technology and data transmission technology as the double assurance. Only Vinchin applications can access and modify data in backup system so your backup storage will be safe.
VM migration is often needed and Vinchin is really good at moving VM. You can easily move VM from one ESXi host to another with VM backup by simply selecting recovery point and target host on a user-friendly web console. Vinchin Virtual Machine Convert Engine can even let you freely move VM between different virtual platforms.
You can have a 60-day full-featured free trial to see how convenient it is to manage and protect VMware virtual environment with Vinchin Backup & Recovery. Just click the button to get the installation package.
Sum Up
VMware is a mature virtualization solution and provides many official tools and commands for virtual environment management.
Vmkfstools is the command for users to manage virtual disk. You can follow this passage to create, convert, resize, rename, delete, clone virtual disk, etc.
To easily manage and protect VMware ESXi virtual environment, you can also choose Vinchin Backup & Recovery. Don’t miss the free trial.
Share on:


