-
What is OpenStack image?
-
How to create OpenStack Image?
-
How to backup OpenStack with Vinchin Backup & Recovery?
-
Sum Up

Virtualization technology has made companies increase work efficiency. Besides virtulization technology, there is another technology also allows companies to utilize hardware resources, cloud computing.
OpenStack is a famous cloud computing platform. Unlike virtualization solutions, OpenStack consists of multiple components like NOVA, CINDER, GLANCE, etc. to deploy private or public cloud computing platform, although OpenStack is still often used with hypervisors together so it also can be regarded as a hypervisor manager.
What is OpenStack image?
Like you create VM on hypervisor, if you would like to create instance on OpenStack, the image is indispensable.
Glance is the component in OpenStack to register, log in, and retrieve virtual machine image. In the early versions of OpenStack, Glance is only used to manage images and can be used to store image. Now, Glance image servers have been the core services in OpenStack including uploading, retrieving, managing, storing image, etc. Glance provided a REST API to let you query the virtual machine image metadata and retrieve the actual image.
The features of Glance include:
● Query and acquire the image metadata and itself
● Register and upload virtual machine image, including creating, uploading, downloading, and managing image
● Maintain image information including its metadata and itself
● Support storing data in multiple ways including common file system, Swift, Amazon S3, etc.
● Create new image by taking a snapshot of virtual machine instance and backup virtual machine status
Virtual machine images provided by image services can be stored in different locations including simple filesystems and object-storage systems. The default location of the uploaded virtual machine image is /var/lib/glance/images/.
How to create OpenStack Image?
There are multiple ways to create image in OpenStack including using GUI or command line. To use the Create Image feature on OpenStack dashboard requires a preinstalled image so you have to download the image from the website.
Create image on OpenStack dashboard
1. Log in to the dashboard
2. Expand Project > expand Compute > select Images > click Create Image
3. Fill in the blanks to upload the image. You can select to upload the image from local machine or with the URL.

Create OpenStack image with CLI command
You can use the command to use the Create Image feature without logging in to the OpenStack dashboard to create and upload the image.
1. Get the list of the existing images:
openstack image list
2. Create OpenStack image:
openstack image create imageName
3. Upload image to OpenStack:
openstack image create --disk-format qcow2 --container-format bare
--public --file ./centos63.qcow2 centos63-image
Create image with qemu-img
Qemu-img is a kind of virtual disk manager, you can use it to create an image and then use it in OpenStack with virt-install command.
1. Create qcow2 image:
qemu-img create -f qcow2 disk_directory.img 10G
2. Create VM:
# virt-install
--name demo
--ram 512
--disk image_directory.qcow2
--import
Create VM with virt-manager
Virt-manager is the virtual machine manager for KVM environment management. You can use it to directly create a KVM VM.
1. Open virt-manager > click File on the top > Select New Virtual Machine
2. Select installing operating system from ISO, URL, PXE, or virtual disk > click Forward
3. Follow the next instruction to configure the new VM.
Launch an instance with ISO image
If you have an ISO image, you can also use it to create an instance.
openstack server create --image ubuntu-14.04.2-server-amd64.iso
--nic net-id = NETWORK_UUID
--flavor 2 INSTANCE_NAME
Create image from snapshot
You can create an image from a powered-off OpenStack instance and this snapshot can be used to migrate the instance.
1. Take a snapshot:
$ openstack server image create --name myInstanceSnapshot myInstance
2. Import the snapshot to new environment:
openstack image create --container-format bare --disk-format qcow2
--file snapshot.raw myInstanceSnapshot
How to backup OpenStack with Vinchin Backup & Recovery?
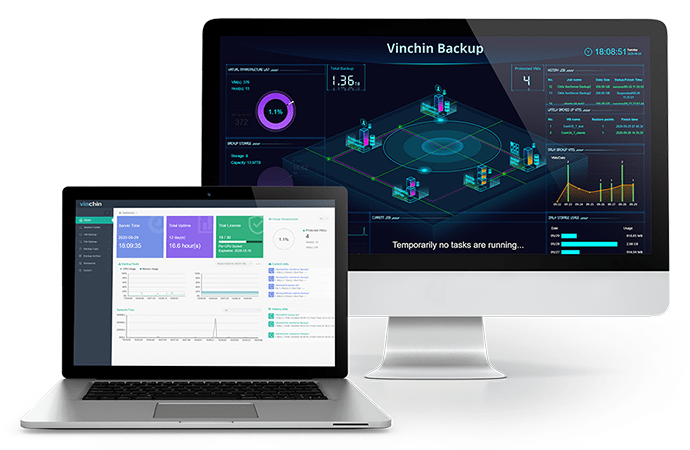
Data backup is an important part of VM management and you can easily backup OpenStack VM with Vinchin Backup & Recovery.

Vinchin agentless backup technology can let you easily add all the VMs to backup system and there will be a user-friendly web console to help you create different jobs with all kinds of backup strategies like incremental backup, SpeedKit (speed up incremental backup), data compression, data encryption, LAN-free backup, etc.
There are other advanced features to help you better manage OpenStack environment, like Cross-Platform Migration which means you can not only restore VM backup on the OpenStack host but also on the host of other virtualization platforms like VMware ESXi, XenServer, Red Hat Virtualzation, etc., and offsite backup copy which will help replicate VM backup to a secondary datacenter.
Vinchin Backup & Recovery has been selected by thousands of companies and you can also start to use it with a 60-day full-featured free trial. Just click the button to get the installation package.
Sum Up
OpenStack is a popular open-souce cloud computing platform which helps companies improve work efficiency. IT administrators can use the methods in this post to create and upload image to OpenStack with OpenStack dashboard, CLI command, ISO file, qemu-img, virt-manager, etc.
VM backup is also an important part of VM management. You can use Vinchin Backup & Recovery to easily backup OpenStack VM so don’t miss the free trial.
Share on:


