-
Synology Mail Server vs MailPlus Server
-
How to set up Synology MailPlus Server?
-
How to protect Synology mail server?
-
Sum Up
Email is universally used in companies for internal and external communication. Company can choose a mail server from professional providers like Microsoft Exchange Server, Zimbra, and Postfix. However, it is also possible to set up company’s own mail server.
Synology NAS is premium enterprise data storage which can not only save all kinds of data, but also be used as a mail server so company can use it as a private mail server.
Private mail server has some advantages. You will store and control all of the information on your own so your privacy will be protected. Since you can deploy the mail system on your own, you can customize the services for different needs and integrate the mail system with other systems.
Synology has provided easy solutions to let you turn the NAS into a mail server.
Synology Mail Server vs MailPlus Server
Synology will help make the NAS into a mail server with its internal solution Synology Mail Server or Synology MailPlus Server. Both applications can be directly downloaded in Synology Package Center but there are some differences between them.
Generally speaking, Synology MailPlus Server is the upgraded version of Synology Mail Server and offers more features in server management, mail delivery, security, audit, account, client, etc. You can check all the differences between them on Synology’s page.
If you use Synology Mail Server, you can create unlimited free email accounts but you will have just limited free accounts if you use Synology MailPlus Server. The additional accounts need to be licensed so you need to purchase licenses for them.
In a word, Synology MailPlus Server provides better services but you need to pay for licenses to activate more email accounts.
This post will mainly introduce how to use Synology MailPlus Server.
How to set up Synology MailPlus Server?
Before starting to turn your NAS to a mail server, you should make some preparations.
Make sure Synology MailPlus Server is supported on your NAS. You can check it on the page of Synology MailPlus Server. Also, you need to have a top-level domain (DDNS configured).
1. Download and install Synology MailPlus Server and Synology MailPlus on your NAS
2. Open Synology MailPlus Server > select Create a new mail system > click Next
3. Enter your domain name and hostname > click Next
4. You need to review the summary > click Apply
5. You will have 5 accounts free of license. If you want to have more accounts, you need to purchase licenses by clicking License on the left; to activate the account, click Account on the left > check the accounts you want to activate under Activate > click Apply
6. Click Mail Delivery > check Enable SMTP authentication > click Apply
7. Click Service > check all the options > click Apply
8. Set up the router: Redirect ports, SMTP TLS: 587, POP3: 110, POP3 SSL: 995, IMAP: 143, IMAPS: 993 to the fixed IP address where Synology is located in the LAN
9. Domain resolution: Set Your MX (Mail Exchange) record as the hostmane in step 3
Now you have finished setting up Synolgoy mail server.
To send and receive email, you need to use Synoloy MailPlus client which is installed in step 1.
How to protect Synology mail server?
Mail is very important for business. It contains important information and sometimes can be used as evidence in court. Therefore, to protect your business, you can protect your mail system by backing up the NAS mail server.
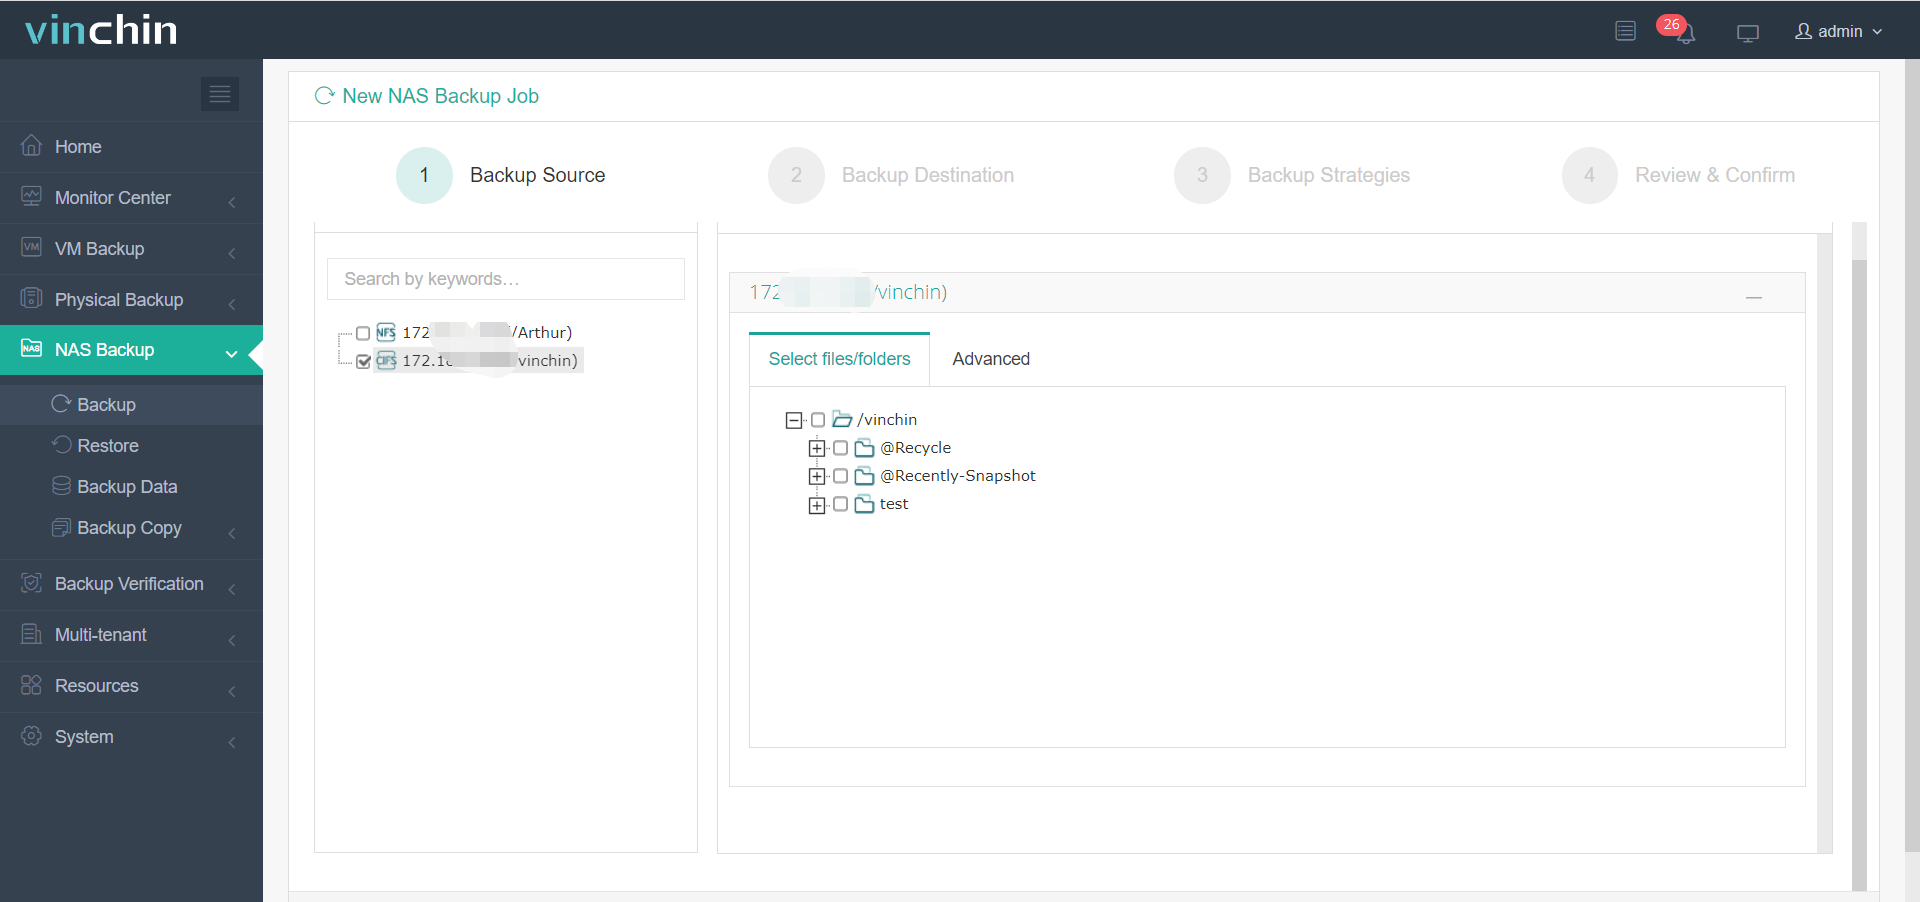
There are a large number of files on NAS but Vinchin Backup & Recovery will help easily backup the massive files. Compared with other NAS backup solutions, Vinchin Backup & Recovery is better at transferring massive files own to self-designed technique. You can easily backup NAS in 4 steps in a user-friendly web console.
Select NAS files > select the storage to store the data > select backup strategies like schedules, incremental backup, data compression, etc. > submit the job

It supports all kinds of NAS so you can use it as a centralized management solution for all your NAS.
Vinchin Backup & Recovery has been selected by thousands of companies and you can also start a 60-day full-featured free trial here. Also, contact us, leave your requirements, and then you will receive your tailored solution. We have established partnerships with reputable companies all over the world so if you would like to do a local business, you can select a local partner here.
Sum Up
Mail is important for business and companies can set up the Synology NAS to use it as a mail server. It is Synology Mail Server or Synology MailPlus Server that is needed to set up the NAS.
Just select the proper solution to turn your NAS to a mail server.
To protect data on the mail server, you can select Vinchin Backup & Recovery to backup the NAS with super fast speed. Don’t miss the free trial.
Share on:


