-
How to export and import XenServer VMs with command line?
-
How to create a snapshot to export and import XenServer VM?
-
How to export and import VMs to XVA?
-
How to export and import VMs using OVF/OVA format?
-
Best practices for XenServer VM backup and recovery with Vinchin
-
Export and import VM in XenServer FAQs
-
Conclusion
Managing and migrating VMs is a common task in virtualized environments, and XenServer provides powerful tools to help administrators easily export and import VMs for operations such as backup, migration, or disaster recovery. This article details how to export and import VMs in XenServer to ensure that you can manage your virtual environment efficiently and securely.
How to export and import XenServer VMs with command line?
In XenServer, the command line is a powerful tool that can automate VM import and export tasks, saving you valuable time. Using the command line to export and import VMs provides a simple and efficient way to manage your virtual environment. You can easily perform these operations and select the necessary parameters and configurations for VM migration and backup, significantly improving efficiency and convenience.
With just a single command, you can export and import a virtual machine in XenServer.
Export a virtual machine
xe vm-export vm=xxxxxxx(VM uuid) filename="C:UsersadminDesktop2323.xva"(filepath and filename.xva)

Import a virtual machine
xe vm-import sr=xxxxxxx(SR uuid) filename="C:UsersadminDesktop2323.xva"(filepath and filename.xva)

How to create a snapshot to export and import XenServer VM?
In XenServer, exporting and importing virtual machines is easy and accurate with the snapshot feature. By creating snapshots, you can preserve the current state of a VM and ensure that the imported virtual machine is exactly the same as the original state. In addition, using snapshots simplifies management processes, reduces human error, and increases operational reliability.
To create a snapshot for XenServer VM exporting and importing, follow these steps:
1. In XenCenter, connect to a Server
2. In Windows search box, type PowerShell > open it
3. Enter ssh root@xxxxx(XenServer-IP) > press Enter > import password > press Enter
Export a snapshot, please enter:
xe snapshot-export-to-template snapshot-uuid=xxxxxxx(snapshot uuid) filename=555.xva(filename name.xva)

Import a snapshot, enter the following script:
xe vm-import filename=555.xva(filename name.xva) sr-uuid=xxxxxxx(sr uuid)

How to export and import VMs to XVA?
After understanding how to use XenServer's command line tools to export and import virtual machines and how this process can be simplified with the snapshot feature, we can further discuss the specific steps to export a VM to a file in the XVA format, which is a packaged format that contains the entire VM configuration and its disk image, making it ideal for use in backup, migration, or disaster recovery scenarios.
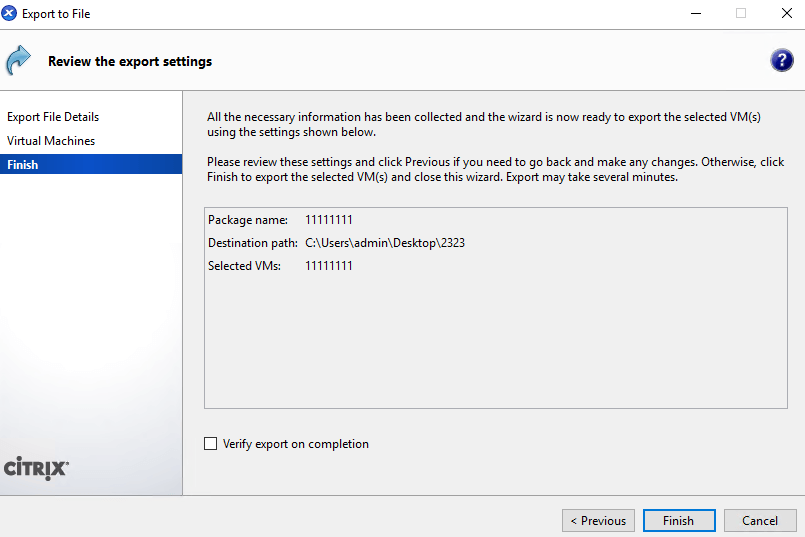
Export VM into XVA format
1. In XenCenter, connect to a new server
2. Right- click a VM > choose Export > define the Name and Location > choose XVA package > click Next
3. Choose a VM > click Next
4. Hit Finish
Import VM into XVA format
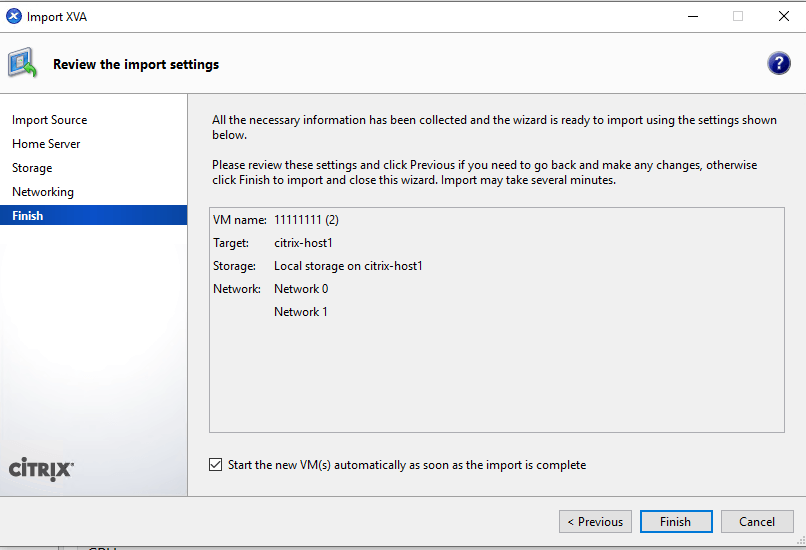
1. Click File > Choose Import > select a file > click open > hit Next
2. Choose a Home Server > click Next
3. Select a Storage > click Import
4. Define a Networking > click Next > hit Finish
How to export and import VMs using OVF/OVA format?
OVF (Open Virtualization Format) and OVA (Open Virtual Appliance) are industry-standard formats that support interoperability between multiple virtualization platforms. They carry not only the hardware configuration information of a VM, but also the operating system and other related settings to ensure the consistency of the virtual machine across different environments. Below is a detailed description of how to use these 2 formats to export and import virtual machines in XenServer.
Export VM into OVF/OVA
1. In XenCenter, connect to a new server
2. Right- click a VM > choose Export > define the Name and Location > choose OVF/OVA package > click Next
3. Choose a VM > click Next
4. If the exported package contains EULAs, accept it > click Next. If EULA is not included, click Next
5. Define advanced options or just click Next
6. Configure the transport VM Network > hit Next
7. Hit Finish

Import VM into OVF/OVA
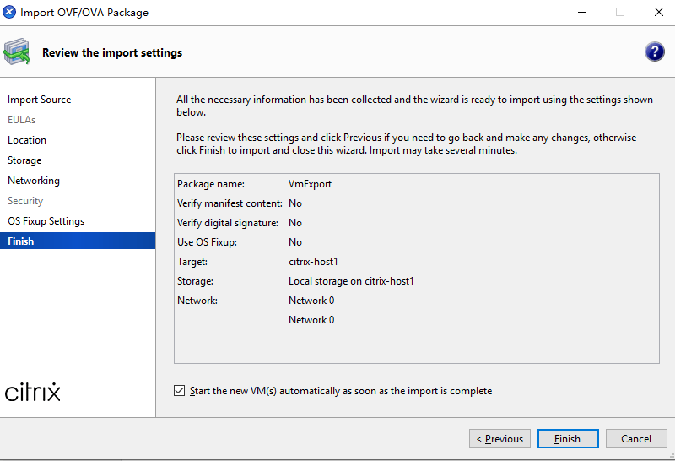
1. Click File > Choose Import > select the file > click open > hit Next
2. Choose a Home Server > click Next
3. Select a Storage > click Import
4. Define a Networking > click Next > hit Finish
Best practices for XenServer VM backup and recovery with Vinchin
Vinchin Backup & Recovery is a professional data protection tool designed to help organizations perform reliable backup and fast recovery operations for VM environments.
Vinchin supports a variety of virtualization platforms, including VMware, Hyper-V, Citrix XenServer etc. Vinchin provides flexible backup policy settings to meet different data protection needs.
Furthermore, Vinchin provides an intuitive and easy-to-use management interface as well as reliable data protection and disaster recovery capabilities. Whether faced with a hardware failure, data loss, or catastrophic event, Vinchin can help users quickly recover their VM environment and ensure stable business operations.
To backup VM in Vinchin Backup & Recovery
1. Select the VM to backup
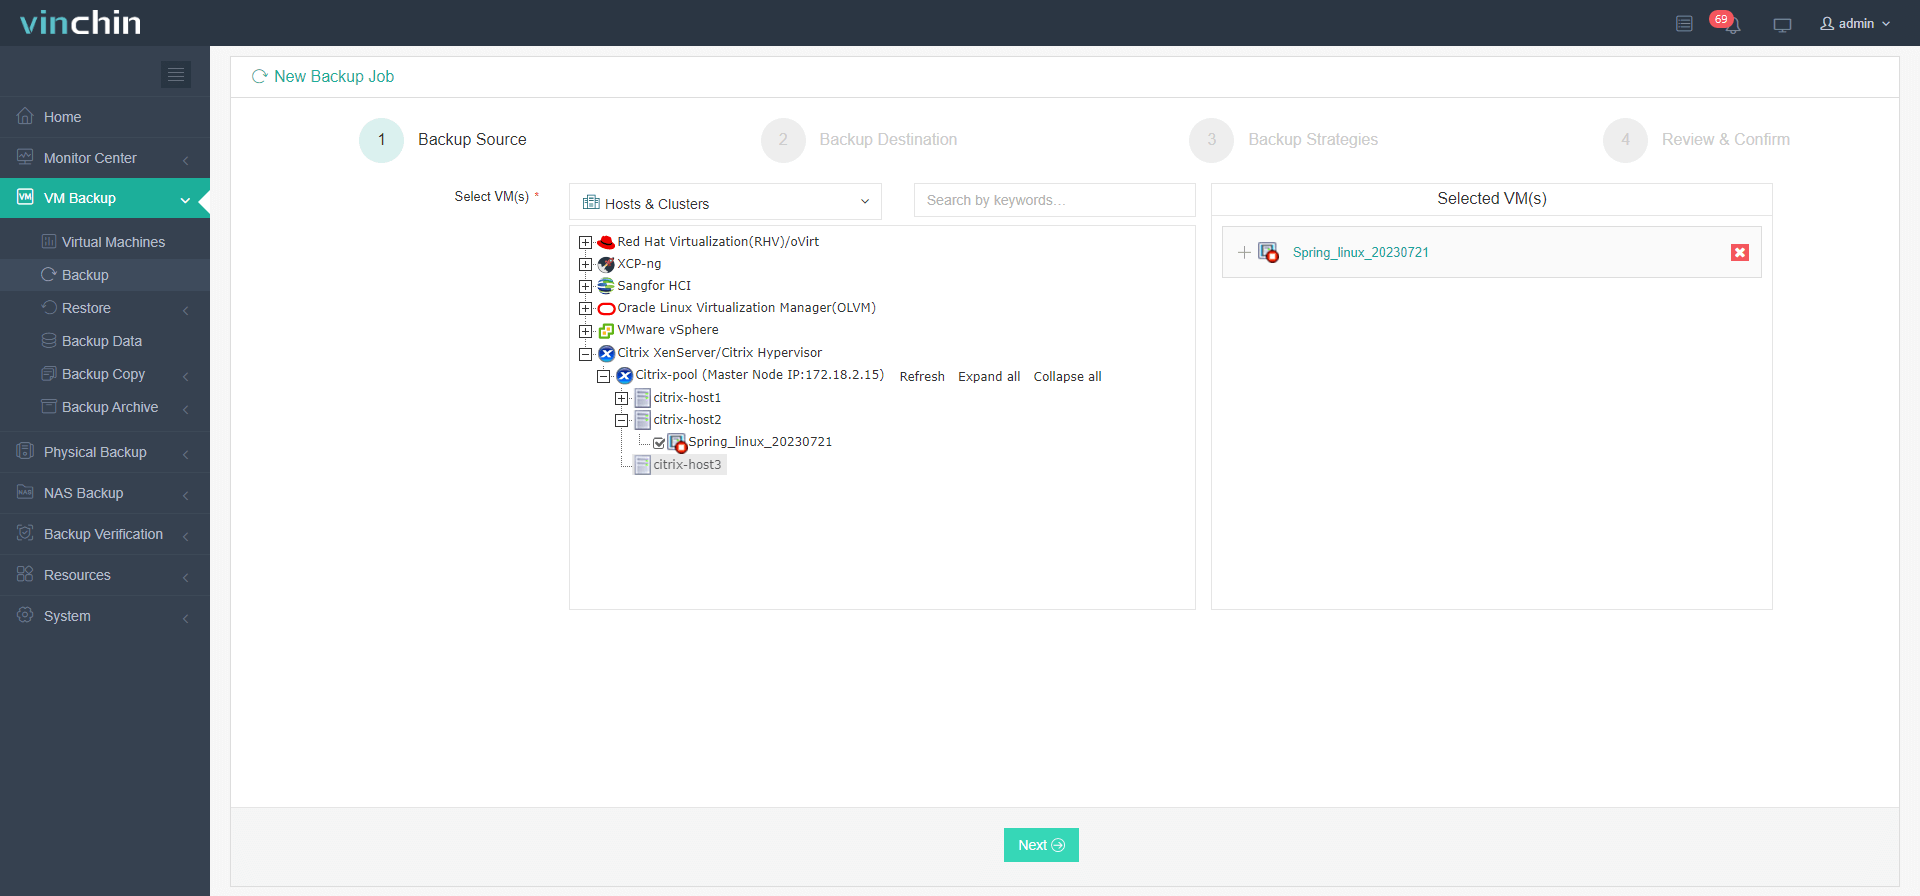
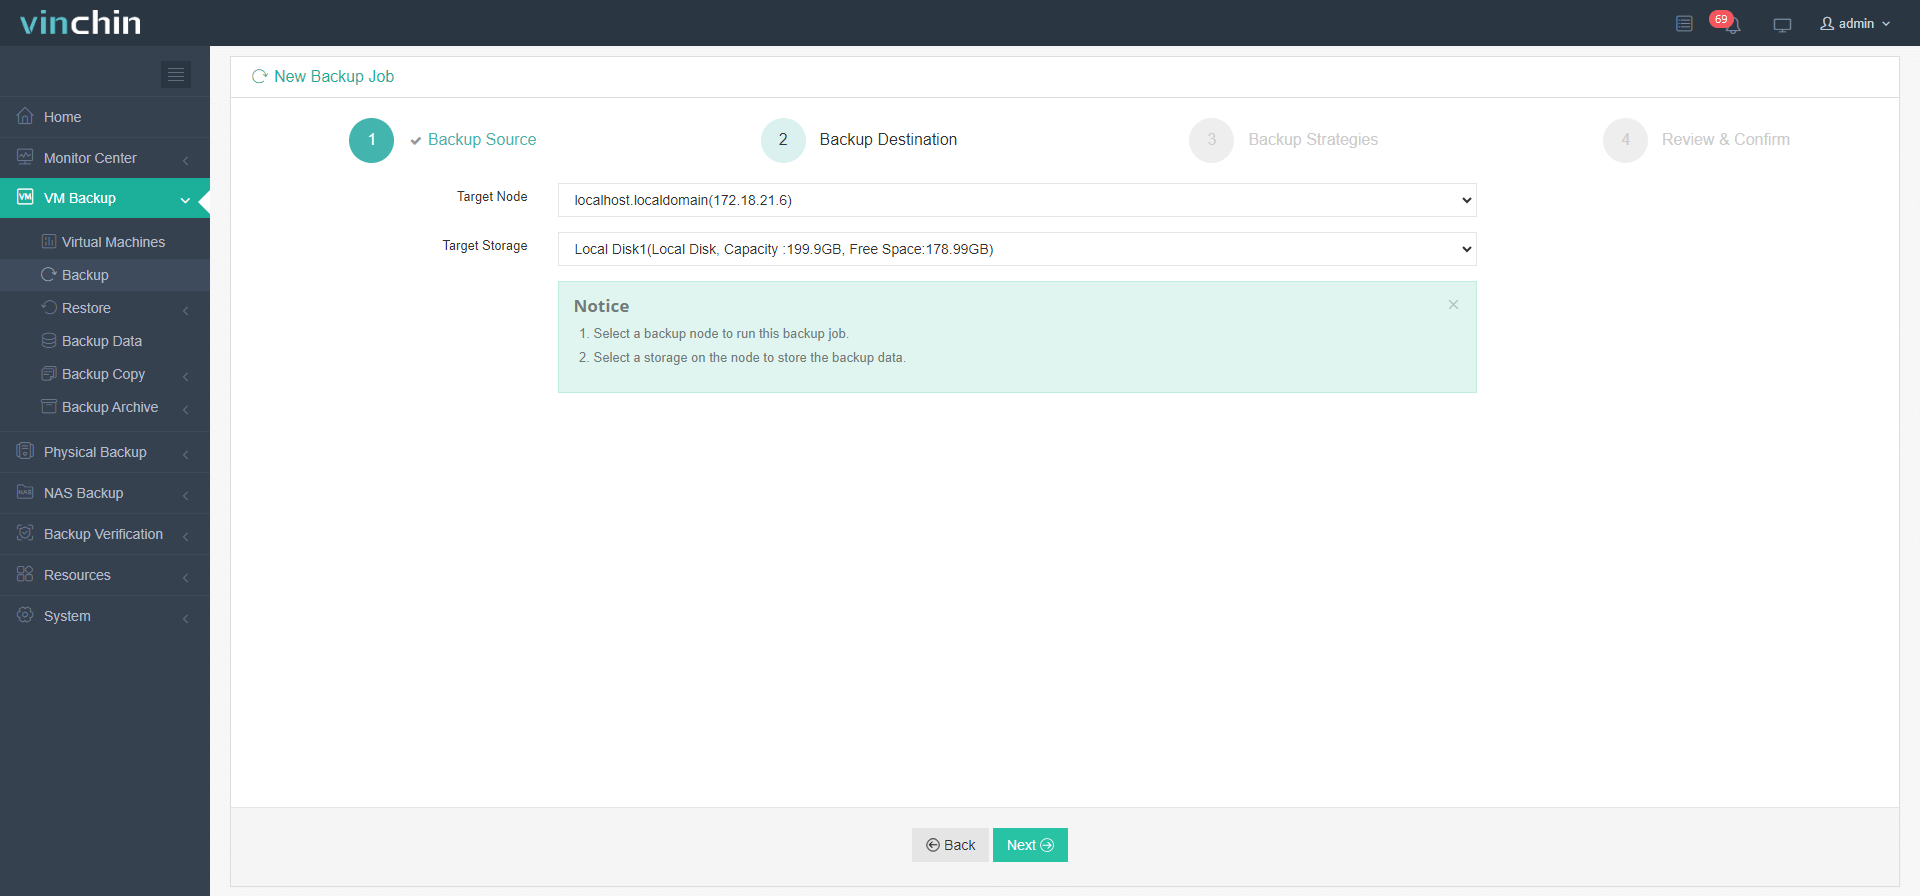
2. Select backup destination
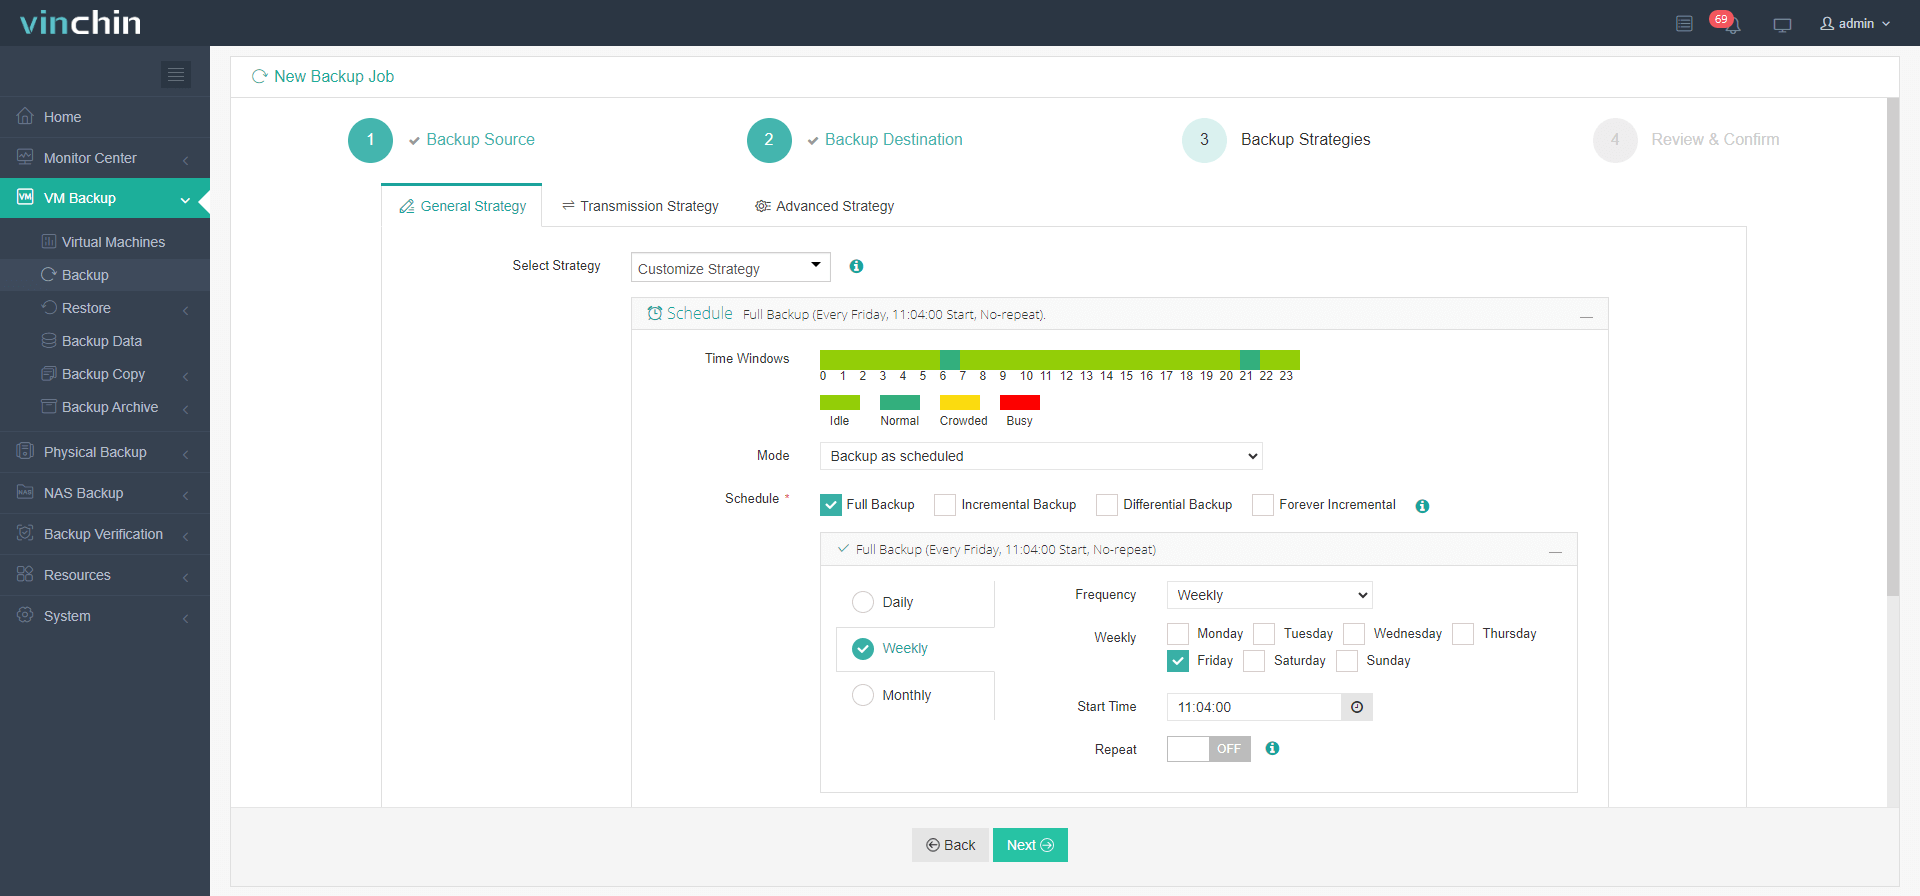
3. Define backup strategies
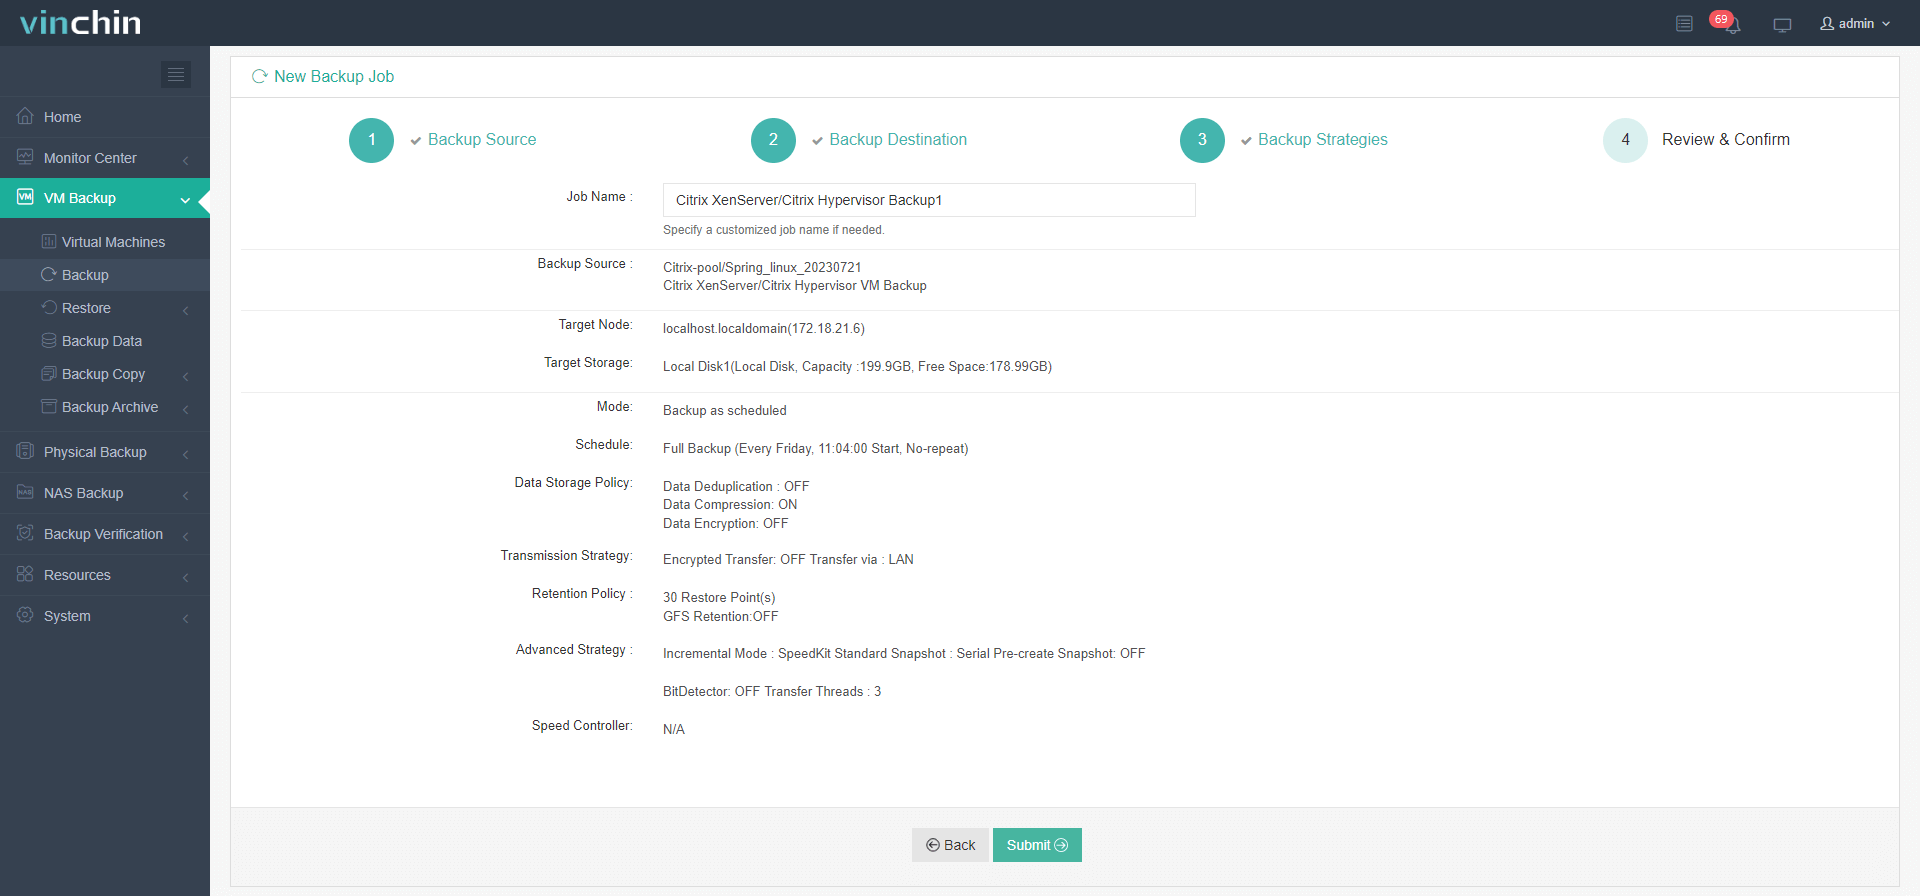
4. Click Submit
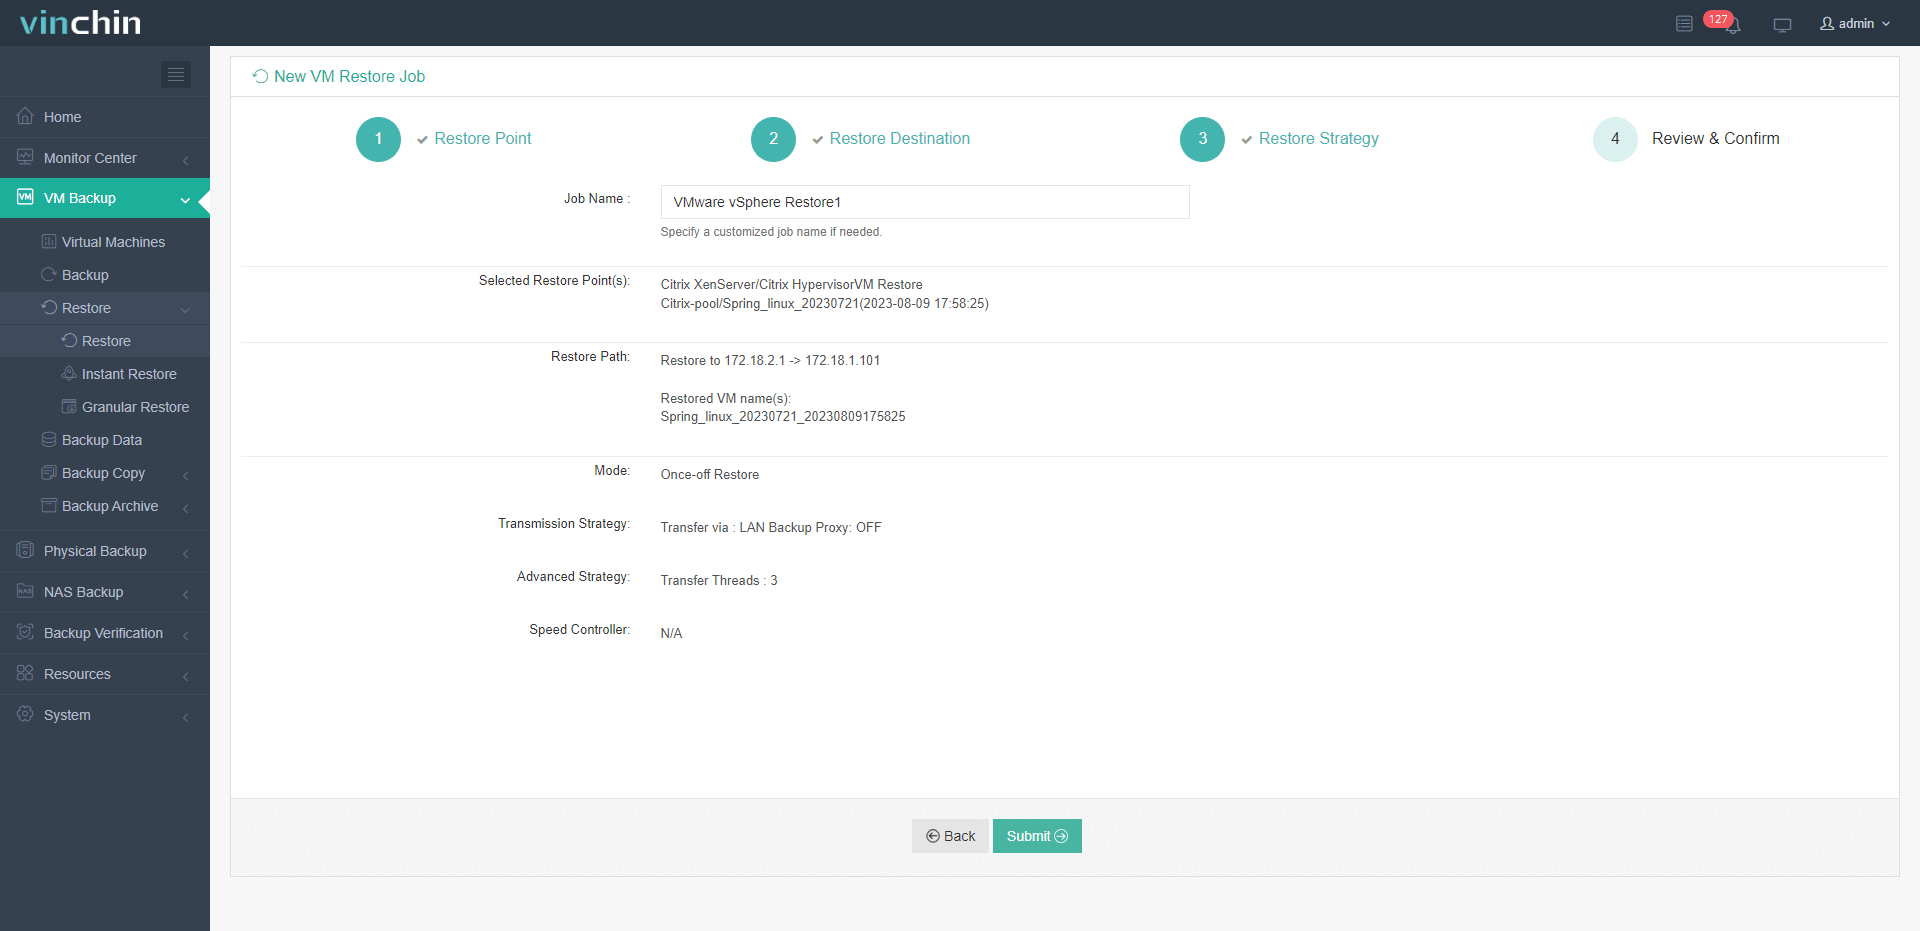
To restore VM in Vinchin Backup & Recovery
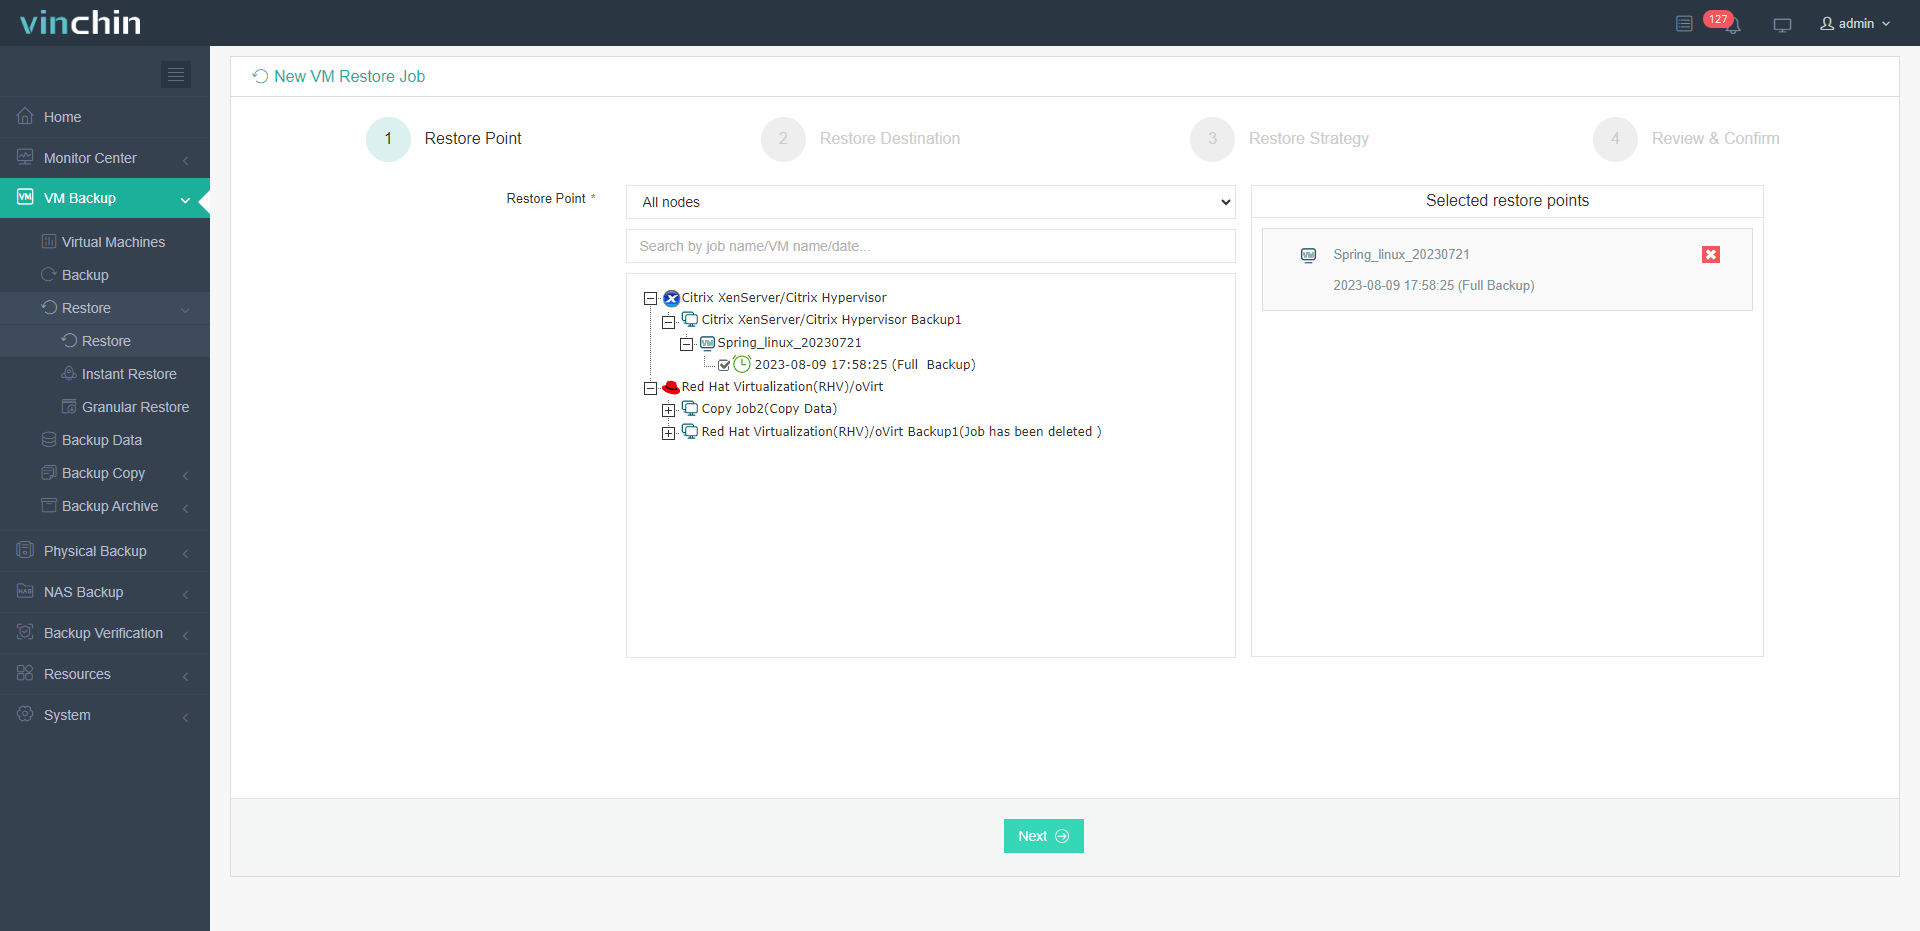
1. Select the backup you want to restore
2. Define restore destination
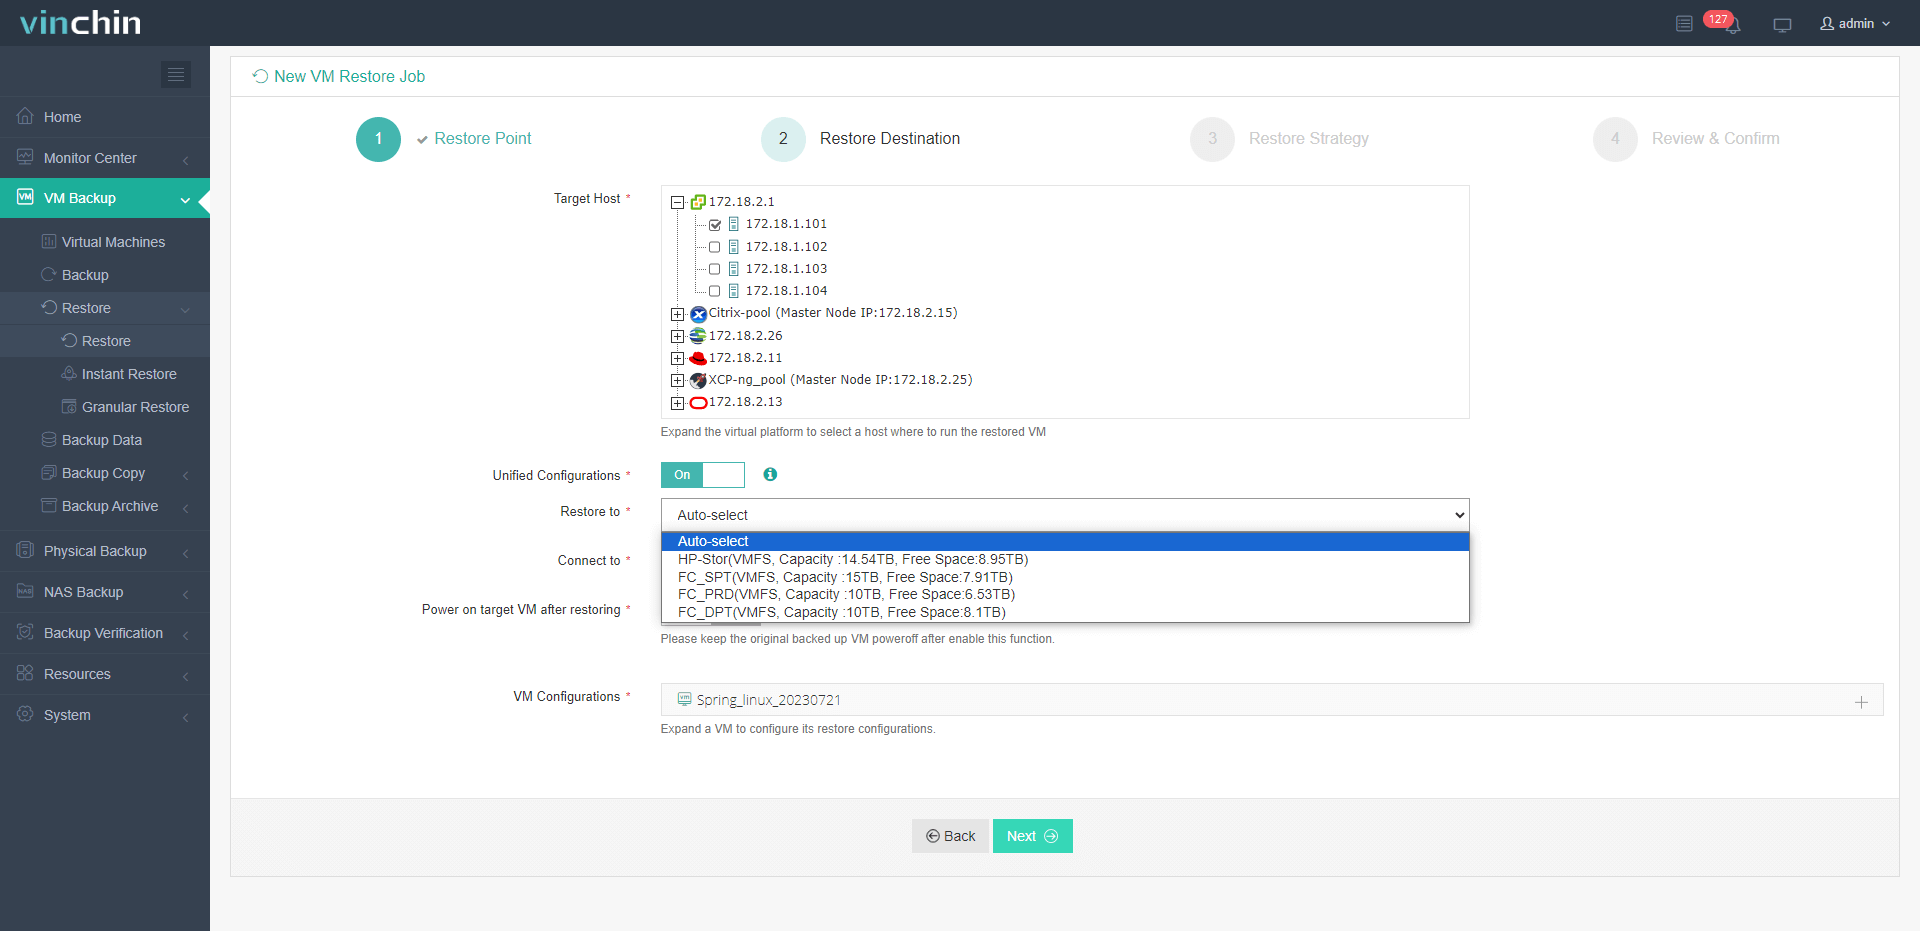
3. Specify restore strategies
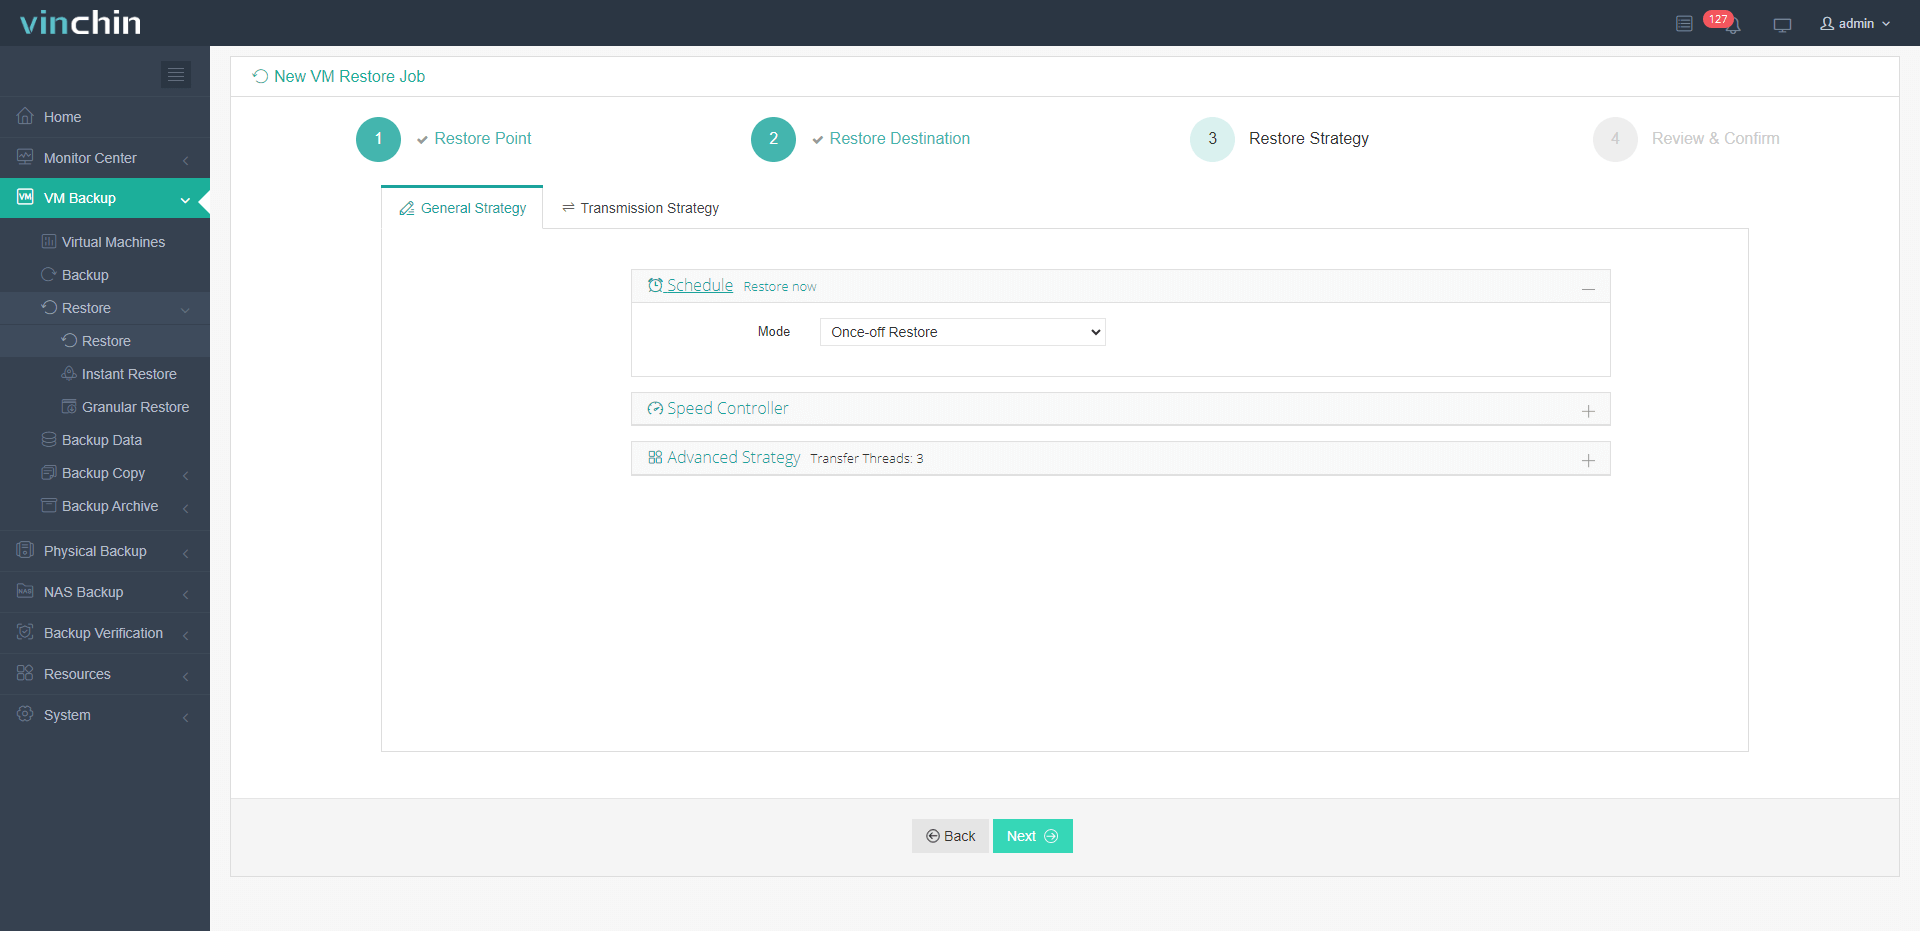
4. Click Submit
Vinchin offers users a 60-day free trial to try it out in a real-world environment. For more information, please contact Vinchin directly, or contact our local partners.
Export and import VM in XenServer FAQs
Q1: What is the exported VM file format?
A1: XenServer stores exported VMs in the .xva file format, which contains all disk, configuration, and other necessary information for the VM.
Q2: Can I export a VM to a network share?
A2: Yes, you can specify a network path as the export location. Make sure that the XenServer server has access to the network share.
Conclusion
In summary, this article describes four methods for exporting and importing VMs in XenServer. Each method has its unique features and you can choose the one that best suits your needs. And, this article also discusses the best practices for VM backup and recovery using Vinchin Backup & Recovery, a professional data protection tool that reliably backs up VMs and performs recovery operations quickly.
Share on:


