Disks play a critical role in virtualized environments, not only storing the operating system and applications, but also affecting how virtual machines perform, how efficiently they are stored, and how they are managed. When creating virtual disks in Hyper-V, there are usually 3 types to choose from: Fixed Size, Dynamically Expanding, and Differencing Disk. They each have different characteristics and are suitable for different usage scenarios.
Hyper-V disk type comparison
Disk Type | Advantages | Disadvantages | Suitable Scenarios |
Fixed Size | Fast read/write speed, less fragmentation | Takes longer to create, consumes more space | Production environment |
Dynamically Expanding | Starts with minimal space, expands as needed, fast to create | Slower read/write speed, prone to fragmentation | Testing environment |
Differencing Disk | Shares parent disk data, saves storage space | Depends on the parent disk, potential I/O bottleneck | Rapid deployment of multiple identical VMs |
How Hyper-V differencing disks work?
Differencing disks rely on a parent disk. All unchanged data is read directly from the parent disk, while any new or modified data is stored in the hyper-V differencing disk. This approach saves storage space and accelerates VM creation, making it ideal for scenarios where multiple virtual machines with similar configurations are needed.
Steps to create multiple VMs using Hyper-V differencing disks
1. Create the Parent Disk
Create a new virtual machine and install the operating system (e.g., Windows Server 2012).
Perform necessary system configurations, such as installing common software (WinRAR, .NET 3.5, etc.).
Run Sysprep to Generalize the System:
Open Command Prompt as an administrator and enter:
%WINDIR%\system32\sysprep\sysprep.exe
In the Sysprep window:
4. Set the parent disk to read-only (to prevent modifications):
Locate the created VHD/VHDX file, right-click Properties > Check Read-only > Click OK.
2. Create the Differencing Disk
Open Hyper-V Manager, click New > Hard Disk.
In the wizard:
Choose the disk format (VHD or VHDX, matching the parent disk).
Select Differencing as the disk type.
Specify the storage location and name of the differencing disk.
Select the parent disk (the previously created VHD/VHDX file with the OS).
Complete the wizard to create the differencing disk.
3. Create a New Virtual Machine Using the Differencing Disk
Open Hyper-V Manager, click New > Virtual Machine.
Configure the VM settings (name, memory, network, etc.).
In the Connect Virtual Hard Disk section:
Complete the wizard, then start the virtual machine.
Perform initial system setup (such as setting the computer name and configuring the network).
Repeat the steps above to create multiple virtual machines based on the same parent disk.
Ensuring data protection with Vinchin Backup & Recovery
While Hyper-V differencing disks provide storage efficiency and rapid deployment, ensuring the safety of virtual machines is equally important. Data corruption, accidental deletion, and system failures can impact operations. To mitigate risks, Vinchin Backup & Recovery offers comprehensive protection for Hyper-V environments:
Agentless Backup: Efficiently protects Hyper-V VMs without installing additional agents.
Incremental & Full Backup: Optimize storage usage and backup efficiency.
Automated Scheduling: Ensure regular backups without manual intervention.
Instant Recovery: Quickly restore VMs in case of failures, minimizing downtime.
Cross-Platform Recovery: Restore backed-up VMs to different virtual environments if needed.
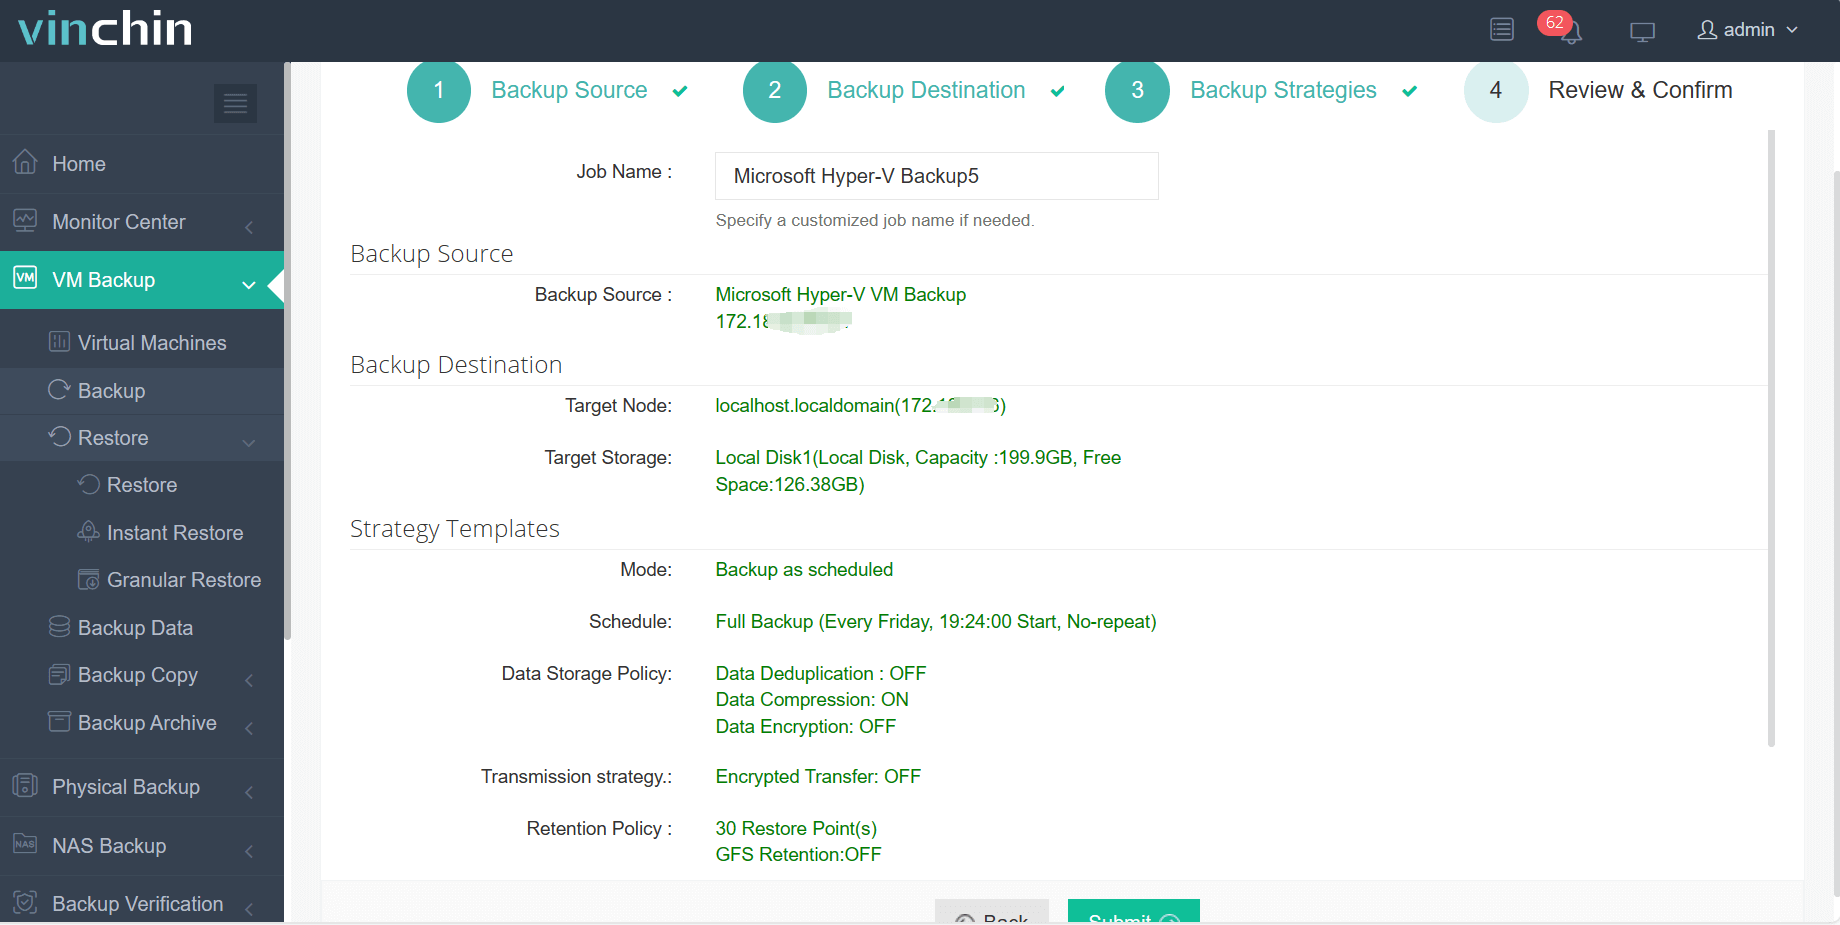
Vinchin Backup & Recovery's operation is very simple, just a few simple steps.
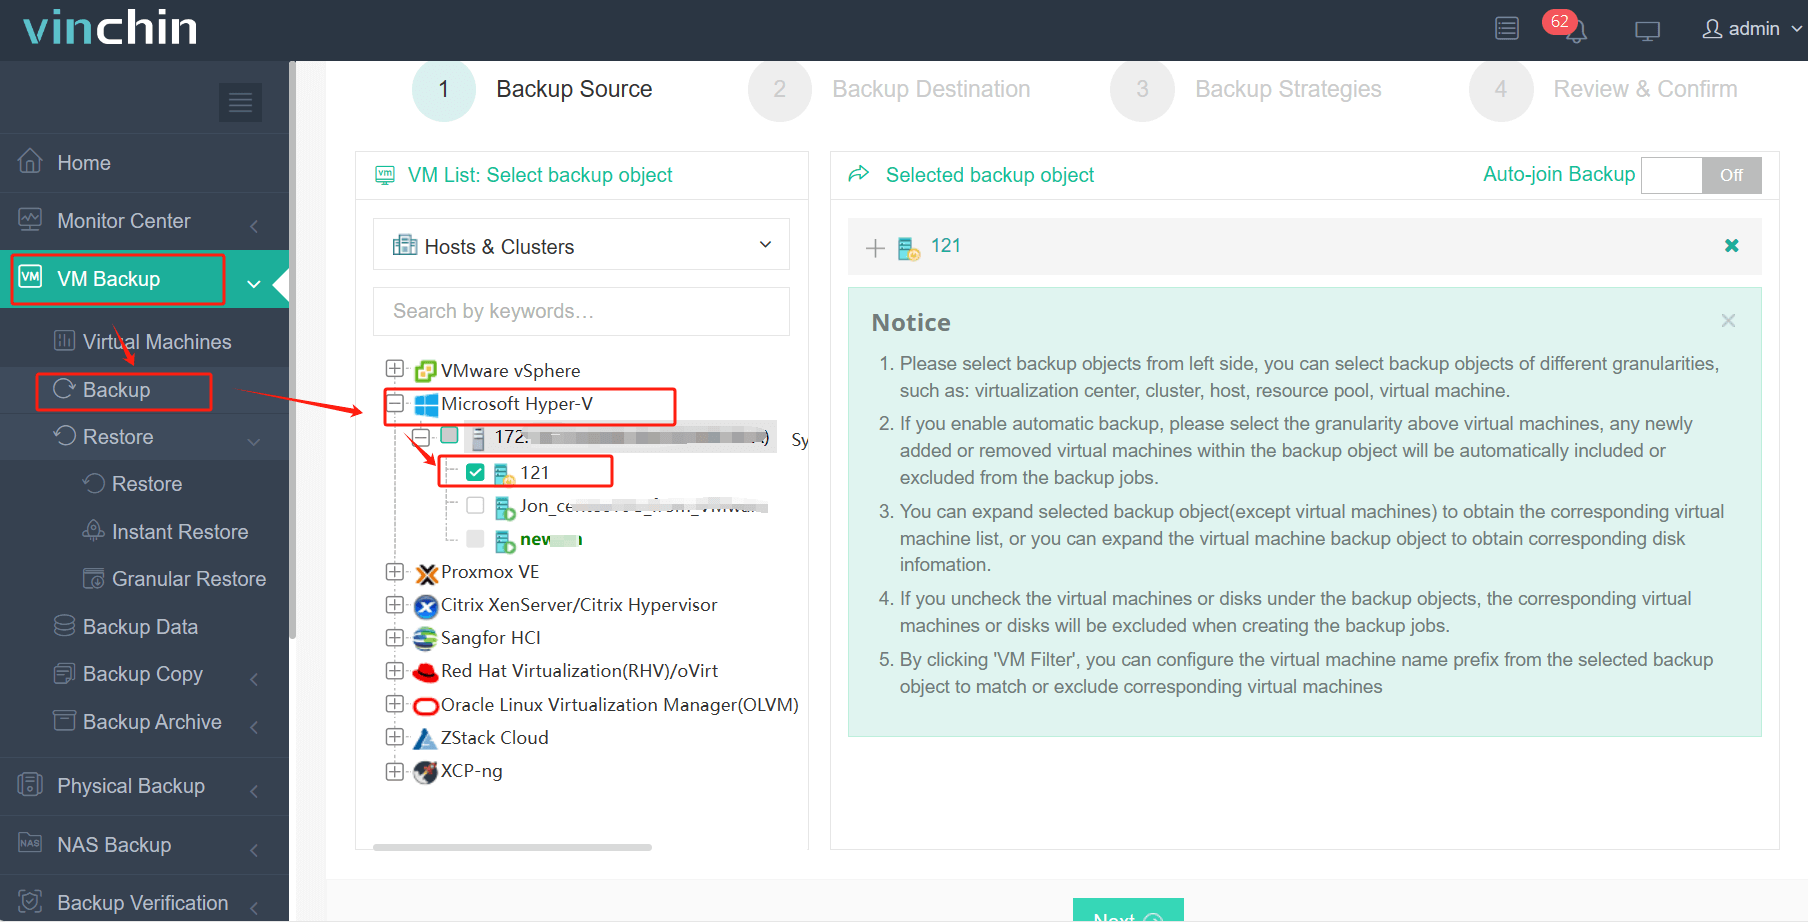
1.Just select VMs on the host
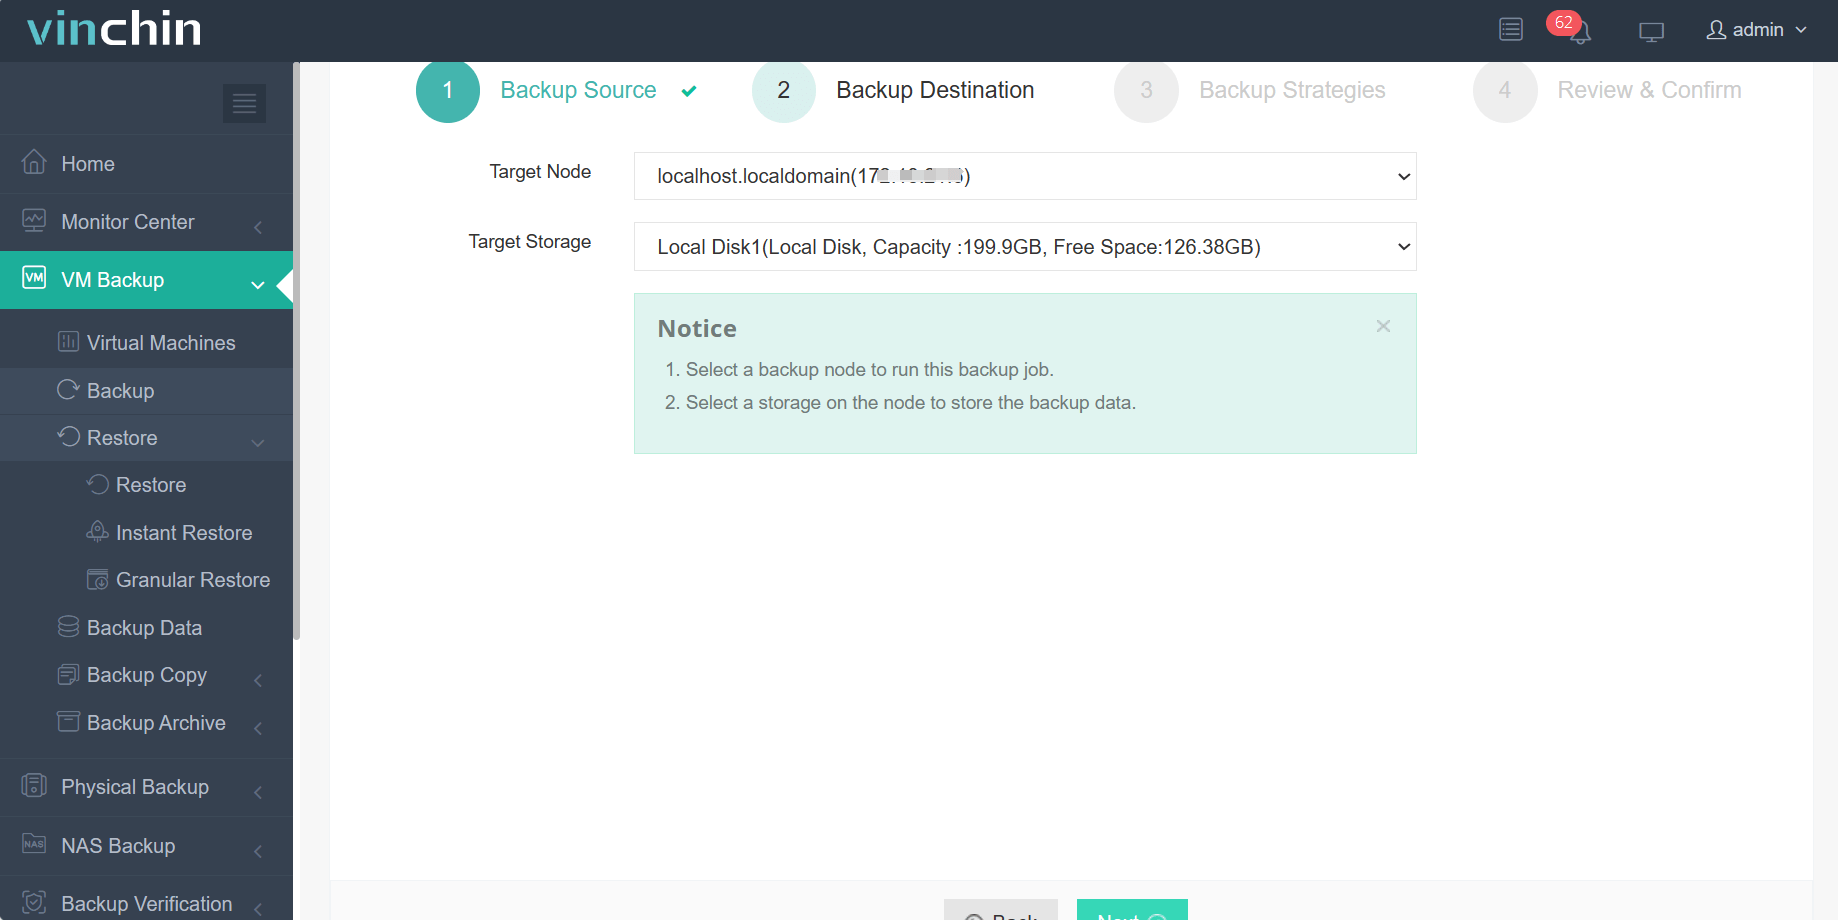
2.Then select backup destination
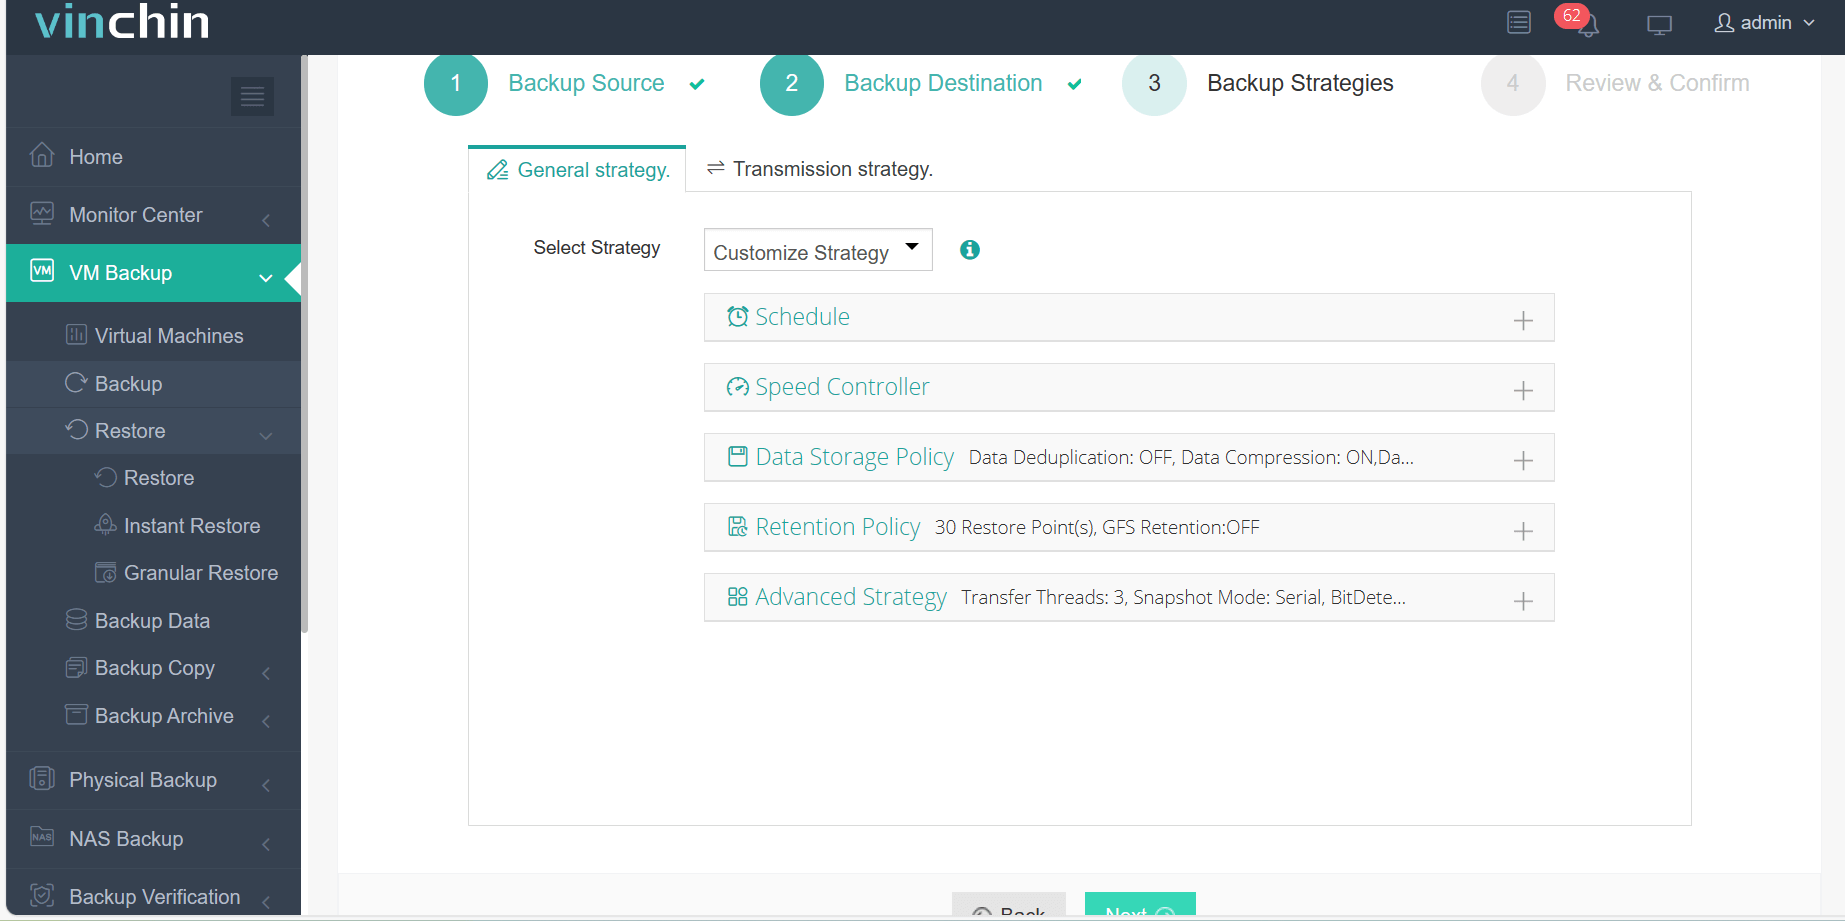
3.Select strategies
4.Finally submit the job
By integrating Vinchin Backup & Recovery, businesses can not only benefit from Hyper-V differencing disks for efficient VM deployment but also ensure data security and continuity in case of unexpected events. Besides, Vinchin offers a free 60-day trial for users to experience the functionality in a real-world environment. For more information, please contact Vinchin directly.
Hyper-V differencing disks best practices FAQs
Q1: What are the drawbacks of differencing disks?
A1: Performance Overhead: Long chains can degrade performance.
Complexity: Managing multiple differencing disks can become complicated.
Risk of Corruption: If the parent disk is corrupted, all dependent VMs are affected.
Q2: Can I convert a differencing disk to a standalone disk?
A2: Yes, you can merge a differencing disk into its parent disk or convert it to a standalone disk using Hyper-V Manager or PowerShell.
Conclusion
Hyper-V offers three virtual disk types—Fixed Size, Dynamically Expanding, and Differencing Disks—each suited for different scenarios. While differencing disks enable rapid VM deployment, integrating Vinchin Backup & Recovery ensures data protection, efficient backups, and seamless recovery, enhancing overall Hyper-V management.